11
ASSEMBLY
NOTE: The StrikeMaster Lithium 24v comes with two hex wrenches: One is stored on the bottom of the Powerhead.
The other is taped to the the mid-point of the spiral.
Remove hex wrench from spiral before operating.
1. Unscrew the collar bolt from auger spiral with hex wrench.
2. Insert drive shaft into auger and install collar bolt.
3. The large and small holes from each component must line up before installing the bolt.
Push down and twist to line up holes.
4. Insert collar bolt into the large hole, passing through the drive shaft threads into the small hole of the auger.
Make sure collar bolt is tight. Check and tighten often. Be sure collar bolt/head counter sinks past the outside
face of the plastic collar.
W A R N I N G
IT IS RECOMMENDED THAT THE COLLAR BOLT BE CHECKED AND TIGHTENED BEFORE AND AFTER EVERY USE.
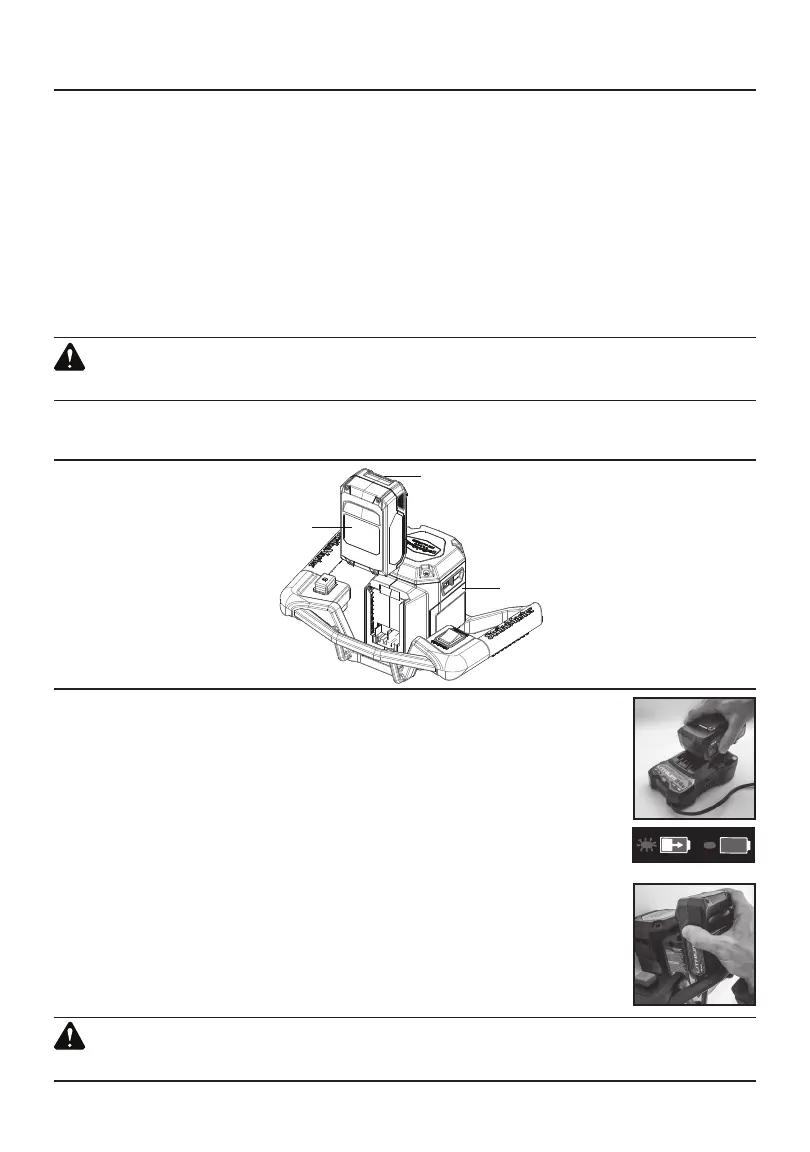
TO INSTALL/REMOVE THE BATTERY
TO INSTALL THE BATTERY
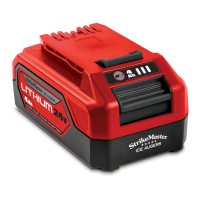
1. Remove StrikeMaster Lithium 24v Battery from carton.
2. Slide Battery onto Battery Charging Base using the channels on both sides as a guide.
Press down until you hear it click in place. Leave Battery on Battery Charging Base until
fully charged (Image 1).
NOTE:
Battery is not fully charged when first removed from box.
3. When Battery Charging Base indicator shows solid green, your Battery is fully charged
(Image 2).
4. Once Battery is fully charged remove from Battery Charging Base. Slide battery onto
Powerhead using the channels on both sides as a guide, pressing down until you
hear it click in place (Image 3).
TO REMOVE THE BATTERY
1. Depress the unlocking button on the Battery. Remove the Battery from the Powerhead.
W A R N I N G
BATTERY MUST BE FULLY CHARGED BEFORE FIRST USE.
POWERHEAD
BATTERY RELEASE BUTTON
BATTERY
IMAGE 3
IMAGE 1
IMAGE 2