Home
Strobel
Sewing Machine
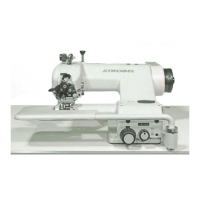
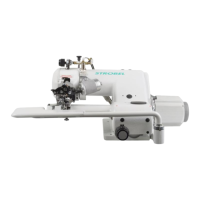
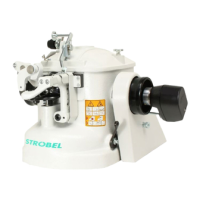
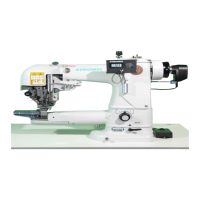
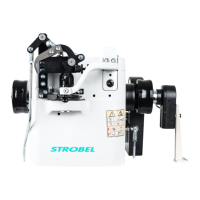
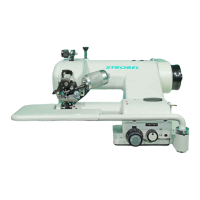
VEB100 Series
Strobel VEB100 Series Mechanic's Instructions
4
of 1
of 1 rating
64 pages
Give review
Manual
Specs
To Next Page
To Next Page
To Previous Page
To Previous Page
Loading...
18
MA_VEB100
-1-2-
2W
-4-
5_A3
-
1_190627_
en.doc
2.5
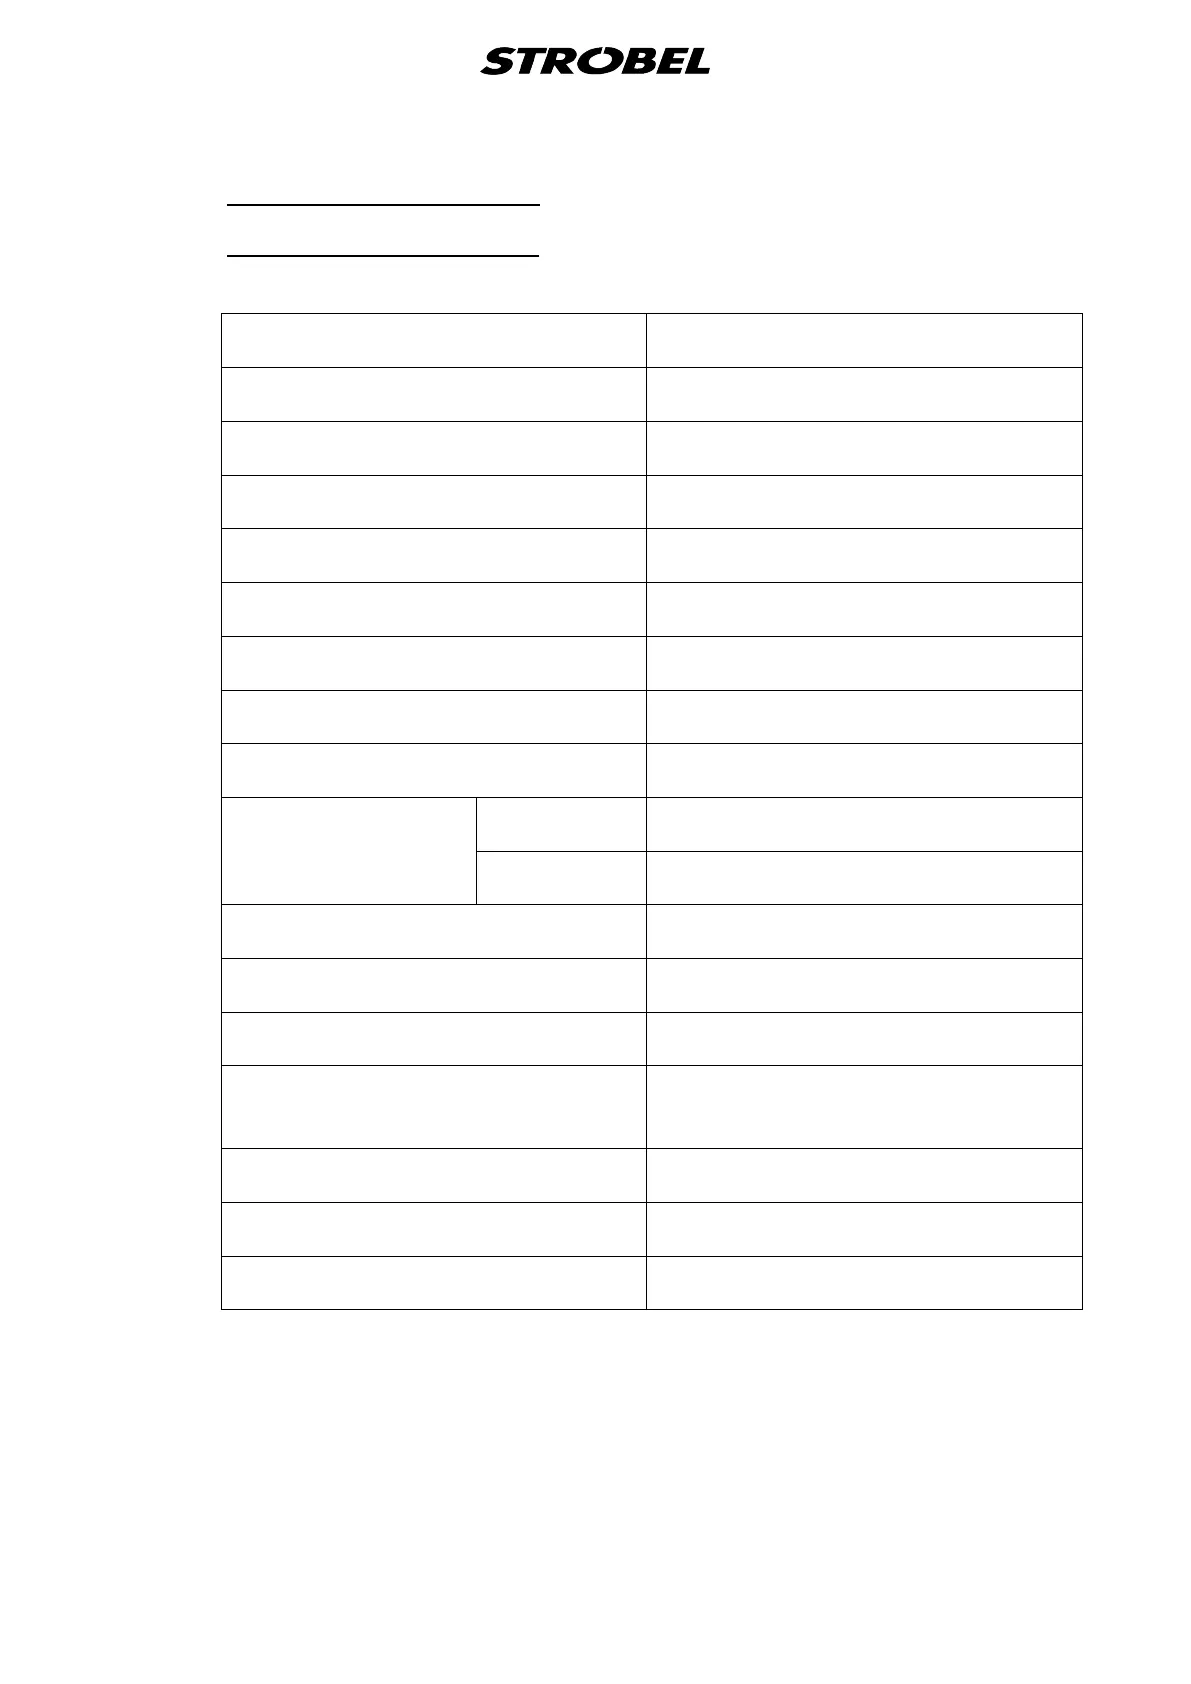
Brief setting
instruction
2.5.1
Class VE
B100
-
1,
-
2
,
-
2W
Theor
etic needle r
adius
41.3 mm
Left ne
edle gui
de
41
.33 +0.02
mm
Needle glide plate
41.30 ±0.01
mm
Right n
eedle gu
ide
41.40 +0.05
mm
Needle strok
e, needle eye to l
ooper finger
1.5 +0.5
mm
Ball
pin to nee
dle shaft
4 ±0.5 mm
Slot ball pin
approx. 15°
Looper strok
e
18 +0.5 mm
Pressures
Feed plate
left
12 N
right
12 N
Cloth support arm
140 N (meas
.
at plu
nger shaft)
Plunger limit stop
6 N
Feed length
approx. 5
-
8 mm
Lifting
between
stitch pl
ate
and fe
ed
plates
approx. 13 mm
Lifting
between
needle a
nd plung
er
approx.
10 mm
Loop strok
e
2.8 +0.3
m
m
Number
of spot
tacks
2
–
4 sti
tches
21
23
Table of Contents
Default Chapter
5
Table of Contents
5
1 General Notes on Safety
9
2 General Notes
11
Operating Instructions
11
Class Description, Serial Number and Initial Basis for Description
11
Range of Application and Intended Use
11
Technical Data of Machines
12
Class VEB100-1
12
Class VEB100-2
14
Class VEB100-2W
16
Class VEB100-4
18
Class VEB100-5
20
Brief Setting Instruction
22
Class VEB100-1, -2, -2W
22
Class VEB100-4
23
Class VEB100-5
24
3 Notes on Repair and Adjustments
25
Stitch Plate Assembly
25
Removing the Stitch Plate (Fig. 1)
25
Installing the Stitch Plate (Fig. 1)
27
Adjusting the Stitch Plate (Fig. 2)
27
Replacing the Needle Slide Plate (Fig. 3)
27
Adjusting the Cloth Retainer (Fig. 4)
28
Setting the Folder
29
Replacing the Folder
30
Needle Lever
31
Assembly
31
Adjusting the Needle Stroke (Fig. 7, Fig. 8 and Fig. 10)
32
Loop Stroke
34
Adjusting the Loop Stroke
34
Looper
35
Removal and Installation of the Looper Shaft
35
Looper Deflection (Fig. 9)
35
Adjusting the Looper (Fig. 10)
36
Feed Dogs
37
Adjusting the Feed Dog (Fig. 11)
37
Pressure Foot
38
Adjusting the Pressure Foot
38
Adjusting the Airing for the Pressure Foot (Fig. 11)
38
Presser
39
Replacing the Presser Shaft (Fig. 12)
39
Adjusting the Presser (Fig. 13)
40
Adjusting the Material Support Arm
41
Setting the Pre-Tension of the Spring in Spring-Loaded Plungers
42
Pneumatic Lifting
42
Setting the Lifting
42
Thread Trimmer (Fig. 16)
43
Removing and Remounting of the Thread Trimmer Drive (Fig. 16)
44
Adjustment
44
Replacing the Knife (Fig. 16 und Fig. 17)
45
Cutting Position (Fig. 17)
45
Interval Gear (Fig. 15)
45
Setting the Interval Gear (Fig. 15)
45
Sewing Drive
46
Seam Lock (Fig. 18)
46
3.12.1 Setting the Feed Dog at the Seam Lock
47
Other manuals for Strobel VEB100 Series
Manual
60 pages
Operating Instructions
56 pages
4
Based on 1 rating
Ask a question
Give review
Questions and Answers:
Need help?
Do you have a question about the Strobel VEB100 Series and is the answer not in the manual?
Ask a question
Strobel VEB100 Series Specifications
General
Brand
Strobel
Model
VEB100 Series
Category
Sewing Machine
Language
English
Related product manuals
Strobel VEB100-1
60 pages
Strobel VEB100-2
60 pages
Strobel VEB 200-1
38 pages
Strobel VTD410EV
36 pages
Strobel 141-30
36 pages
Strobel 141-23EV
40 pages
Strobel 141-40
36 pages
Strobel 142-30
40 pages
Strobel 4
32 pages
Strobel 441-1
66 pages
 Loading...