EasyManua.ls Logo

Stryker 0700010000 - User Manual

Stryker 0700010000
56 pages
Print Icon
To Next Page IconTo Next Page
Loading...
Precision AC Video Camera
0700010000
0700010001
0700410105

Questions and Answers

  • T
    Tammy ValdezSep 23, 2025
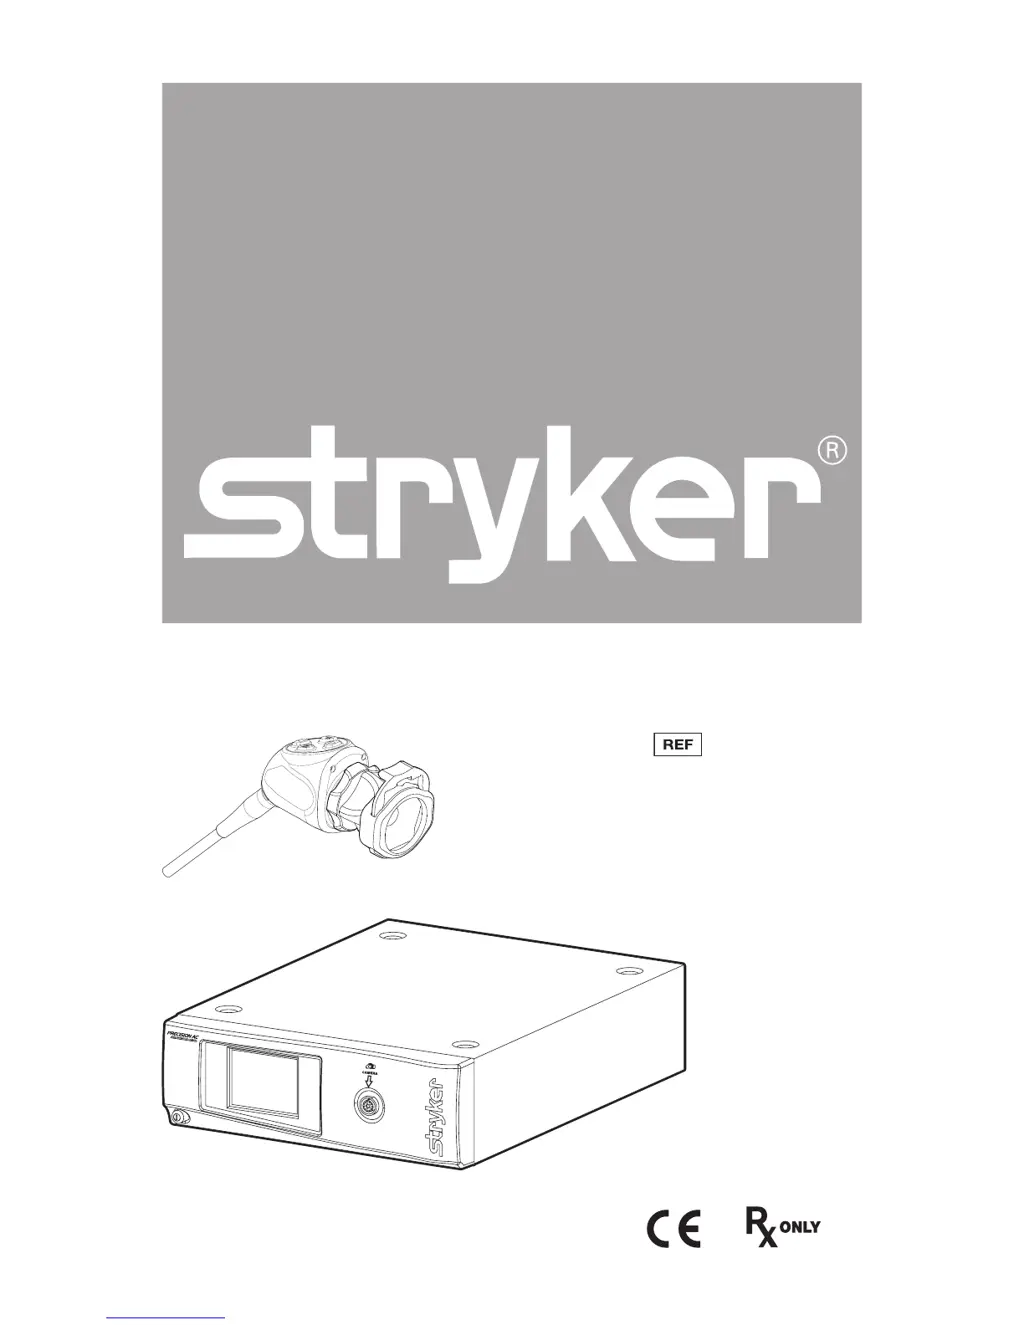
    What does camera head button error symbol on Stryker Camcorder display monitor mean?
    • F
      Frank PhillipsSep 23, 2025
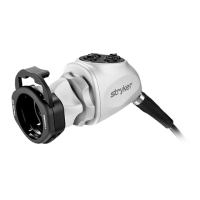
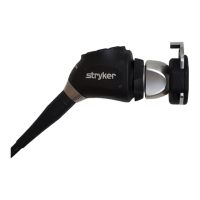
      If the camera head button error symbol appears on the Stryker Camcorder display monitor, return the camera head to Stryker for service. Note that even if the symbol appears and the camera head buttons are non-functional, the camera head will still provide a video signal to the console, and the camera can be operated from the console.
  • B
    Brandi ArcherAug 23, 2025
    What to do if Stryker Camcorder picture is too dark?
    • J
      James SmithAug 25, 2025
      To troubleshoot a dark picture on your Stryker Camcorder: * Increase the camera light level using the camera head. * Increase the light-source output. * Check the fiberoptic light cable for any broken fibers.
  • M
    Mary JeffersonAug 25, 2025
    What to do if Stryker Camcorder picture is too bright?
    • C
      christopher51Aug 26, 2025
      If the Stryker Camcorder picture is too bright: * Decrease the camera light level. * Decrease the light-source output.
  • K
    Kevin HardyAug 26, 2025
    How to fix noise or snow on Stryker Camcorder picture when not using electrocautery probes?
    • L
      Lauren GoodmanAug 27, 2025
      To resolve noise or snow on the Stryker Camcorder picture when you're not using electrocautery probes: * Confirm that all cable connectors are securely attached. * Check for and replace any faulty video cables.
  • S
    Samantha NewtonAug 27, 2025
    What to do if there is no video picture when Stryker Camcorder camera head is plugged in?
    • V
      Veronica ParkAug 27, 2025
      If your Stryker Camcorder displays no video picture when the camera head is plugged in: * Check to ensure that all devices in the video system are plugged in and powered on. * Check the connector on the camera-head cable for broken pins. * Detach the camera head from the console and reconnect it. * Turn off the console, wait 3 seconds, and turn it back on.
  • L
    Lisa HallSep 17, 2025
    What to do if white-balance quality is not good on Stryker Camcorder?
    • C
      Carol TranSep 17, 2025
      If the white-balance quality is not good on your Stryker Camcorder, refer to the solutions for “Picture is too dark” and “Picture is too bright.” Also, perform the white-balance test with the light source connected to the scope, using metal-halide, xenon, or LED lighting (avoid fluorescent lighting).
  • X
    xmunozSep 14, 2025
    How to troubleshoot no color bar on Stryker Camcorder?
    • B
      Beth BishopSep 14, 2025
      To troubleshoot a 'No color bar' issue on the Stryker Camcorder: * Ensure the video-out from the console is connected to the video-in on the monitor. * Ensure all video systems are powered on. * Ensure that the camera head is not connected to the console. * Turn off the console, wait 3 seconds, and turn it back on.
  • M
    mark03Sep 15, 2025
    How to troubleshoot no color bar (Optical DVI Fiber only) on Stryker Camcorder?
    • L
      Laura PowersSep 15, 2025
      To address a 'No color bar (Optical DVI Fiber only)' issue on the Stryker Camcorder, follow the same steps as for the general “No color bar” issue. Also, consult the “Connecting the DVI Fiber Outputs” section.
  • E
    Eric KaneSep 6, 2025
    How to fix E1 error code on Stryker Camcorder?
    • A
      Ariana JacksonSep 6, 2025
      To address the E1 error code on the Stryker Camcorder, turn off the console, wait 3 seconds, and turn it back on. This error is caused by a main board error.
  • A
    Anthony BellSep 3, 2025
    How to address variability in color reproduction between different light sources or peripherals in Stryker Camcorder?
    • I
      irossSep 3, 2025
      To address variability in color reproduction between different light sources or peripherals on your Stryker Camcorder: * Perform the white-balance test. * Check the settings on video peripherals. * Ensure the light source has a proper infrared filter (check with manufacturer specifications).

Summary

Warnings and Cautions

Product Description and Intended Use

Indications

Details specific medical procedures and surgical specialties for which the camera is indicated.

Contraindications

States that there are no known contraindications for the use of the Precision AC Camera.

Camera Console and Front Panel

Describes the camera console, its front panel, and controls for operation and image adjustment.

Camera Console Rear Panel

Details the various ports and connectors on the rear panel of the camera console for system integration.

The Camera Head

Explains the function and connectivity of the camera head, including its integrated controls and cable.

The C-Mount Coupler

Describes the C-Mount coupler used to attach an endoscope to the camera head for image focusing.

Setup and Interconnection

Setting Up the Console

Instructions for connecting the camera console to power and video output devices.

Precision AC Wiring Diagram

Illustrates the complete system wiring configuration for connecting the console, display, and light source.

Setting Up the Camera Head

Provides step-by-step instructions for connecting the camera head to the console.

Setting Up the Coupler

Details the procedure for attaching the coupler to the camera head and connecting an endoscope.

DVI Fiber Outputs and Soaking Cap

Explains connecting DVI fiber outputs and installing the soaking cap for camera head protection.

Operation

Operating with a Light Source

Safety notice and guidelines for operating the camera system with an integrated light source.

Powering the Console On;Off

Step-by-step guide for powering the camera console and connected monitor on and off.

Controlling Remote Video Accessories

Explains how to use the camera system to control remote video accessories like capture consoles.

Camera Head Buttons

Describes the functions of the buttons located on the camera head for image control and accessory operation.

Touchscreen Interface

Details how to navigate and use the console's touchscreen interface for camera settings and functions.

Menu Screen Operations

Explains how to use the menu screen to adjust brightness, zoom, and Dynamic Range Enhancement (DRE).

White-Balance Test

Step-by-step procedure for adjusting camera color accuracy by white balancing the image.

Advanced Features

Mentions additional features requiring advanced knowledge and contact with a representative.

Troubleshooting

Error Codes and Console Issues

Lists common error codes (E1-E4) and console startup issues with their solutions.

Picture and Connectivity Problems

Addresses issues related to picture quality, color reproduction, noise, and connectivity.

Image and Fogging Issues

Covers problems with image centering, color variability, and foggy pictures, including potential causes and fixes.

Optics and Button Errors

Discusses solutions for dirty optics, blurry pictures, camera head button errors, and device recognition issues.

Reprocessing

Cleaning the Console

Provides instructions and cautions for cleaning the non-sterile camera console.

Camera Head Reprocessing

Outlines detailed steps for cleaning, disinfecting, and sterilizing the camera head and coupler.

Reprocessing Limitations

Lists cautions and limitations regarding reprocessing methods, materials, and their impact on the device.

Reprocessing Materials

Specifies the required materials and equipment for cleaning, disinfecting, and sterilizing the camera head.

Manual Cleaning Procedures

Step-by-step instructions for manual cleaning of the camera head using enzymatic and non-enzymatic detergents.

Automated Cleaning

Details the process for automated cleaning of the camera head, including washer parameters.

Disinfection and Sterilization

Explains thermal disinfection and various steam/vapor sterilization cycles for the camera head.

User Maintenance

Maintenance, Inspection, and Testing

Guidelines for routine inspection, cleaning, and testing of the camera system components.

Using Sterile Drapes

Recommends using sterile drapes for longevity and advises following manufacturer instructions.

Storage Guidelines

Provides recommendations for proper storage to prevent infection risks and maintain device integrity.

Replacing the Fuses

Step-by-step instructions for safely replacing fuses in the camera console.

Periodic Maintenance Schedule

Outlines periodic checks, including leakage current and power consumption, to ensure safe operation.

Expected Service Life

Provides the expected service life for the camera console and camera head under different usage conditions.

Disposal and Recycling Information

Advises on proper disposal of the product as electronic waste according to regulations.

Technical Specifications

Imaging and Scanning Specifications

Details the imaging system, CCD type, and scanning frequencies (horizontal/vertical) for the camera.

Video Outputs and Connectors

Lists the available video outputs (Digital/Analog, Fiber) and their corresponding connectors.

Mounting and Operating Conditions

Specifies mounting methods, auto shutter range, operating, transport, and storage conditions.

Electrical and Shipping Specifications

Outlines input electrical ratings and total shipping weight for console and accessories.

Dimensions and Classification

Provides physical dimensions of the console and cable, and classifies the equipment's ingress protection and application part type.

Laser Product Standards Compliance

Details compliance with laser product standards, including the number of laser diodes and relevant regulations.

Electromagnetic Compatibility

EMC Precautions and Guidelines

Advises on precautions for ensuring electromagnetic compatibility when installing and operating the camera system.

Electromagnetic Emissions

Presents the manufacturer's declaration regarding electromagnetic emissions and their compliance levels.

Electromagnetic Immunity

Provides guidance on electromagnetic immunity tests and compliance levels for the camera system.

RF Communications Separation Distances

Recommends minimum separation distances for portable and mobile RF equipment to prevent interference.

Symbol Definitions

General Product Symbols

Defines common symbols found on the product and in the manual, such as consult instructions and Rx Only.

Technical and Compliance Symbols

Explains symbols related to product catalog number, serial number, CE marking, and compliance standards.

Operational and Environmental Symbols

Clarifies symbols indicating power on/off, laser class, error conditions, and environmental limitations like temperature.

Stryker 0700010000 Specifications

General IconGeneral
BrandStryker
Model0700010000
CategoryCamcorder
LanguageEnglish

Related product manuals