4. Using a 5/32” hex wrench, install four flat head cap screws (0001-194-000) and four cleat locator washers to secure the
cleats. Make sure that you install two cleat locator washers per cleat.
5. Proceed to Installing Performance-LOAD.
SSeeccttiioonn OO:: 19 in. (48 cm) sill to cot distance
61” (154.9 cm)
22”(55.9 cm)
SSeeccttiioonn PP:: 20 in. (51 cm) sill to cot distance
62” (157.5 cm)
23”(58.4 cm)
SSeeccttiioonn QQ:: 21 in. (53 cm) sill to cot distance
63” (160.0 cm)
24”(61.0 cm)
IInnssttaalllliinngg PPeerrffoorrmmaannccee--LLOOAADD
TToooollss rreeqquuiirreedd::
Hack saw Rubber hammer
Slotted screwdriver 3/8” hex wrench (at least 5-3/8 in. (13.7 cm) length)
3/8” drive torque wrench (ft-lb) > 60 ft-lb Silicone sealant
PPrroocceedduurree::
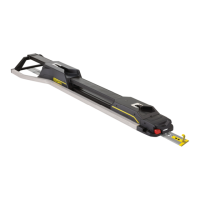
1. Carefully place PPeerrffoorrmmaannccee--LLOOAADD on top of the floor plate assembly. Align the two bolts at the head end with the two
holes in the cleat as shown in Figure 5.
EN 20 6392-009-001 Rev D.3