5
Blade Installation
WARNING:
Always place the trigger switch in the SAFE position
before attaching or removing any accessory to prevent
inadvertent running of the handpiece.
1. Rotate the trigger switch clockwise to the SAFE
position.
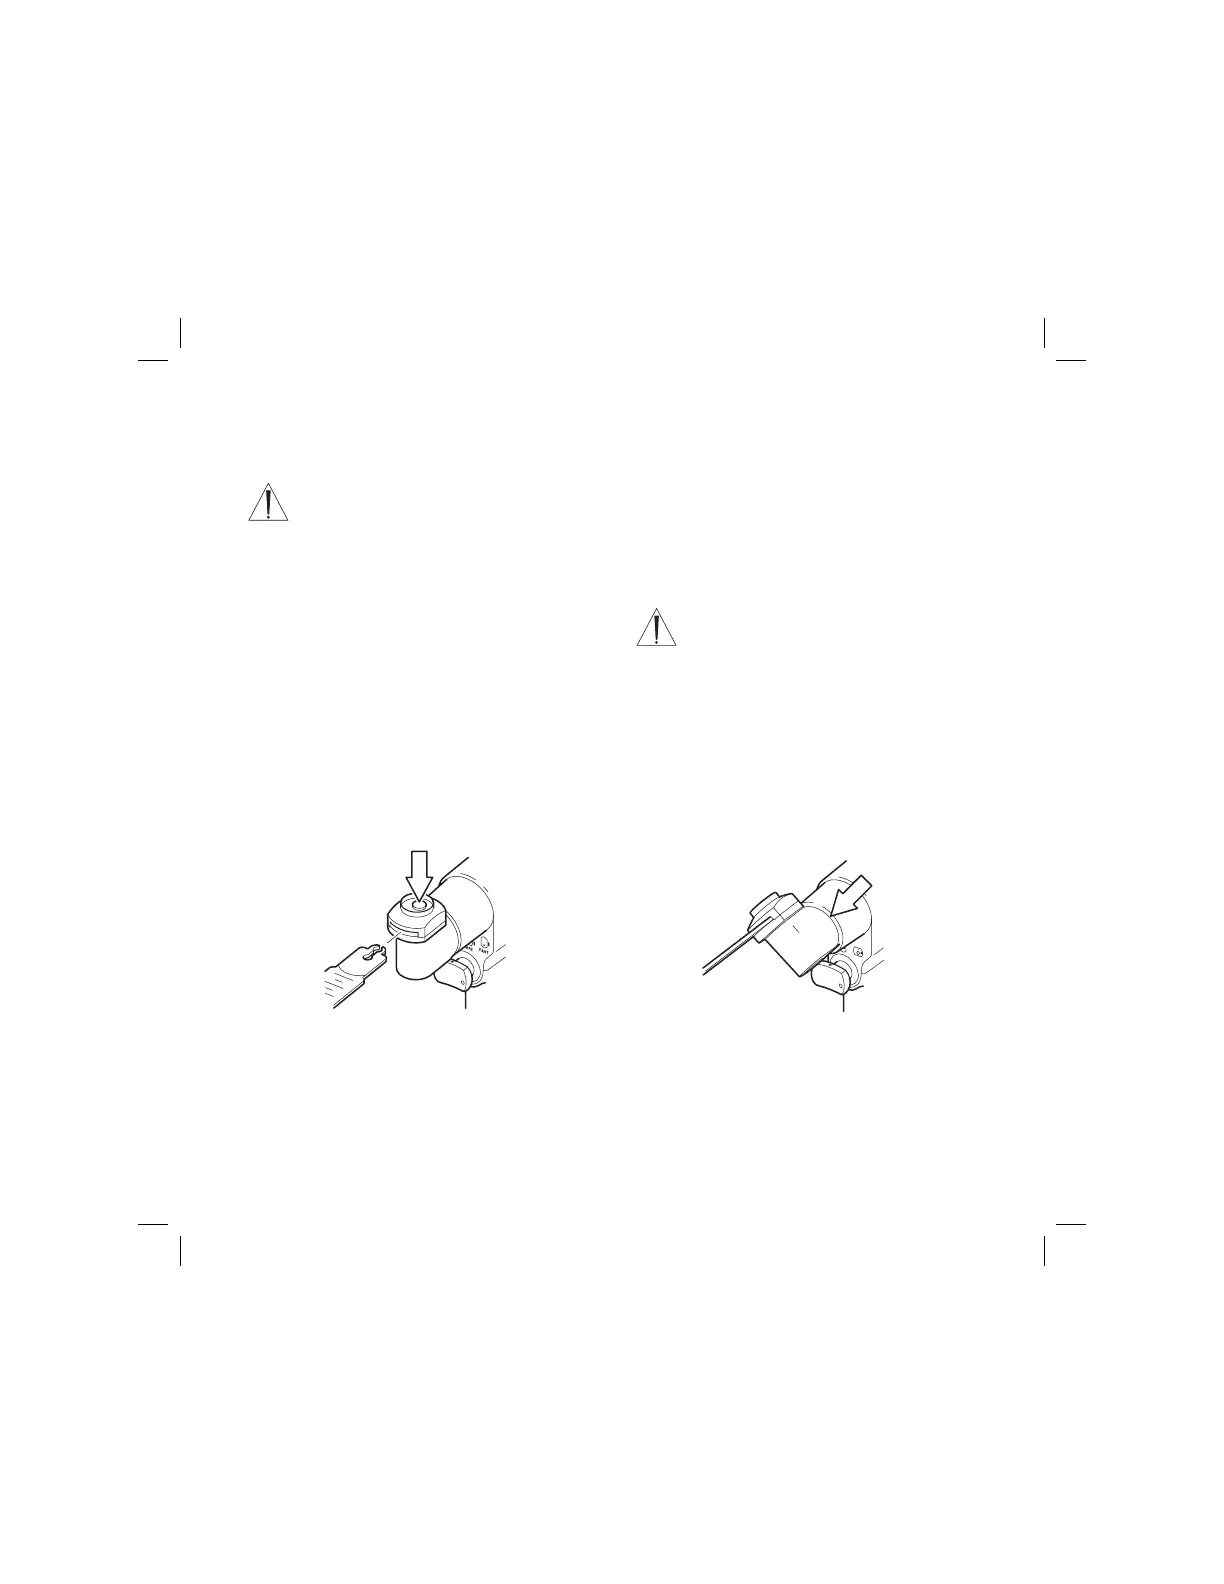
2. Depress the blade lock button and insert the blade
until the FULL INSERT line disappears in the blade
retainer indicating the blade is positioned properly
(see figure 1).
3. Release the blade lock button. Gently tug the blade to
ensure it is secure.
Figure 1 Blade Insertion
Instructions
1. Pull the sagittal head forward and away from the
handpiece body; then rotate it to the desired cutting
angle (see figure 2).
NOTE: The sagittal head has eight possible cutting
angle positions (45° increments).
CAUTION:
Before use, the sagittal head must be firmly locked
against the handpiece body to prevent damage to the
instrument. Ensure NO gap exists between the sagittal
head and the handpiece body.
2. Once positioned, gently turn the sagittal head to
ensure that it has snapped into place against the
handpiece body and is locked into position (see
figure 2).
Figure 2 Sagittal Head Positioning
Sagittal Head Positioning
No Gap