COMPONENT INFORMATION
2-20
CONTROLS - MODELS 501R/501F
For access to the controls, use the following proce-
dure:
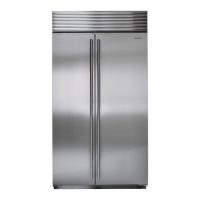
1. Remove the overhead light shield by grasping
the back edge of the shield and pulling for-
ward to release, then drop the front edge out of
the channel. (Figure 2-54).
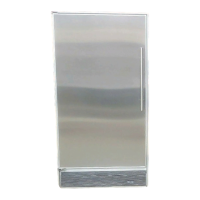
2. Remove the two screws from the fan guard
and lift out (Figure 2-55). Tilt the evaporator
cover out at the top and lift off of the posts at
the bottom.
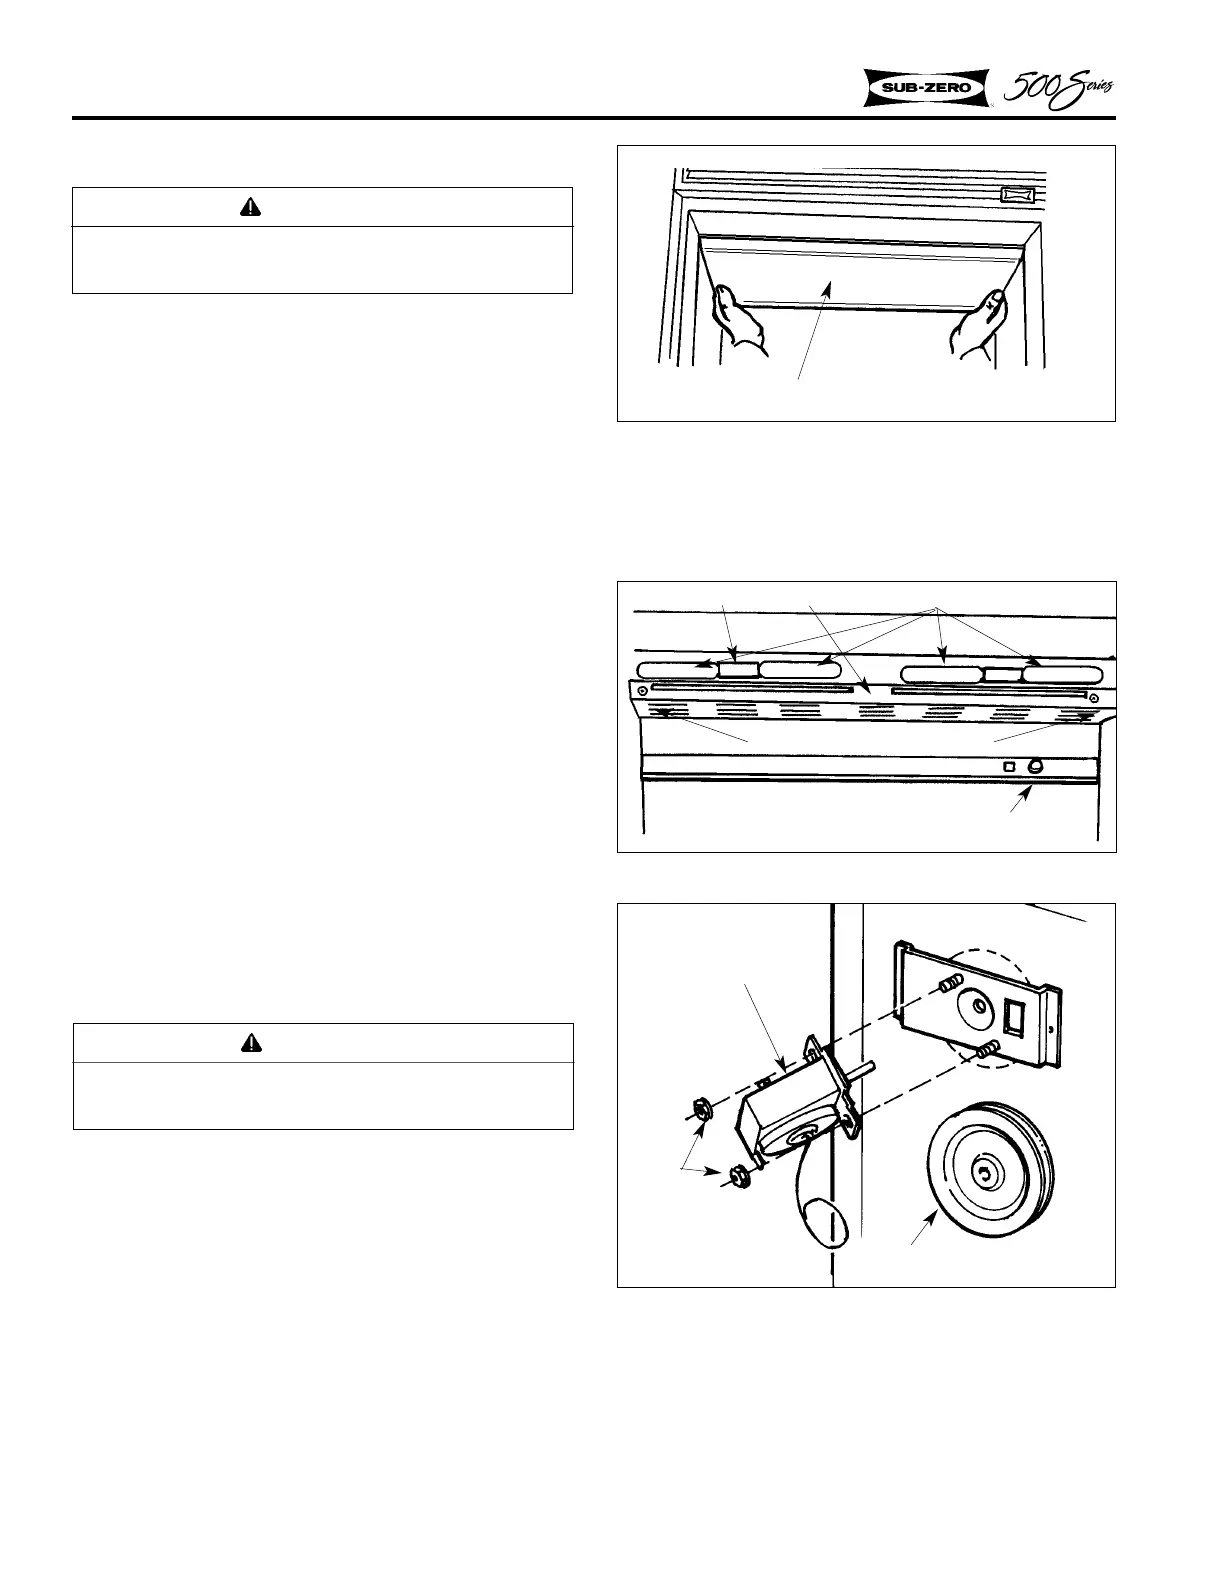
3. The refrigerator control is mounted to the
evaporator cover (Figure 2-56). Remove the
control knob and two nuts. The control will
pull off the mounting bracket.
NOTE: The Model 501F freezer control is mount-
ed as an air sensing coil at back of the evaporator
cover, above the evaporator (Figure 5-58).
NOTE: It is possible to reinstall the control 180
°
in the wrong position. Be sure the control readout
is proper.
CONTROLS - MODELS 511, 550
For access to the controls, use the following proce-
dure:
1. Remove the overhead light shield by grasping
the back edge of the shield and pulling for-
ward to release, then drop the front edge out of
the channel. (Figure 2-54).
2. Remove the two screws from the fan guard
and lift out (Figure 2-55). Tilt the evaporator
cover out at the top and lift off of the posts at
the bottom.
Figure 2-56. Control Assy.
Control
Nuts
Control Indicator Dial
WARNING
Always disconnect electrical power to equip-
ment before attempting repairs.
Figure 2-54. Light Diffuser
WARNING
Always disconnect electrical power to equip-
ment before attempting repairs.
Light Diffuser
Figure 2-55. Fan Guard
Fan Guard
Light Bulb
Screw, #8-15 x 3/4, Truss Head
Light Socket
Control Knob