7-3
Component Access/Removal
7011902 - Revision A - October, 2009
International Integrated
International Integrated
(ICB700 Base)
(ICB700 Base)
Series
Series
EXTERIOR COSMETIC AND MECHANICAL
COMPONENTS
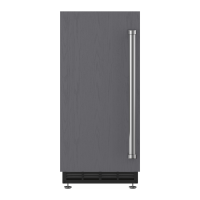
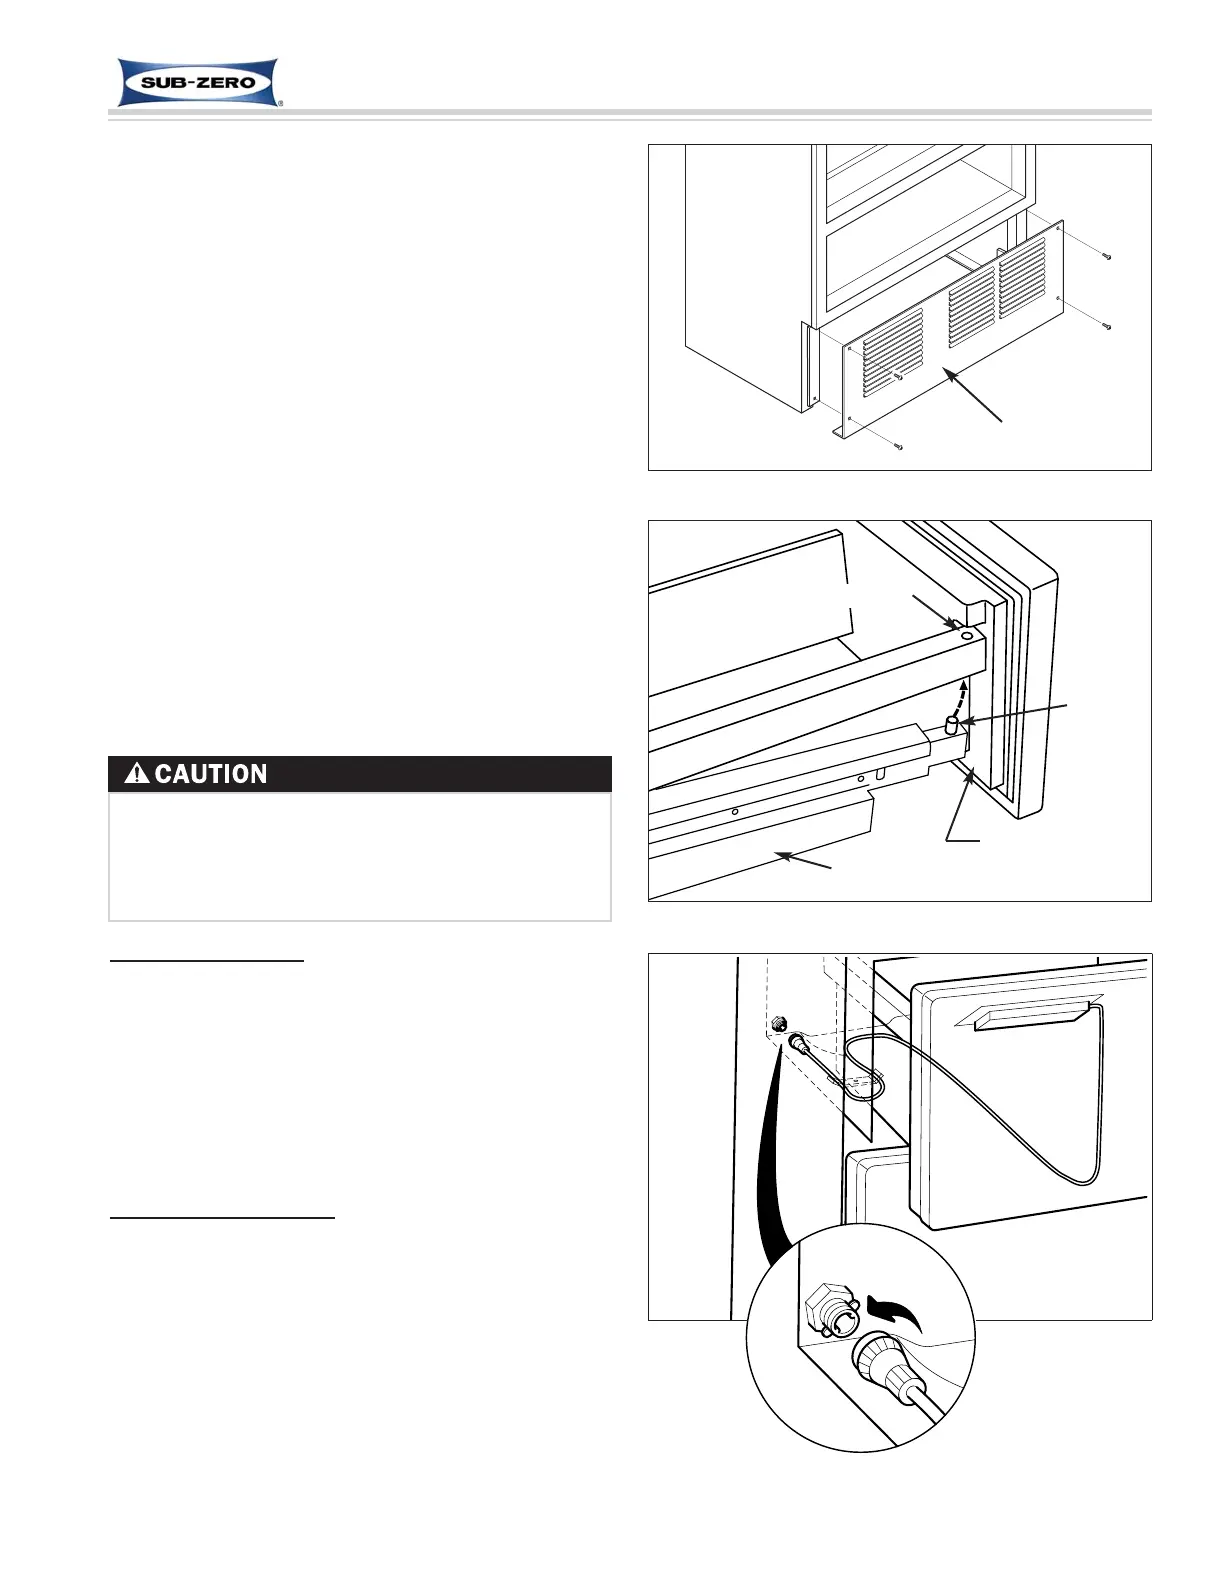
Kickplate/Grille Removal (All Base Units)
The kickplate/grille is attached by four screws passing
through the kickplate into adjustable kickplate brackets.
NOTE: Because drawer panels may extend down in
front of the kickplate/grille, it may be necessary to
remove the bottom drawer to gain access.
To remove the kickplate/grille, extract the four screws
(two on each side), then pull kickplate/grille forward.
(See Figure 7-1)
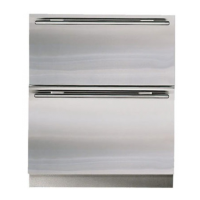
Drawer Assembly Removal (All Base Units)
There are inverted channels on both sides of the draw-
er tubs which rest on telescoping drawer slide assem-
blies. A pin at the front of each drawer slide fits into a
hole in the inverted channel of each drawer tub, holding
the drawer assembly in place. (See Figure 7-2)
Figure 7-1. Kickplate/Grille Removal
Kickplate/Grille
Figure 7-2. Drawer Assembly Removal
Hole in Channel
Pin
Drawer Slide
Drawer Assembly
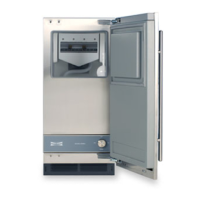
Figure 7-3. Disconnecting Control Cable
Turn collar
counterclockwise
to disconnect
Top drawer has a display wire harness that must be
disconnected during top drawer removal. Failure to
disconnect wire harness could damage wiring or
connections. See top drawer assembly removal
procedure below.
Top Drawer Removal:
1. Pull top drawer assembly open 6 to 10 inches.
2. Lift front of drawer up and off of pins at end of
drawer slides, then push slides back in (See Figure
7-2).
3. Carefully place drawer assembly face down directly
in front of unit.
4. Disconnect control cable at interior left rear of unit
by turning collar on connector counterclockwise and
unplugging pins from socket (See Figure 7-3).
Bottom Drawer Removal:
1. Pull bottom drawer open and lift front up and off of
pins at end of drawer slides (See Figure 7-2).
2. Continue pulling drawer assembly forward and out.
Then, push telescoping drawer slide assemblies
back in.
 Loading...