4
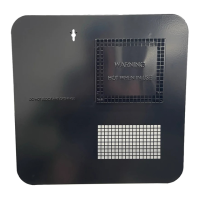
Figure 4
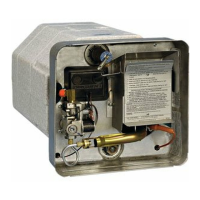
Figure 5
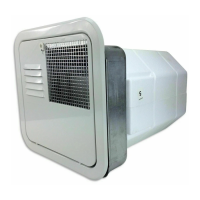
Figure 6
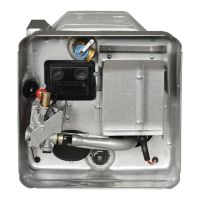
MAKING WATER CONNECTIONS
A. W ater connections are made at the rear of the water heater. Refer to Figure
4. Connect the hot and cold water lines to the 1/2" female pipe fitting provided on
rear of tank. These fittings are marked “HOT” and “COLD”. NOTE: Inside each
fitting is a plastic fill tube. Its purpose is to enhance water circulation. DO NOT
REMOVE PLASTIC FILL TUBE.
IMPORTANT: Use a pipe thread compound suitable for potable water or pipe
thread tape on all connections to assure they will not leak.
B. For ease of removal, it is suggested that a pipe union be installed in each water
line.
C. Fill tank with water. Open both hot and cold water faucets to expel air from
tank. W hen tank is filled and water flows from faucets, close both faucets and
check all connections for leaks.
CAUTION: If you use air pressure to check for leaks, the pressure must not
exceed 30 PSI (in accordance with 4-9.1.1 of ANSI A119.2).
NOTE: After leak testing, drain water from tank.
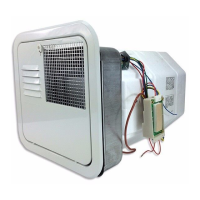
MAKING GAS CONNECTIONS
A. Connect a 3/8" gas supply line to the 3/8 flare fitting at gas valve located in the
control housing. W hen making the gas connection, hold the gas fitting on the
valve with a wrench when tightening the flare nut. Failure to hold fitting secure
could result in a gas leak due to fitting being dam aged. NOTE: It will be necessary
to remove the grommet from the control housing, make the gas connection at the
valve, then reinstall grommet.
WARNING! It is imperative that grommet and gas line through grommet
be caulked air tight. If not tightly sealed, moisture and potential harmful
flue products could vent through opening and into living area of trailer.
(See Figure 5.)
B. Turn on gas and check all fittings and connections for leaks, using a soap and
water solution. Correct even the slightest leak immediately.
WARNING! Do not use an open flame to check for leaks!
MAINTENANCE
WARNING! If the user of this appliance fails to maintain it in the condition
in which it was shipped from the factory or if the appliance is not used
solely for its intended purpose or if appliance is not maintained in
accordance with the instructions in this manual, then the risk of a fire
and/or the production of carbon monoxide exists which can cause
personal injury, property damage or loss of life.
Always verify proper operation after servicing.
WARNING! For your safety, all repairs should be performed by your dealer
or a qualified service person.
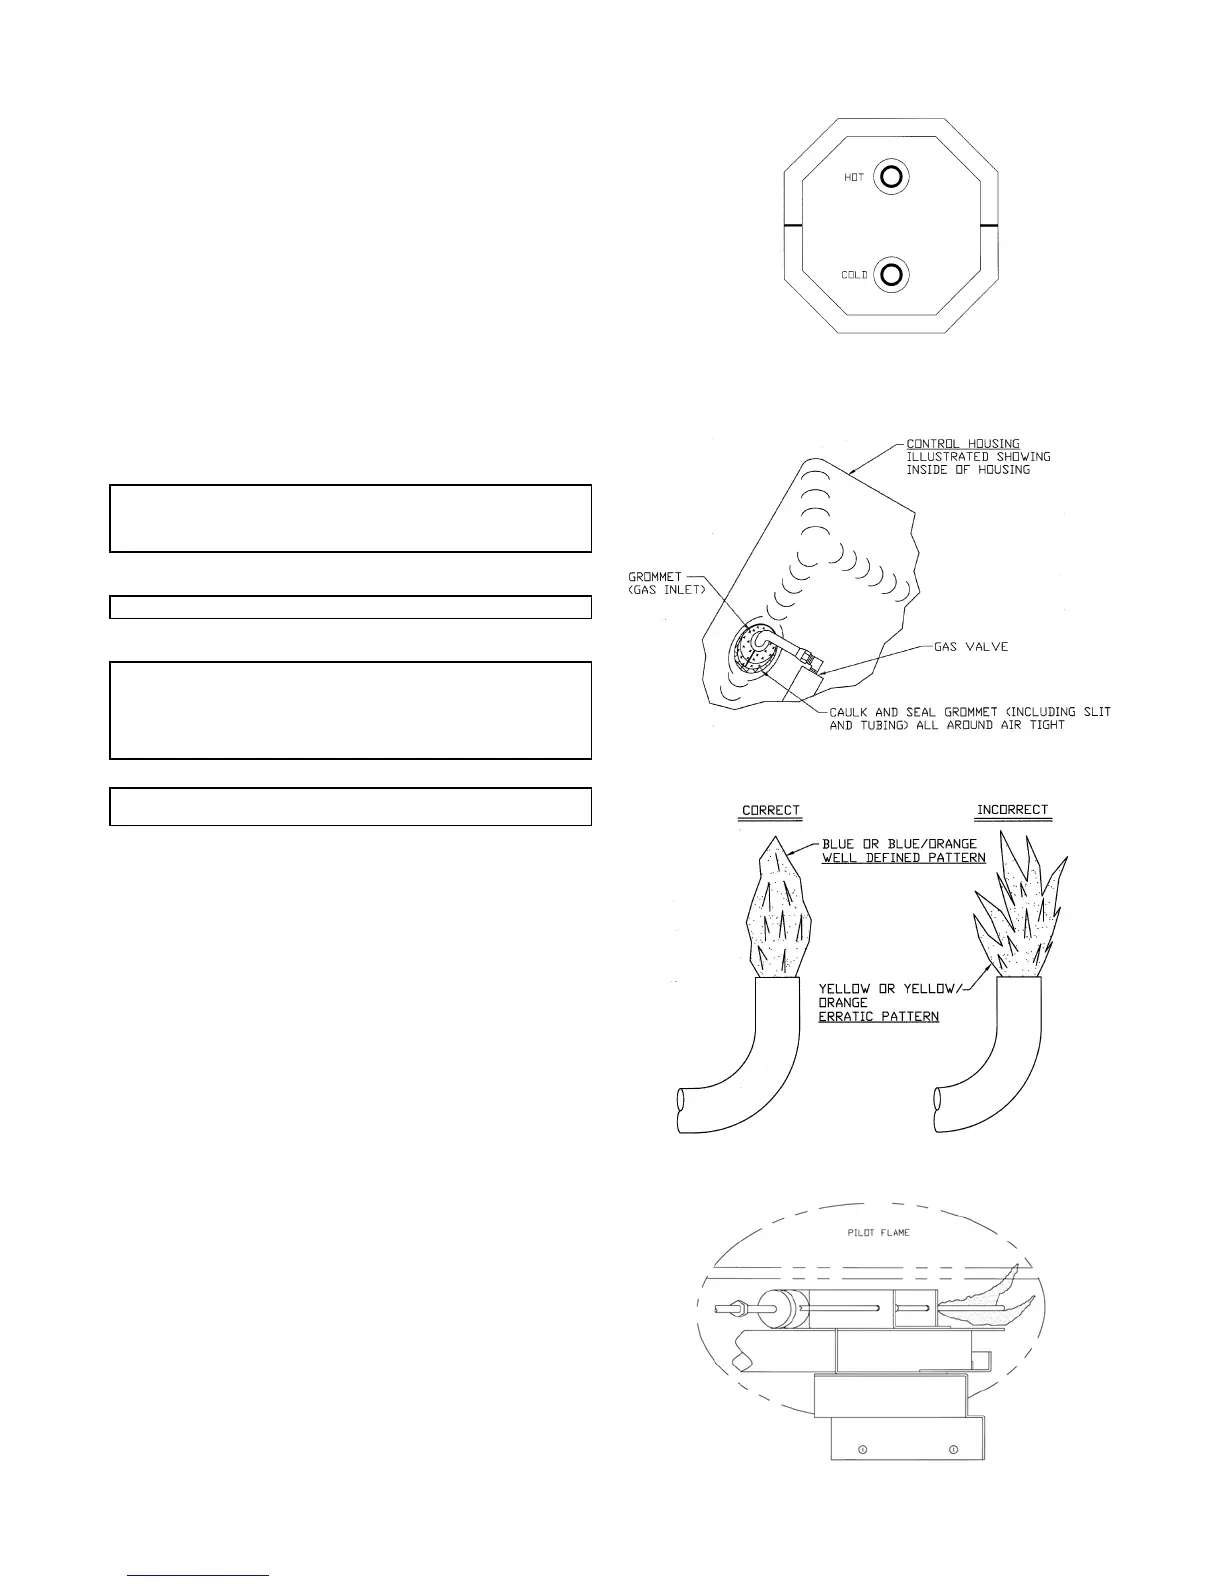
A. Main Burner - Do not allow the burner to burn with a yellow flame, because
sooting will occur. (See safety warnings.) If the burner flame is yellow and has an
erratic pattern, shut unit down and contact a qualified service agency. Do not
continue operating unit with improper burner flame. See Figure 6 for correct and
incorrect burner flame appearance.
B. Pilot Flame - The pilot flame should engulf the tip of the thermocouple as
illustrated in Figure 7. Correct as needed.
C. Periodically inspect unit for soot. If soot is present anywhere on water heater,
immediately shut furnace down and contact your dealer or a qualified service
person. Soot is a sign of incomplete com bustion and must be corrected before
operating water heater. Areas to check would include:
1. Check for an obstruction in burner or the flue box.
2. Check the screen in the door to see that no foreign material has
accumulated to prevent flow of combustion and ventilating air.
3. Check to be sure there no flame present at burner orifice or burner
whenever m ain gas valve is closed. This can be checked by turning the
tem perature dial on the valve all the way to the left (counter clockwise).
4. Check air shutter for proper adjustment.
D. Frequent checks should be made of the grommet on the gas inlet to assure
tight seal. See “Making Gas Connections”.
HIGH ALTITUDE DERATION
Suburban’s water heaters are certified by nationally recognized testing
laboratories for operation without modifications at altitudes up to 4,500 feet.
Operation above this elevation may require derating by 4 percent for every 1,000
feet above sea level. As an example, at 8,000 feet, the water heater should be
derated approximately 32 percent.
If the unit is not properly derated, lack of sufficient oxygen for combustion may
produce improper burner operation. Pilot outage caused by burner lift-off or
sooting from a yellow burner may occur indicating the possibility of carbon
monoxide. You may also notice a lack of efficiency in heating the water because
of incomplete combustion of the burner at these higher altitudes.
Consult with the local gas company, your dealer, an RV service agency or
Suburban Manufacturing Company for proper derating of the unit. Change-out of
the orifice (derating) should be done by the dealer or a qualified service agency.
NOTE: It is important that once the unit has returned to lower elevation (below
4,500 feet) this high altitude deration and pilot adjustments (if equipped) be
reversed for proper operation of the unit.
Figure 7
 Loading...