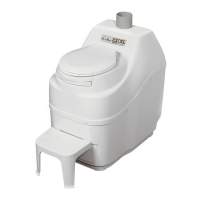
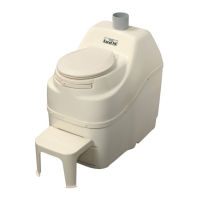
-8-
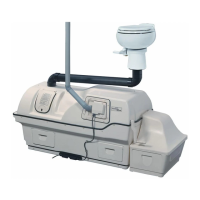
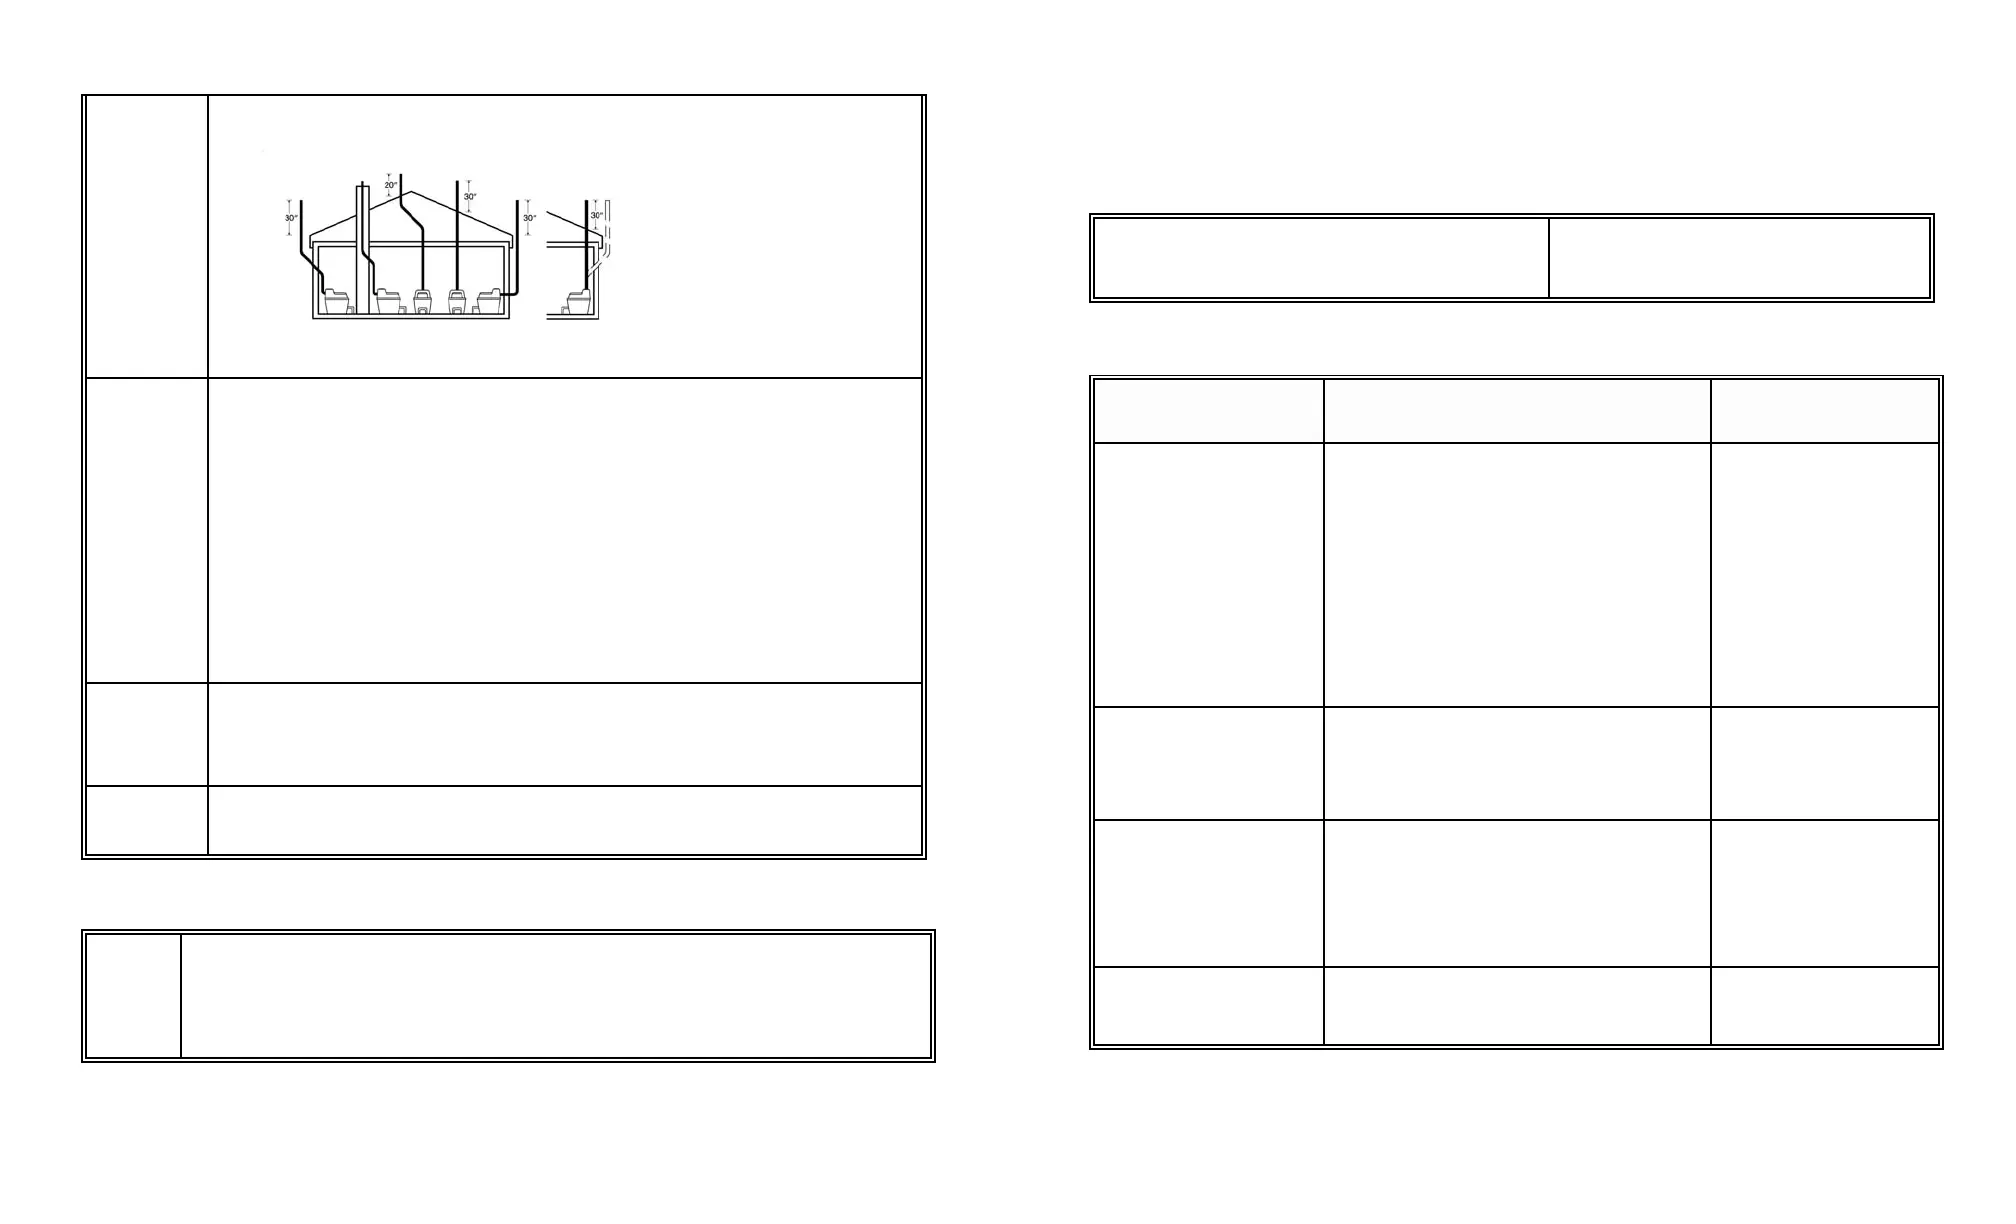
Installing the Vent
Piping
Location
Piping can be installed up the inside wall; through the wall and up the outside wall; or up inside the
wall. The choice depends on ease of installation, visibility, and, (especially if the toilet is to be used
consistently through a cold winter), the need to keep all exposed vent piping insulated
Vent on right is a 4"
non-electric vent. All
others show possible
2" EXCEL vent
configurations.
Piping
Install-
ation
2" pipe and fittings are of standard 2" PVC central vacuum tubing. Additional pipe or fittings are easily
available should you need them. The 4" vent is PVC sewer pipe.
Because each installation is different we make the following general recommendations:-
i) Erect the 4" vent as near to vertical as possible
ii) For the 2" stack, minimise the number of sharp angles because each reduces vent efficiency. Do
not use more than 3 90 degree elbows, and try and use 45 degree elbows wherever possible.
iii) Do not lead the vent pipe downwards at any point because this may lead to the vent pipe being
blocked by condensate.
iv) Use a soft sealant for the connection of the 2" vent stack to the toilet because at some time the
toilet may have to be moved or you may have to access the fan. Also remember that if you are
installing the 12 Volt fan in the 4" vent, or may in the future, you will need to insert it or remove
the 10" section of pipe containing the fan.
v) All exposed 2" vent piping should be insulated with the foam insulation supplied with the
toilet to minimise condensation (especially if winter operation is contemplated). It may also be
useful in some situations to insulate the 4" vent.
Leading
the vent
through
the roof
As shown in the above illustration, the vent stacks should end 2 feet or more above the roof line so that
it is less subject to air turbulence and down draught. Where the piping is taken through the roof, the
roof flashings provided may be used to seal the installation. Where a new roof is being installed, the
roof flashings should be laid underneath the new roofing material.
The
Diffusor
The diffusors provided with the unit are simple devices to be installed at the top of the vent stack. The
diffusor design encourages updraught, and discourages wind and weather from going down the vent
stack. Unlike wind turbines, diffusors do not tend to freeze up in winter.
The Overflow Drain
Access
Port
The 1" overflow drains at the rear of the "EXCEL", exit to both left and right.. If the unit is not always going
to be used in the 110 volt mode, the hose provided should be connected to either the left or right exit of the
drain, and be led to away below the level of the drain to an approved facility. The unused exit of the drain
should be capped. (Hose, hose clamp, and cap are all included with the unit).
If the unit is used in the 110 volt mode, the drain if connected offers protection against heavy loading, or
prolonged electrical outage or failure.
-13-
TROUBLE SHOOTING YOUR COMPOST
Characteristics of a Bad Compost
If your compost is over 8 weeks old and it exhibits one or more of the following characteristics, then
it is'bad'.
Extraction Required Too Often
No Obvious Decomposition
Compost is Lumpy
Compost Muddy or Claylike
Flies Present
Compost has Unpleasant Smell
Improving a Bad Compost
Possible Reasons for
Bad Compost
Required Action
Why?
Too much kitchen/
garden waste added
Insufficient microbes
Too frequent mixing
Insufficient peat moss
Too wet
Too Dry
Insufficient mixing
1 Follow "ANNUAL START UP
PROCEDURE"
then:
2 Carry out "ONGOING TOILET
MAINTENANCE"
(If flies present, the compost is probably
dry. Sprinkle diatomaceous earth both on
compost and outside Bio-drum when
mixing compost. Repeat to catch complete
cycle until flies are gone)
Reverting to “Annual
Start Up” procedure
will provide enough
drum space to improve
the compost.
A good compost is
usually not attractive
to flies.
Strong Antibiotics,
or cleaning
chemicals have got
into the compost.
1 Extract all compost
2 Wash out Bio-drum
3 Begin "INITIAL SYSTEM START
UP."
Compost was dead and
has to be restarted
Capacity Exceeded
1 Reduce usage down to maximum
capacity if possible
2 Follow "ANNUAL START UP",
and then "ONGOING TOILET
MAINTENANCE" procedures.
A SUN-MAR can only
operate beyond rated
capacity for a short
time, and then only
once a good compost
has been established
Mechanical problems
with heating or vent
systems.
See instructions for "MECHANICAL
TROUBLE SHOOTING."
 Loading...