Measurements
1.
Attach the arm cuff to the left arm as described
in Na 2 on page 12.
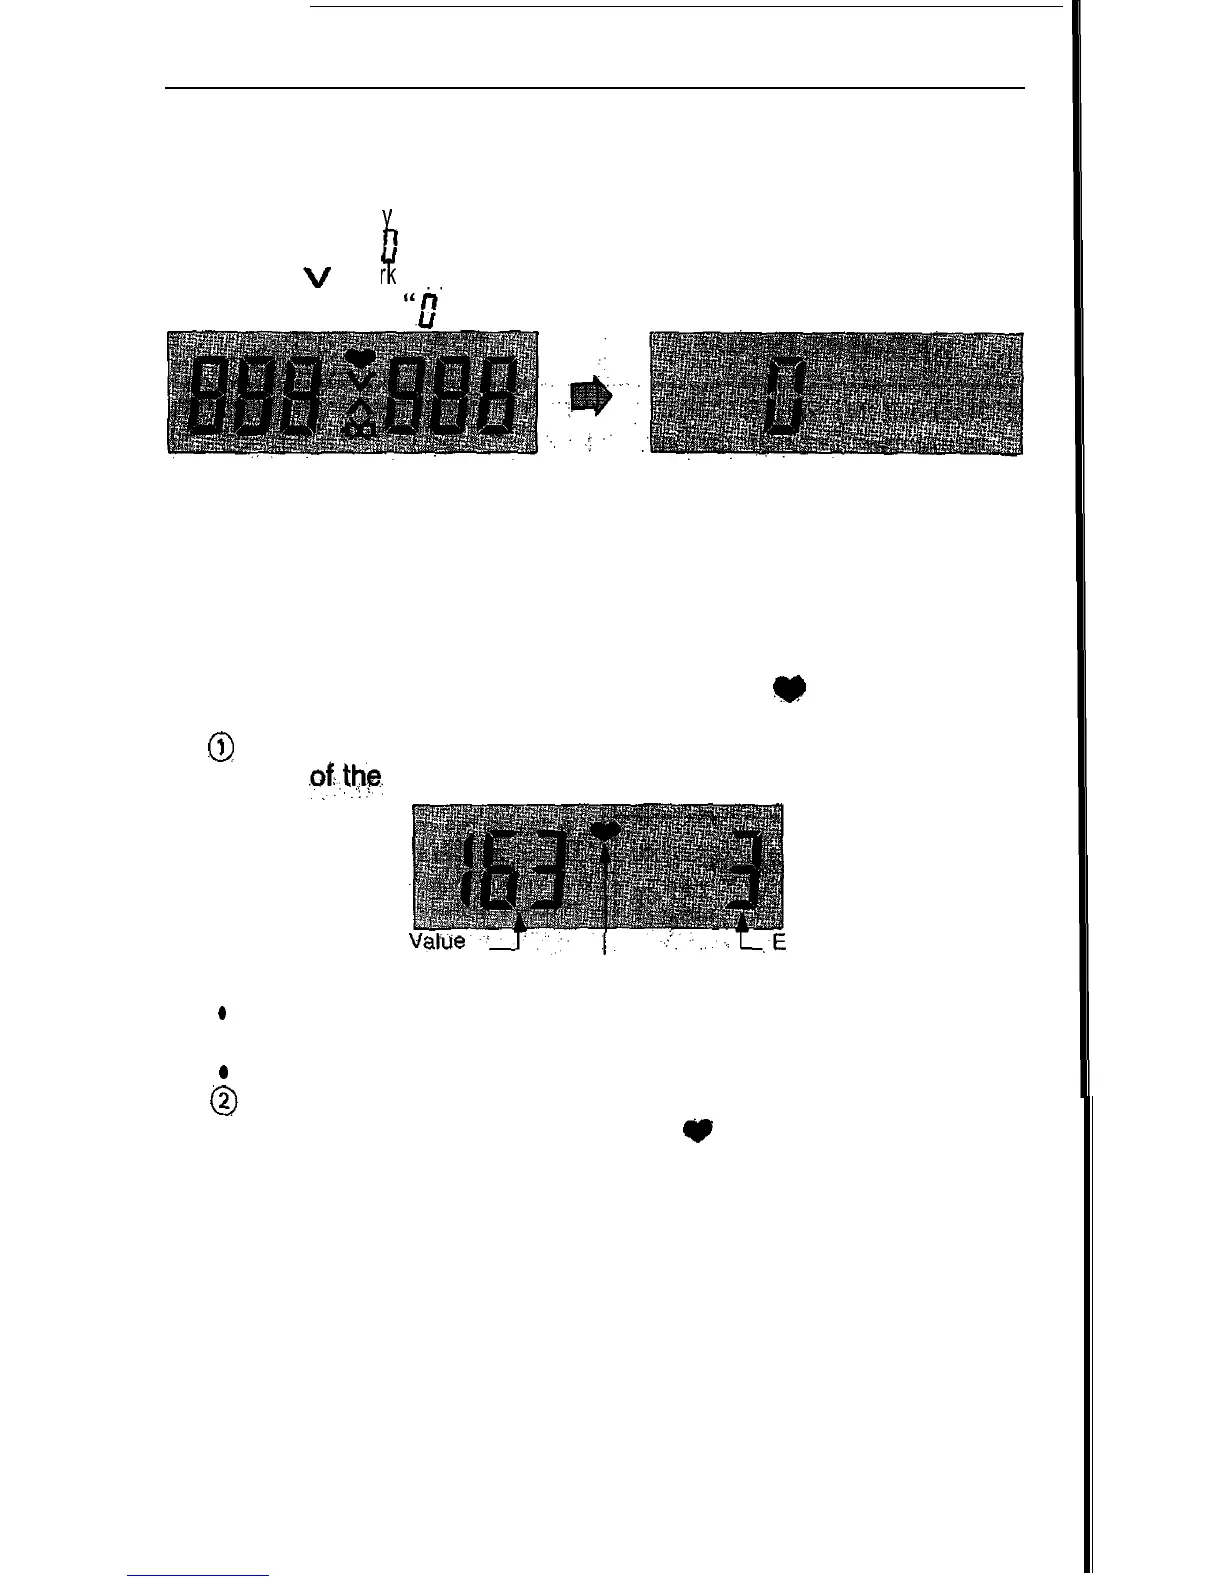
2. Turn Power ON
l When power is turned ON, all display marks appear for
approximate1
1 second.
When the
“
Ii
the
v
Y
"
is displayed the unit is ready for measurement, If
mar appears, release air with the exhaust valve pushbut-
ton until the
“0’
"
appears,
Approx.
1 second
3, Pressurize the arm cuff by pumping the bulb until you have a read-
ing of approximately 30 to 40
mmHg
higher than your usual blood
pressure
range. NOTE: Cuff may become slightly tighter than the cuff
used in a Doctor’s office. A beeper will sound when pressure reaches
160,200, 240 and 280
mmHg.
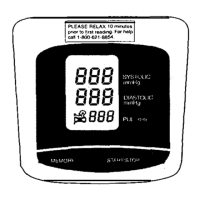
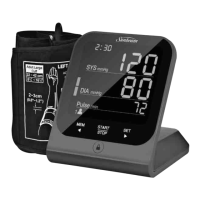
4, When pressurization is completed, the automatic exhaust mechanism
will gradually reduce arm cuff pressure,
and the
@
mark will appear
on the display indicating that measurement
@ Pressure value appearson
is in progress.
the, left, and,
exhaust speed
on the right
side
of the
display.
. .
i
.,.:,
. . . .
. .
Current
Pressure xhaus’t
Speed
(gradually being reduced)
Measurement Mark
e
Accurate measurement cannot be taken when exhaust speed is
outside the 2-5
mmHg
range See page 13.
o
Remain still during measurement.
@
When a pulse is detected, the pressure value moves to the right
side of the display. At this time the
w
mark flashes at the same
14
rate as pulse rate, and the beeper sounds.