SunFounder GalaxyRVR Kit for Arduino, Release 1.0
Throttle widget. And yes, there’s more!
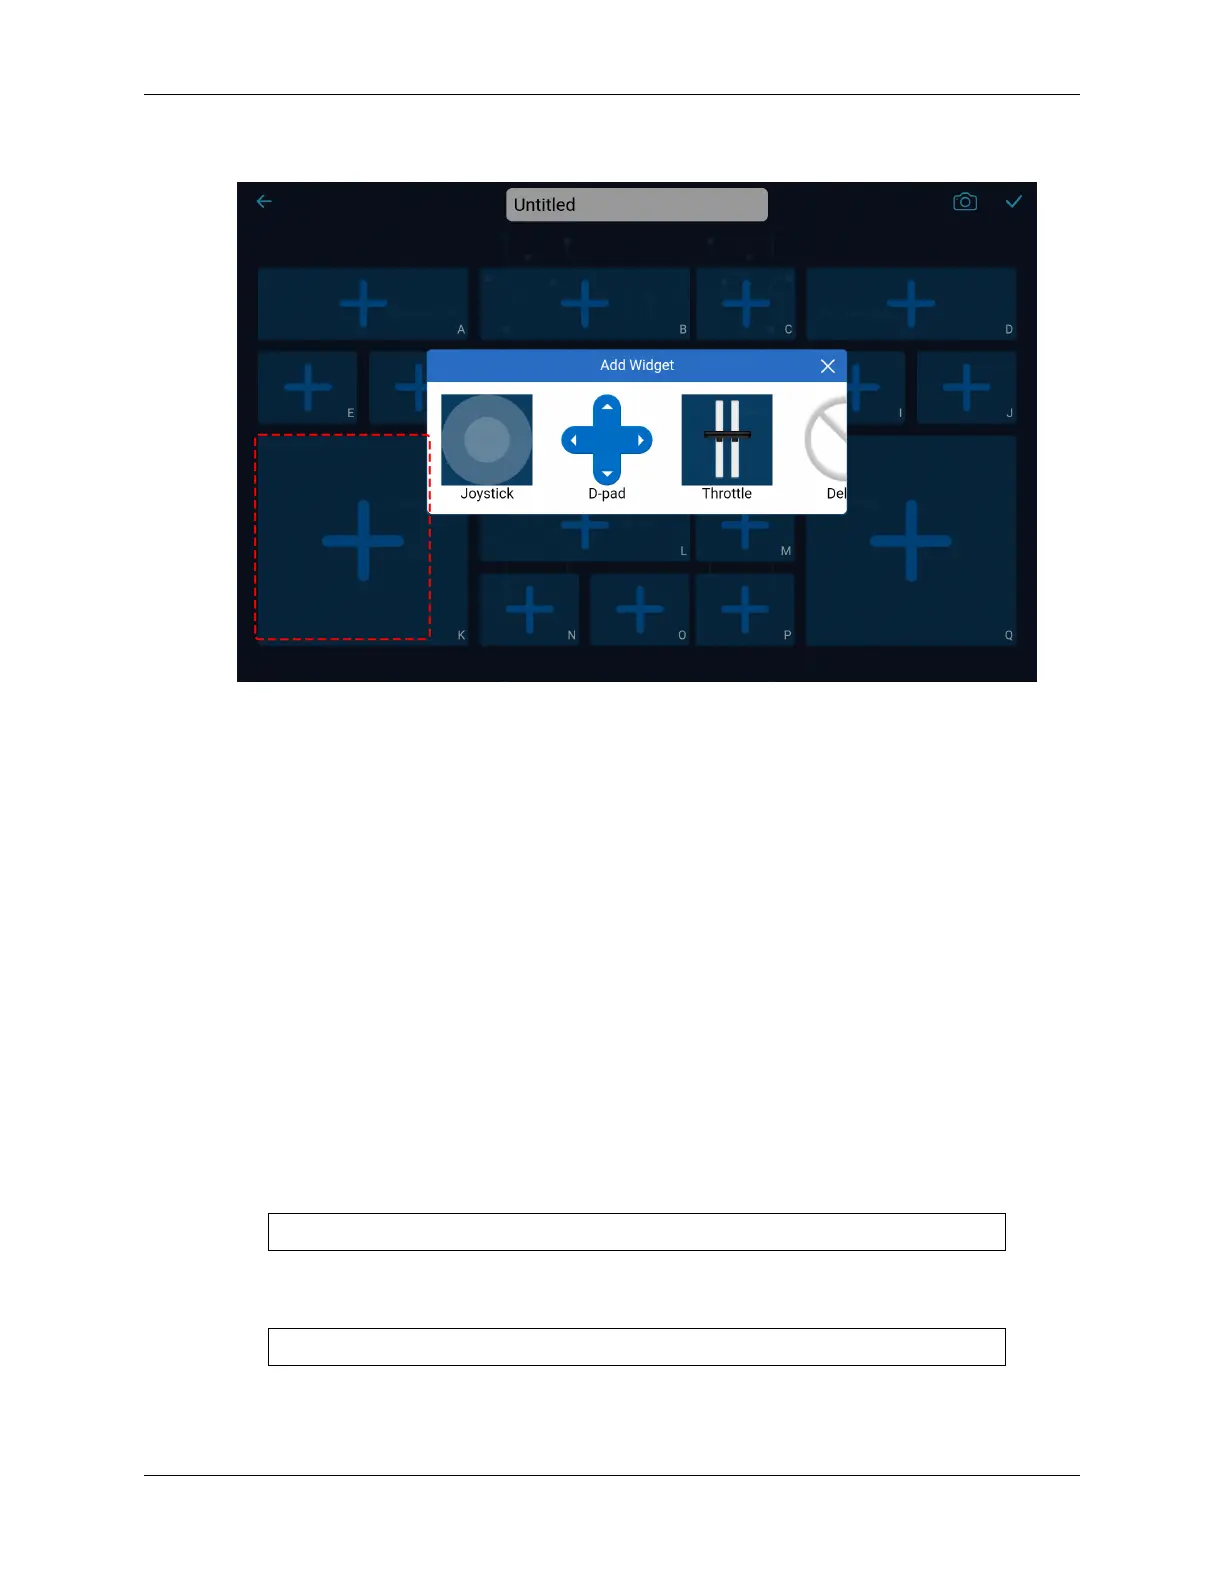
At this point, don’t fret about each widget’s function or usage. Familiarize yourself with what widgets
each shape houses.
• Harnessing the Widgets
Through the content above, we know that there are many different widgets. So what can these widgets
be used for?
We categorize these widgets into two types: control widgets and show widgets.
– Control widgets primarily let you manipulate the app, and then the Mars rover receives these
control commands and performs corresponding actions.
– Show widgets allow you to use them to show some values in the app, such as sensor values, etc.
For a detailed description of these widgets, please refer to: .
Also, for the functions, parameters, etc. related to these widgets, please refer to: .
• The Role of Identifiers
Every shape carries an identifier on the bottom right corner. Why, you ask? Let’s understand this with
an example.
In our last class, we added a Slider widget in the D region. The code to get its value looked something
like this:
int16_t sliderD = aiCam.getSlider(REGION_D);
What if we added a Slider widget in the B region? How would the code change? As simple as
replacing REGION_D with REGION_B.
int16_t sliderD = aiCam.getSlider(REGION_B);
Easy, right? These identifiers help discern which widget you’ve added in which area.
3.12. Lesson 12: Driving the Rover with the App 97
 Loading...