SunFounder GalaxyRVR Kit for Arduino, Release 1.0
– Six of these special pins can even send messages in a kind of secret code called PWM (Pulse Width Mod-
ulation). This code can be used to control how bright a light is, how fast a motor spins, or even where a
moving part positions itself.
• 6 Analog Pins: These pins are like the board’s six special senses. They can read signals from different types of
sensors (like a temperature sensor) and then translate these signals into a language that the board can understand
and use in its programming.
• USB Connection: This is like the board’s umbilical cord. You can use it to connect your board to your computer.
This connection allows your computer to “teach” the board what to do by sending it a program you write.
• Power Jack: This is the board’s food supply. You can connect a power supply, like a battery or an AC-to-DC
adapter, to this jack to “feed” your board the electricity it needs to work.
• ICSP Header: This is like a special entrance for programming the board. It can be used if you have an external
programmer (a special device for “teaching” the board).
• Reset Button: If you press it, it’s like telling the board to forget what it was just doing and start its program over
from the beginning.
With these basics, you’ll be all set to begin your programming adventures with the SunFounder R3 board!
Step 3: Install Arduino IDE
Now that we understand what Arduino and the Arduino board are, it’s time to start putting that knowledge to use. We’re
going to install the Arduino IDE, which is the software we’ll use to program our Arduino board.
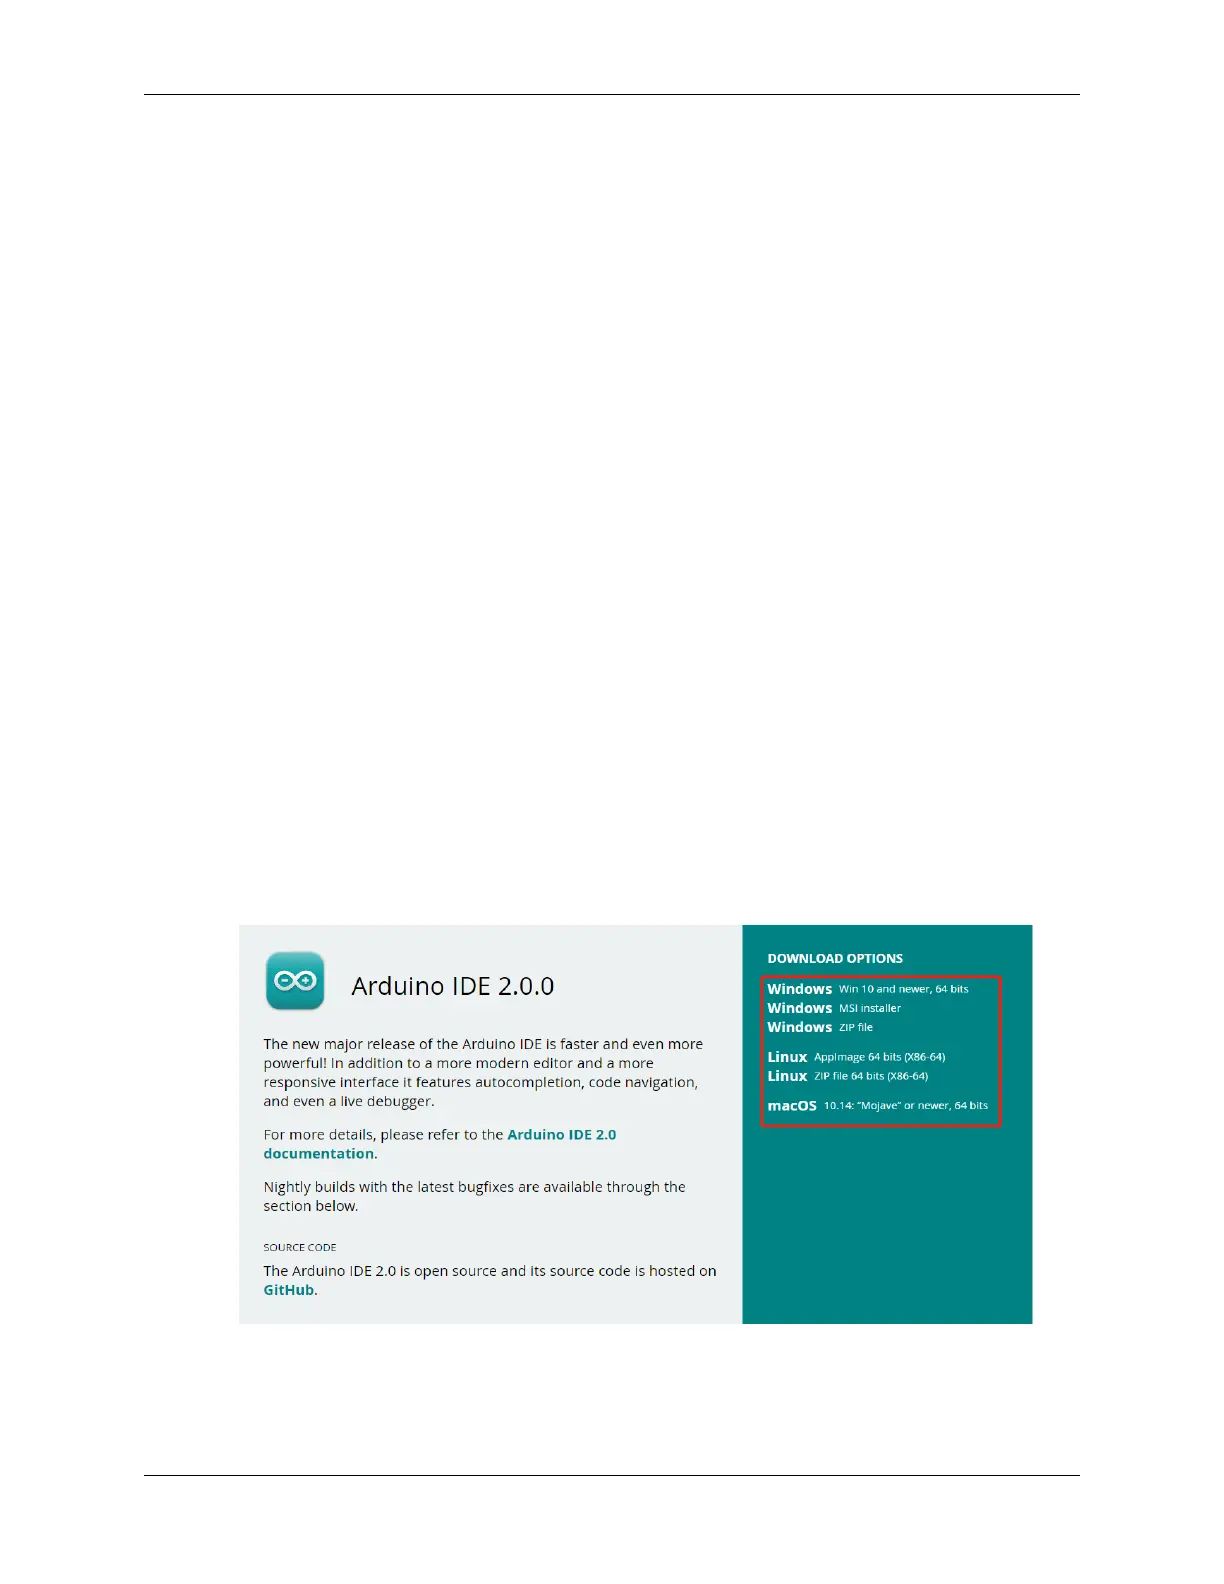
The latest version of the Arduino IDE is version 2.0. It’s packed with features and is super user-friendly. However, you
should know that it does have some system requirements:
• Windows - Win 10 and newer, 64 bits
• Linux - 64 bits
• Mac OS X - Version 10.14: “Mojave” or newer, 64 bits
To get started, follow these steps:
1. Vist and download the IDE for your OS version.
For Windows users:
1. Once you’ve downloaded the file (it will be called something like arduino-ide_xxxx.exe), double-click it to
start the installation process.
3.3. Lesson 3: Entering the World of Arduino and Coding 25
 Loading...