SunFounder GalaxyRVR Kit for Arduino, Release 1.0
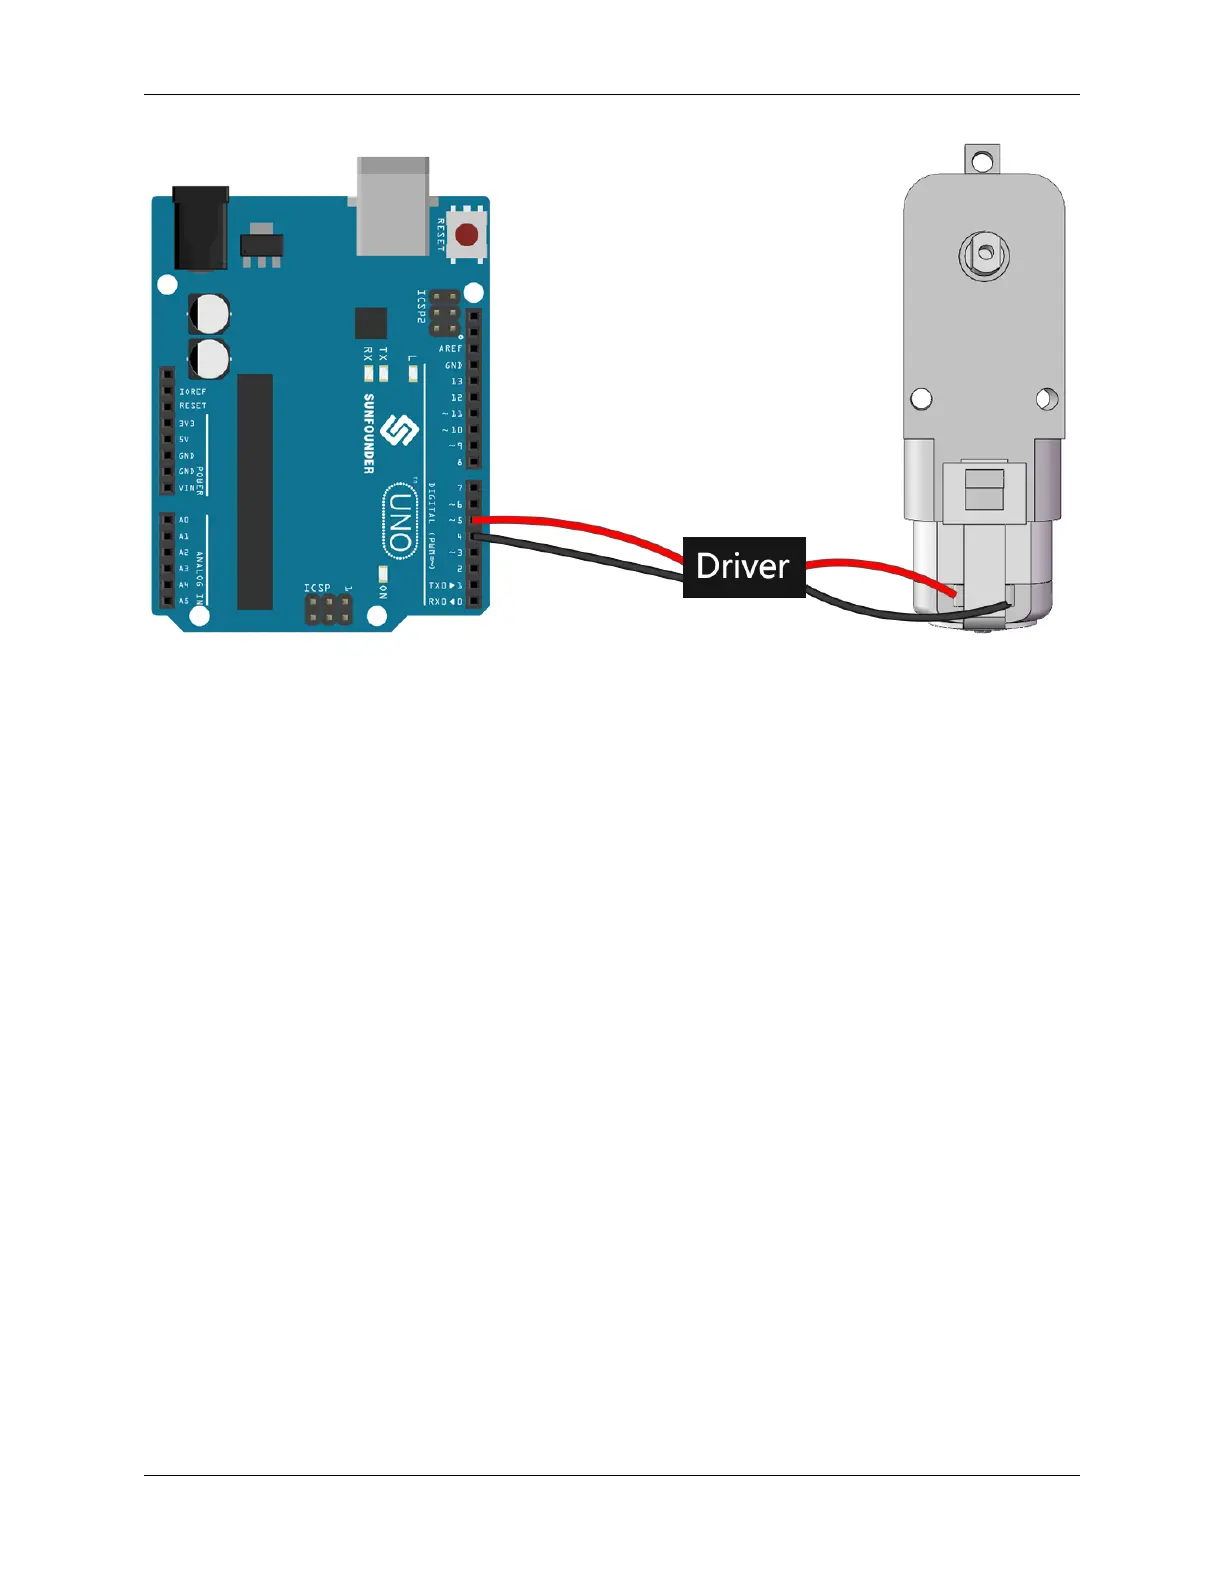
In our next step, we’ll dive into the specifics of the motor driver and understand how we can effectively use it with our
Arduino board to control a motor. Stay tuned for more exciting learning!
Step 3: How the Motor is controlled by the Motor Driver
Our GalaxyRVR Shield, included in the kit, serves as the control center for our Mars Rover. It is the hub where we
connect all our sensors, motors, and power supply. It consists of several components that allow us to control and power
our Rover effectively.
On the right side of the shield, you’ll notice six motor ports. However, they are grouped into two sets, each controlled
by a separate motor drive chip. Three ports marked “Left” are controlled by one chip, and the other three ports marked
“Right” are controlled by another.
3.4. Lesson 4: Mastering the TT Motor 37
 Loading...