SunFounder GalaxyRVR Kit for Arduino, Release 1.0
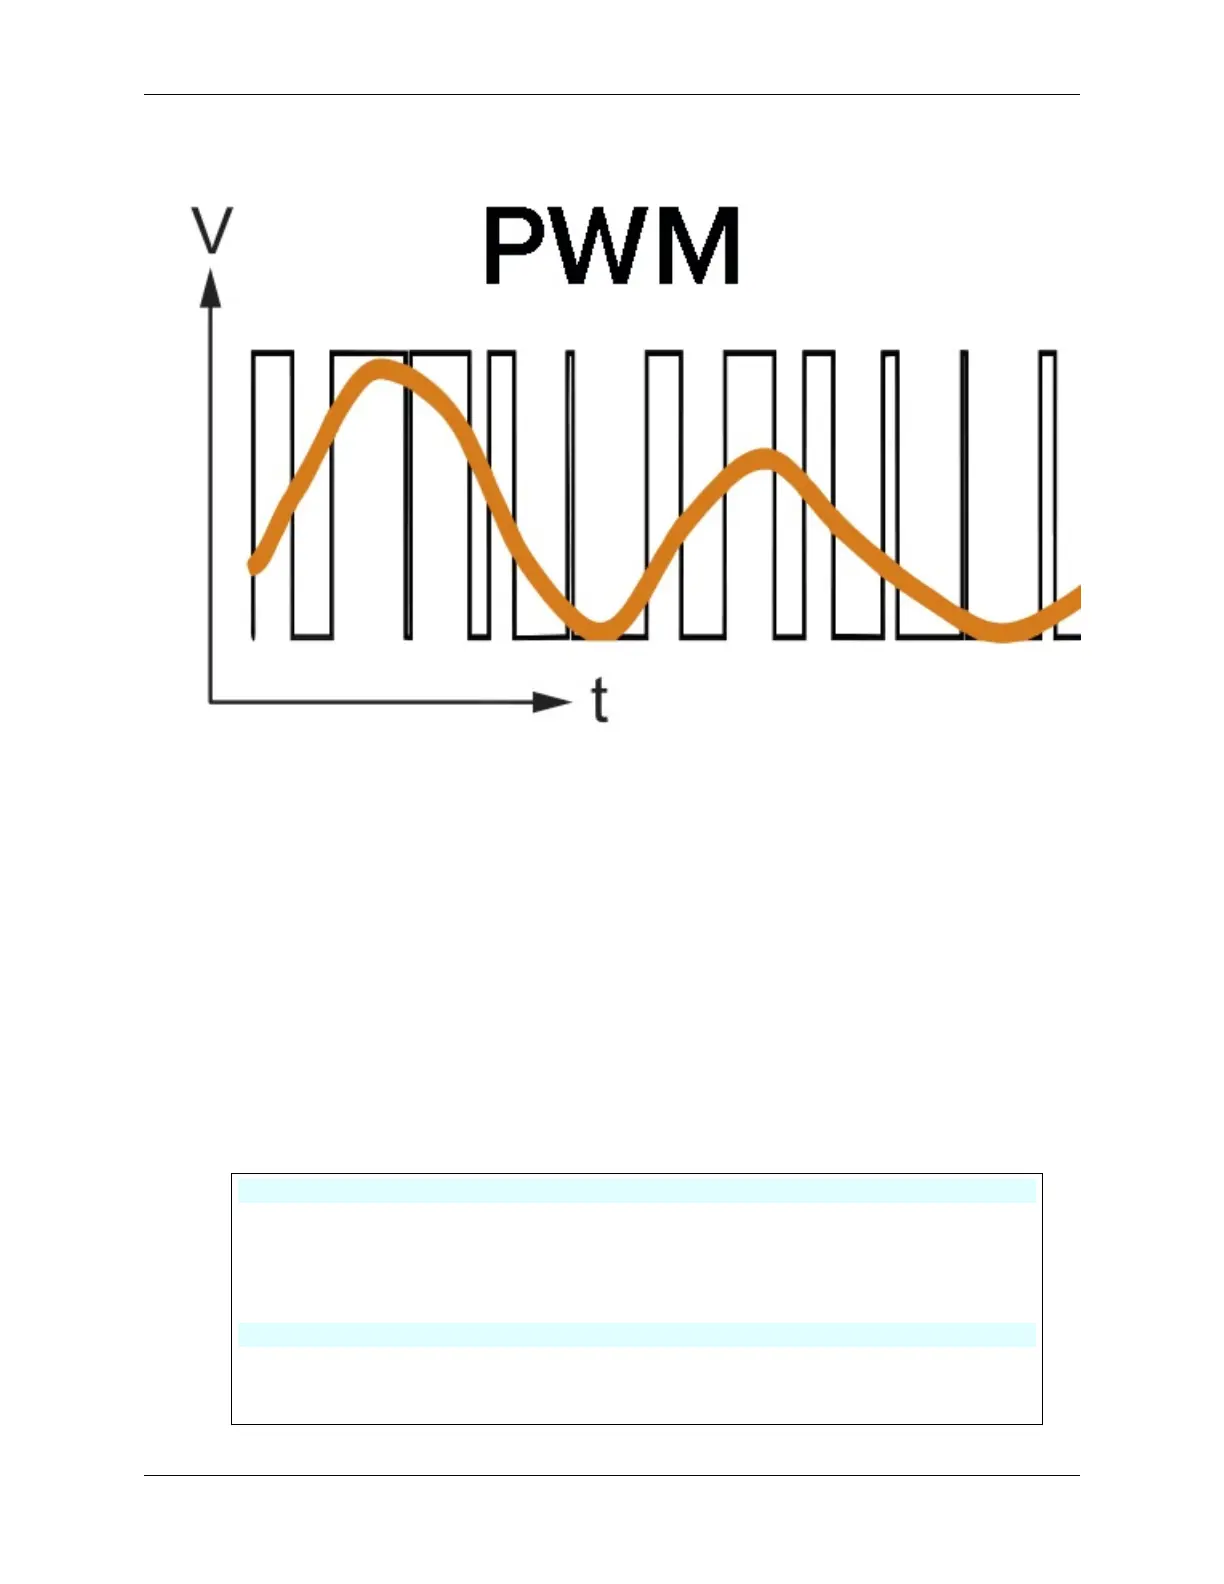
PWM is a technique used to create the effect of variable voltage output by rapidly switching the output between HIGH
and LOW. With PWM, we can simulate the effect of an analogue signal while only actually outputting digital signals.
You might be finding this hard to understand, and that’s okay! We’ll be learning how to adjust motor speed using PWM
through coding in the following sections.
Note that although the SunFounder R3 board has some pins with built-in PWM functionality, we can’t use them for our
motor because they’re already serving other functions. Thus, we’re connecting the driver chips to pins 2, 3, 4, and 5,
and using the Arduino’s SoftPWM library to enable PWM on these pins.
Here’s what we’ll do next:
1. Open Arduino IDE, search for softpwm in the LIBRARY MANAGER and install it.
2. Enter the following code into Arduino IDE. After uploading the code successfully, the motor will rotate clock-
wise.
#include <SoftPWM.h>
const int in1 = 2;
const int in2 = 3;
void setup() {
SoftPWMBegin();
}
void loop() {
(continues on next page)
42 Chapter 3. Course Mode
 Loading...