TS7-Pro 7-inch Touch Screen
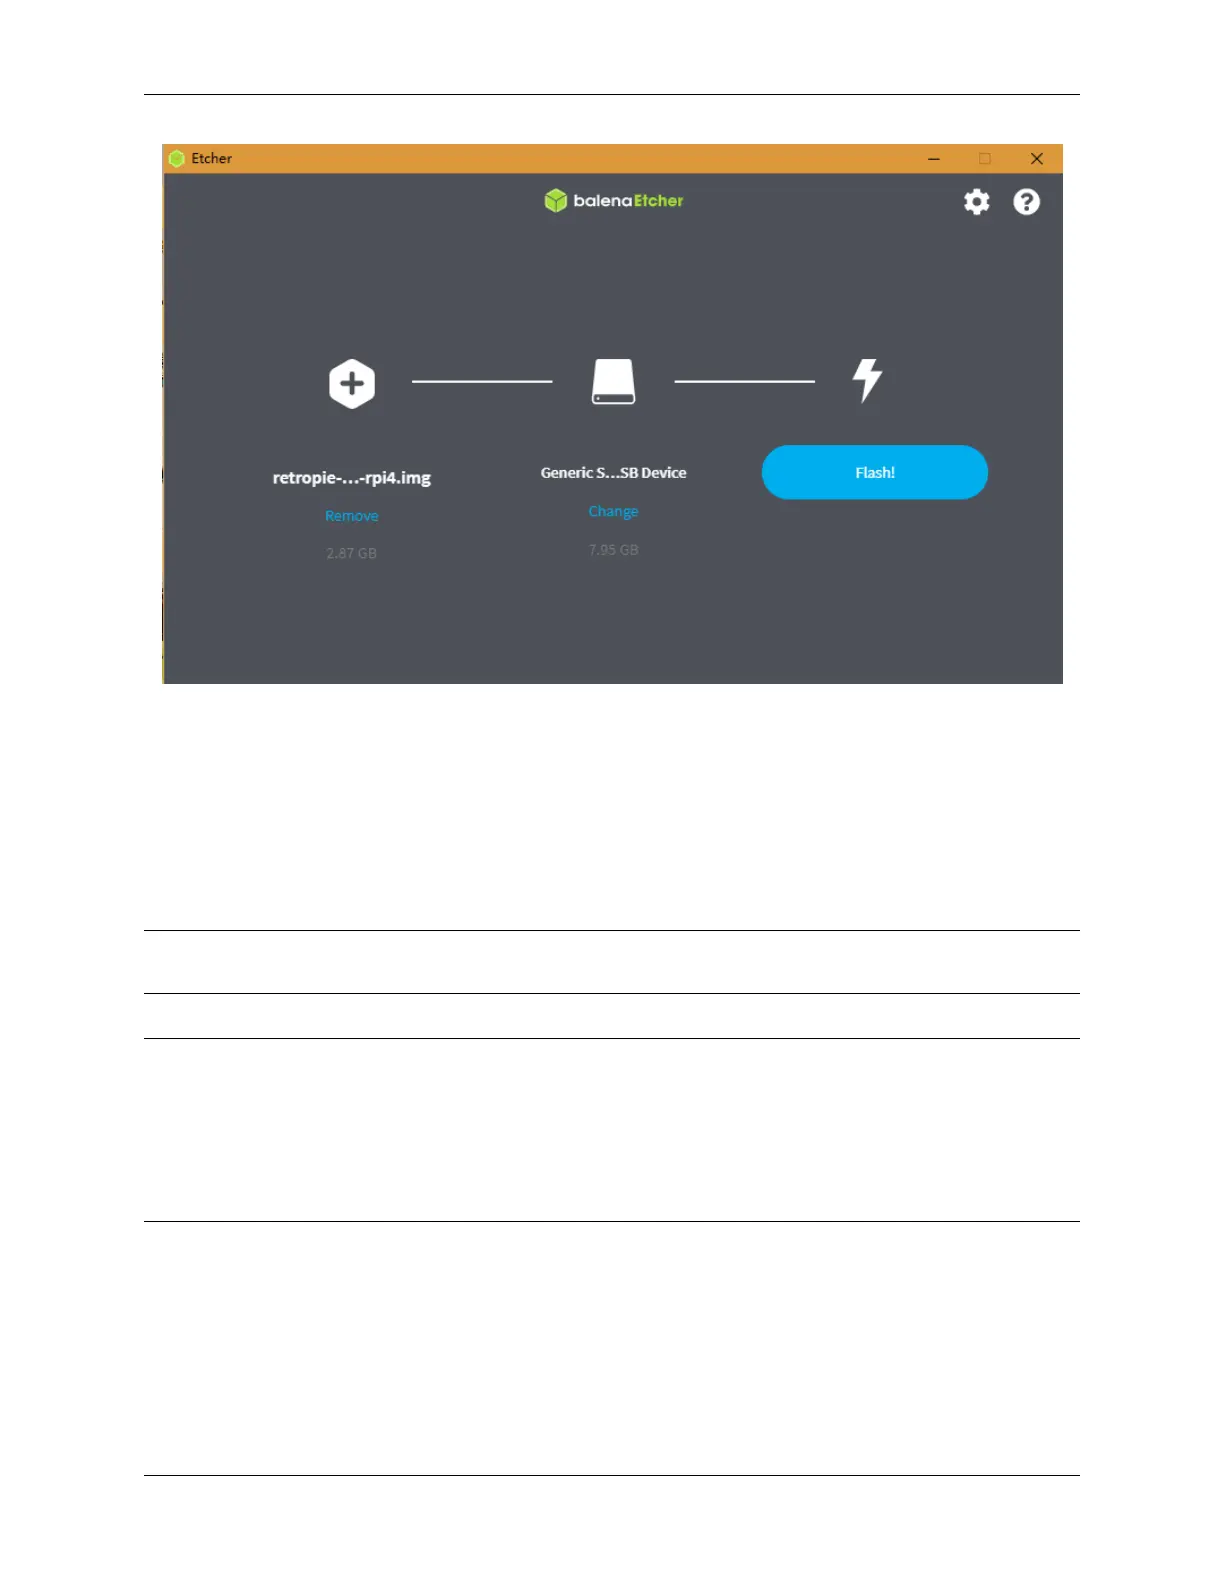
Step 4: Insert the micro-SD card into the Raspberry Pi, and press the power button to boot up the system.
5.2.4 RetroPie Configuration
After the Raspberry Pi boots up, the Controller and WiFi settings should be configured, as well as transferring game
ROMs. A keyboard and a gamepad are needed when doing these steps.
The detailed steps are shown in the video:
Note: The display for the video is not a 7inch Touch Screen, it’s another one of our products, but the configuration
method is the same on the RetroPie.
Note:
1. You can also go to RetroPie official website to detailed tutorial: RetroPie Docs.
2. RetroPie allows you to turn your Raspberry Pi or PC into a retro-gaming machine. But because of the na-
ture/complexity of copyright/intellectual property law (country-specific), RetroPie doesn’t provide ROMs for
games. If you want to get them, you can download from the forum or Google to find the sources, then place one
ROM under the directory of RetroPie emluator.
Below is an example using the ROM of Super Mario 3.
66 Chapter 5. PROJECTS AND ACTIVITIES