3
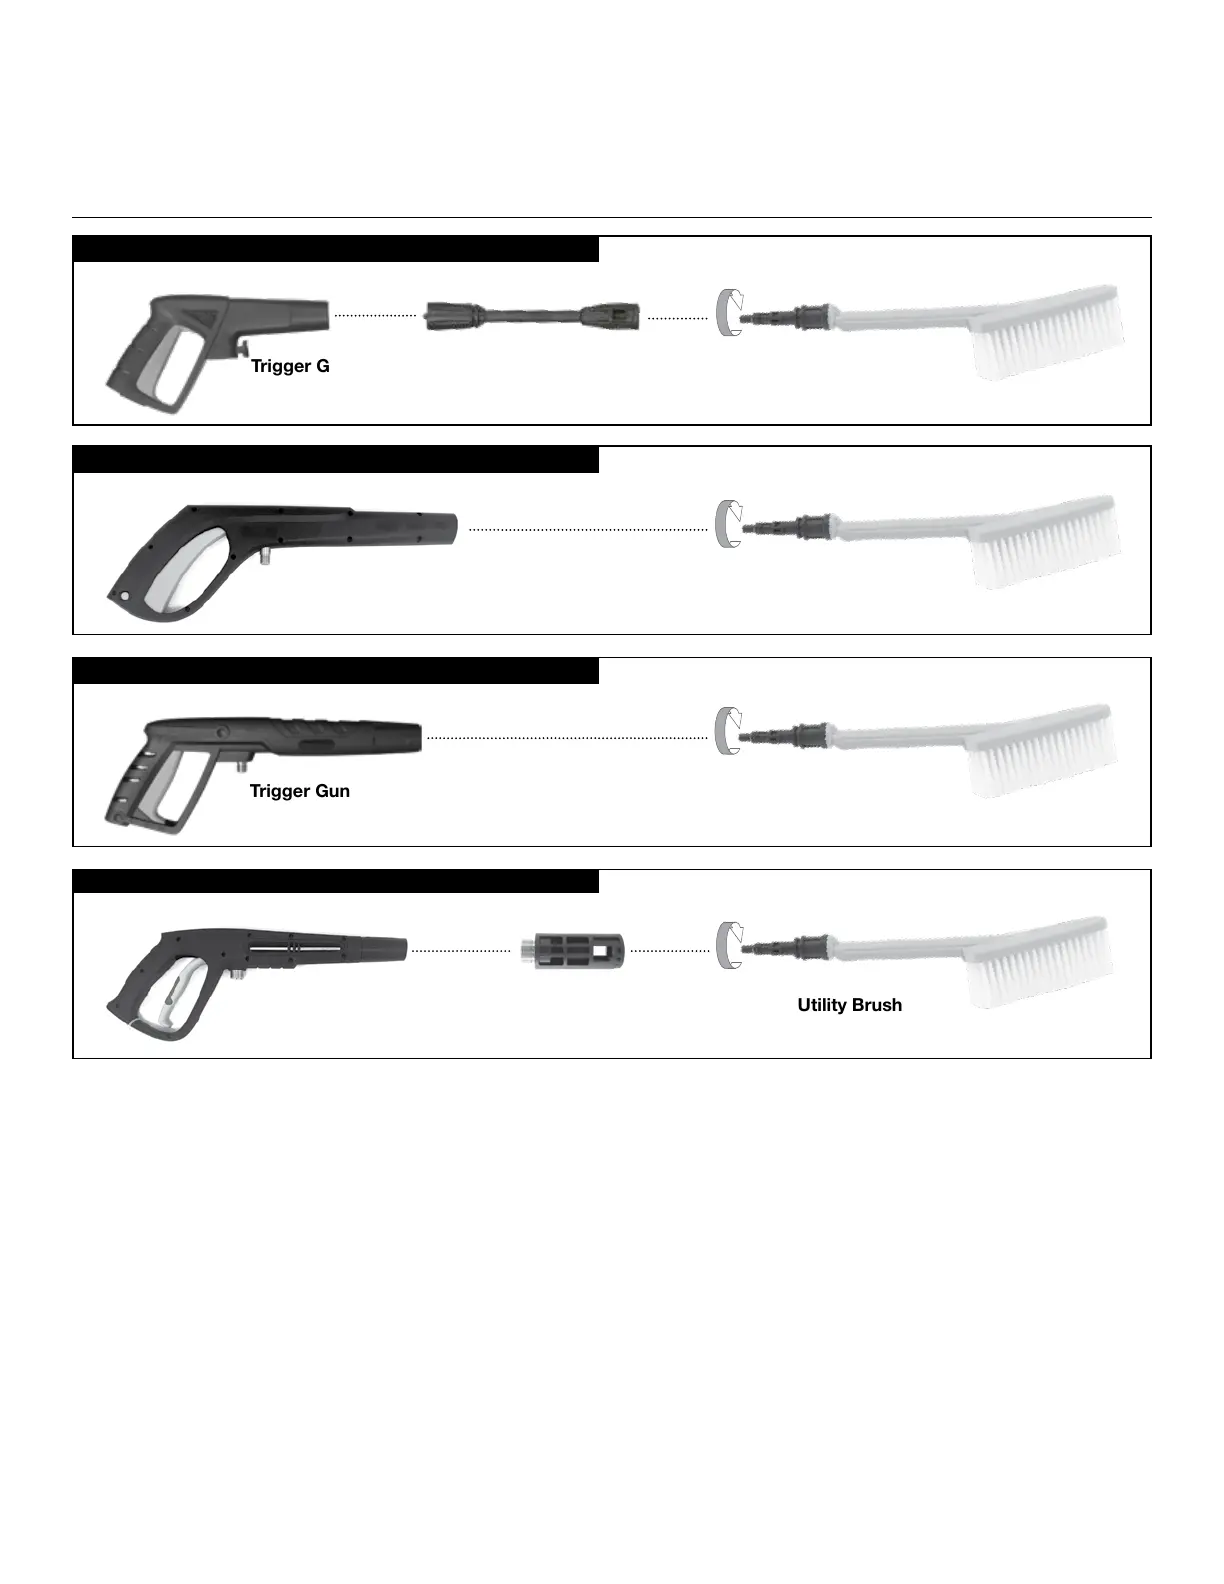
SPX2000, SPX2500, SPX2600, SPX4003, SPX4003-ULT
Trigger Gun
Utility Brush
Trigger Gun Utility BrushMetal Gun Transfer Adapter
Most SPX3000 Series + Most SPX4000 Series
SPX200/SPX1000 Series
Trigger Gun Middle Wand Utility Brush
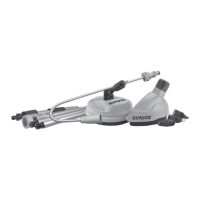
UTILITY BRISTLE BRUSH
ASSEMBLY QUICK GUIDE
NOTE: Below instructions are only for connecting with SUN JOE
®
Pressure Washers. For connecting with other brands’ pressure washers, use
corresponding transfer adapter. Check page 2 for details.
Most SPX2000 Series + SPX4003-ELT, SPX7001E
Trigger Gun Utility Brush
FOR USE WITH SPX200/SPX1000 SERIES:
1. Disconnect your spray wand assembly so that only the middle wand remains attached to your trigger gun.
2. Take the utility brush and align the with the middle wand.
3. Once aligned, push the utility brush into the middle wand and twist to lock into place (follow the arrow in the image).
FOR USE WITH SPX3000 Series + Most SPX4000 Series
1. If not already done, detach your spray wand from your trigger gun.
2. Attach the transfer adapter to your trigger gun.
3. Take the utility brush and align with the transfer adapter.
4. Once aligned, push the utility brush into the transfer adapter, and twist to lock into place (follow the arrow in the image).
FOR USE WITH MOST SPX2000 SERIES + SPX4003-ELT, SPX7001E
1. If not already done, detach your spray wand from your trigger gun.
2. Take the utility brush and align it with the inside of the trigger gun.
3. Once aligned, push the utility brush into the trigger gun, and twist to lock into place (follow the arrow in the image).
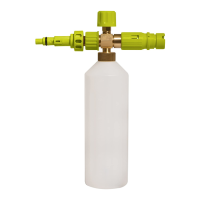
FOR USE WITH SPX2000, SPX2500, SPX2600, SPX4003, SPX4003-ULT
1. If not already done, detach your spray wand from your trigger gun.
2. Take the utility brush and align with the inside of the trigger gun.
3. Once aligned, push the utility brush into the trigger gun, and twist to lock into place (follow the arrow in the image).

 Loading...