6
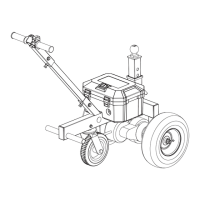
10. After the wire connection, locked the
battery box, sealed by the plug,
installation finished. (See Figure 10)
BEFORE USE
1. Check the power dolly and make sure all bolts had been
well screwed and the hitch ball mount can be locked.
2. Check all the wheels to make sure they are keep in well
working status, be sure the tire pressure are among
30±2psi(2.1±0.1kg/cm2)
3. Check the battery volume and make sure the switch are
workable.
4. Start the dolly before loading onto the trailer and check
the dolly can forward and reverse freely
5. Make sure the trailer weight no more than 1620kgs/3600Lb
and tongue weight under 270kgs/600Lb
6. Please use this dolly on flat road only. For your safety purpose,
do not use it on the slop over 4 degree. No brake installed so
do not use on the minus grade.
OPERATION
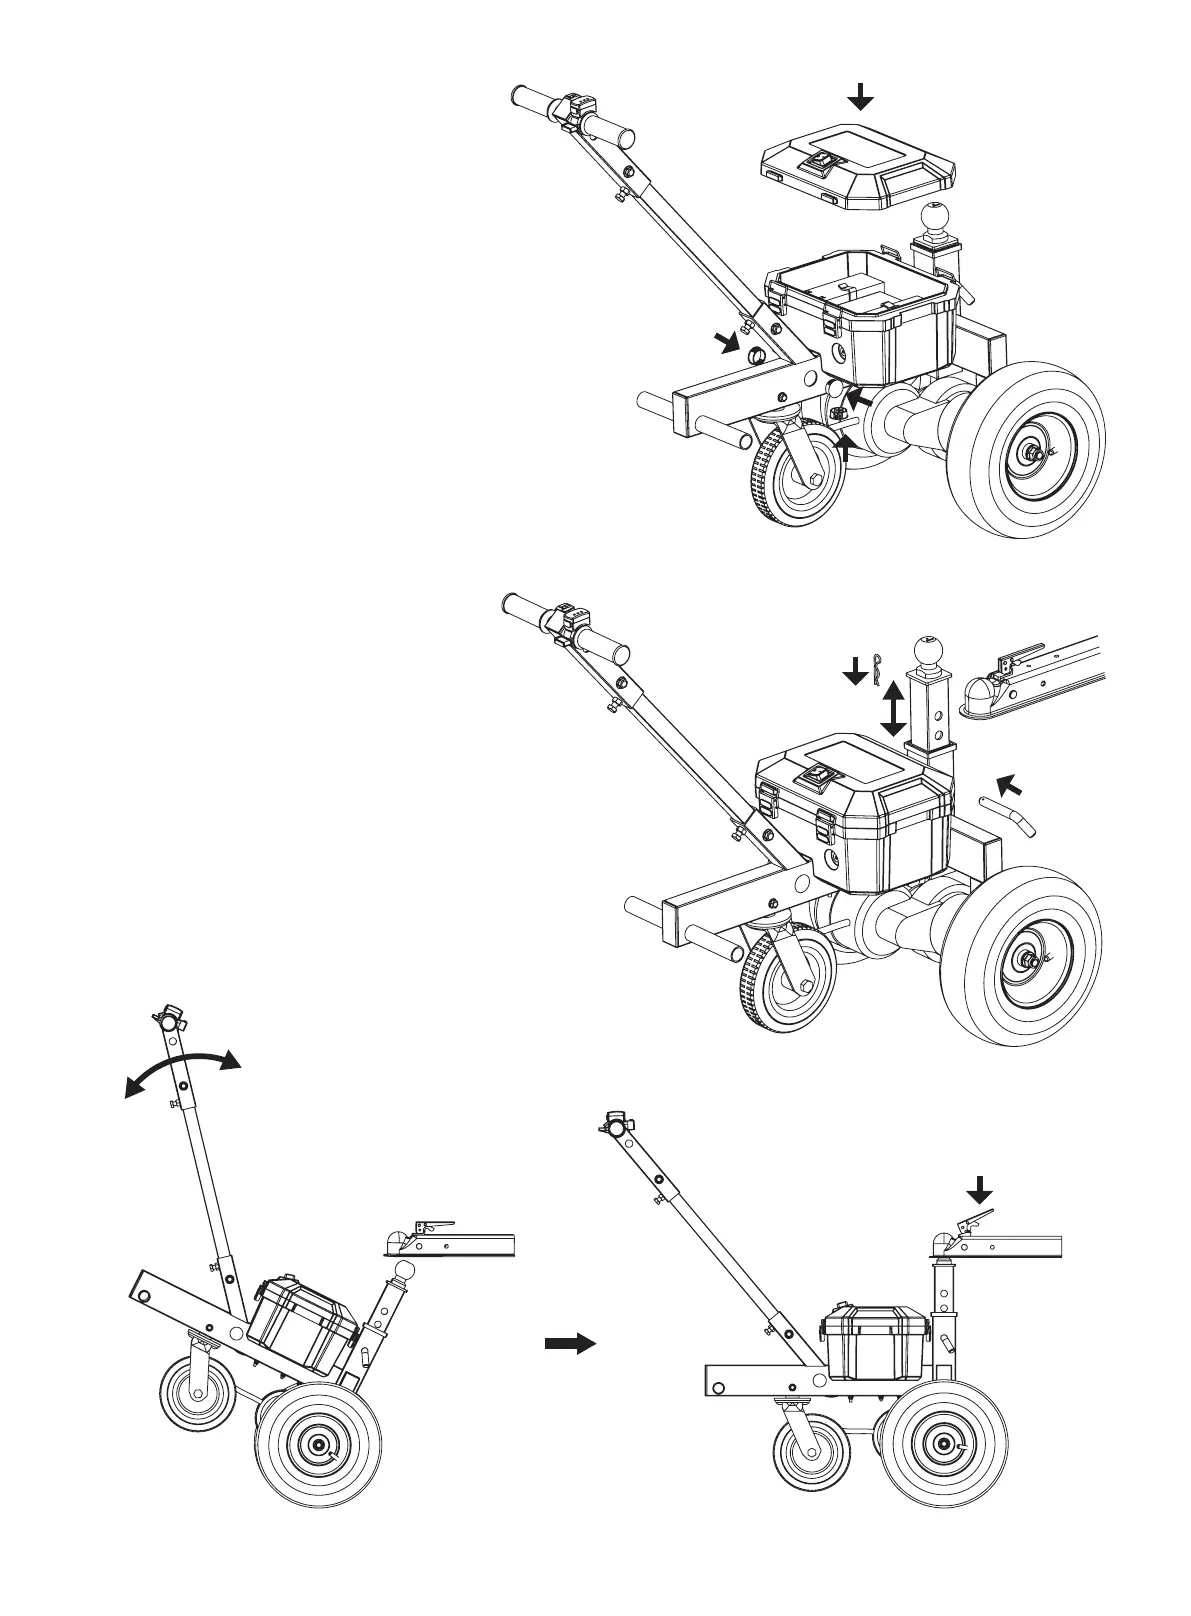
1. Move the dolly close to the trailer weld spots, adjust
the ball hitch mount in correct height. Normally leave
the hitch ball 100-200mm over the weld spots, locked
the hitch ball mount by latch and pin. (See Figure 11)
2. Hold the assembled Ball Mount underneath the hitch.
With the Weld Spots in the correct position, insert
the Ball into the Hitch and lock it as normal.
(See Figure 12)
Figure 10
Figure 11
Figure 12
Push
Lock the Hitch Ball
Lift