SuperServer 6019P-WT8 User's Manual
35
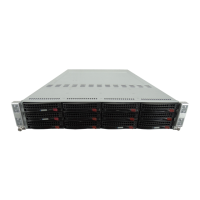
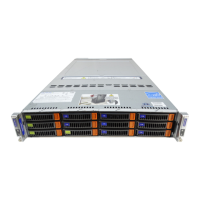
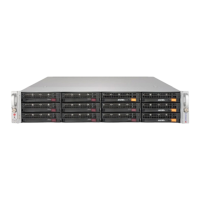
3.4 Chassis Components
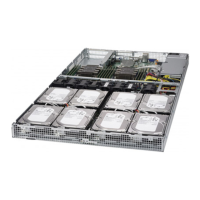
Hard Drives
drives). Each HDD position in the chassis is labeled with a number that corresponds to a
SATA port on the serverboard.
The drives rest on metal brackets that run the full width of the chassis and attach to the
system by means of two small, horizontal backplanes that include a socket into which each
Replacing a Hard Drive
1. Power down the system as described in Section 3.1 and remove the front cover as
described in Section 3.2.
2. Locate and press the latch on the HDD you wish to remove from the chassis (see
instruction sticker).
3. Slide the HDD away from its backplane socket and lift it out. Note the number on the
4. Slide the replacement drive into the backplane socket and push it down onto the
mounting bracket until it clicks into position.
Figure 3-10. HDD Brackets and Backplane
HDD Mounting Bracket
Backplanes (lifted out of chassis)
 Loading...