30
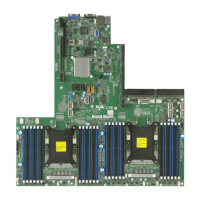
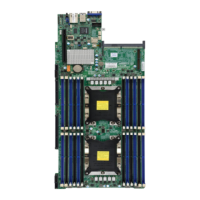
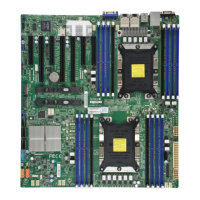
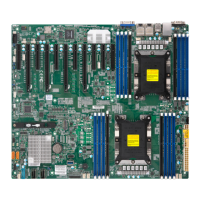
Installing the Processor Heatsink Module (PHM)
1. Once you have assembled the processor heatsink module (PHM) by following the
instructions listed on the previous page, you are ready to install the processor heatsink
module (PHM) into the CPU socket on the motherboard. To install the PHM into the
CPU socket, follow the instructions below.
2. Locate the triangle (pin 1) on the CPU socket, and locate the triangle (pin 1) at the
triangle located next to a screw at the corner. Turn the PHM right side up, and you will
see a triangle marked on the processor clip at the same corner of hollow triangle.)
3. Carefully align pin 1 (the triangle) on the the PHM against pin 1 (the triangle) on the
CPU socket.
4. Once they are properly aligned, insert the two diagonal oval holes on the heatsink into
the guiding posts.
5.
socket to securely attach the PHM onto the motherboard starting with the screw marked
"1" (in the sequence of 1, 2, 3, and 4).
Note: Do not use excessive force when tightening the screws to avoid damaging the
#1
#2
#3
#4
Small Guiding Post
Large Guiding Post
Oval D
T30 Torx Driver
Use a torque
of 12 lbf·in
Oval C
Printed Triangle
Mounting the Processor Heatsink Module
into the CPU socket (on the motherboard)
Tighten the screws in the
sequence of 1, 2, 3, 4 (top 3 quarter view)

 Loading...