Chapter 3: Troubleshooting
3.4 Battery Removal and Installation
Battery Removal
To remove the onboard battery, follow the steps below:
1.
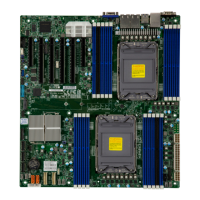
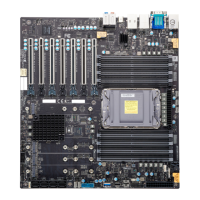
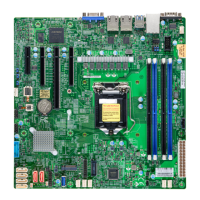
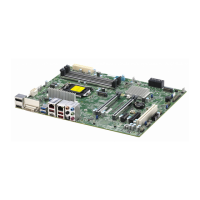
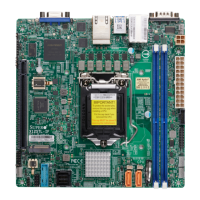
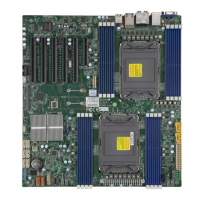
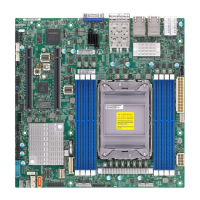
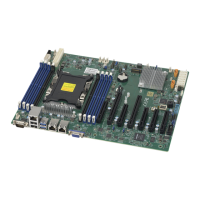
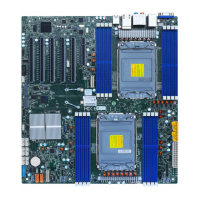
2. Locate the onboard battery as shown below.
3. Using a tool such as a pen or a small screwdriver, push the battery lock outwards to
unlock it. Once unlocked, the battery will pop out from the holder.
4. Remove the battery.
Proper Battery Disposal
Warning: Please handle used batteries carefully. Do not damage the battery in any way; a
damaged battery may release hazardous materials into the environment. Do not discard a used
local hazardous waste management agency to dispose of your used battery properly.
Battery Installation
To install an onboard battery, follow the steps below:
1.
2. Locate the onboard battery as shown below
3. Identify the battery's polarity. The positive (+) side should be facing up.
4. Insert the battery into the battery holder and push it down until you hear a click to
ensure that the battery is securely locked.
Warning: When replacing a battery, be sure to only replace it with the same type.
OR
 Loading...
