SC813 Chassis User's Guide
2-2
B. Accessing the SCA Drive Tray and Installing a Hard
Drive
To install the SCA drive into the chassis, you need to first remove the SCA
drive tray from the chassis so that the SCA drive can be installed in.
Procedures
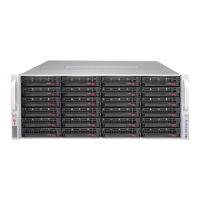
1. Press the release tab to release the SCA drive tray from its locking
position.
2. Pull the SCA drive tray out from the chassis as shown below:
Pull out the SCA drive
tray from the chassis
Press the
release Tab
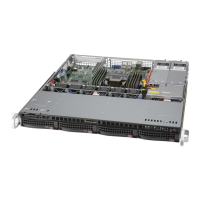
3. Remove the two screws that attach to the both sides of the dummy tray,
and take out the dummy tray as shown below:
Remove the
screws
Take out the dummy tray
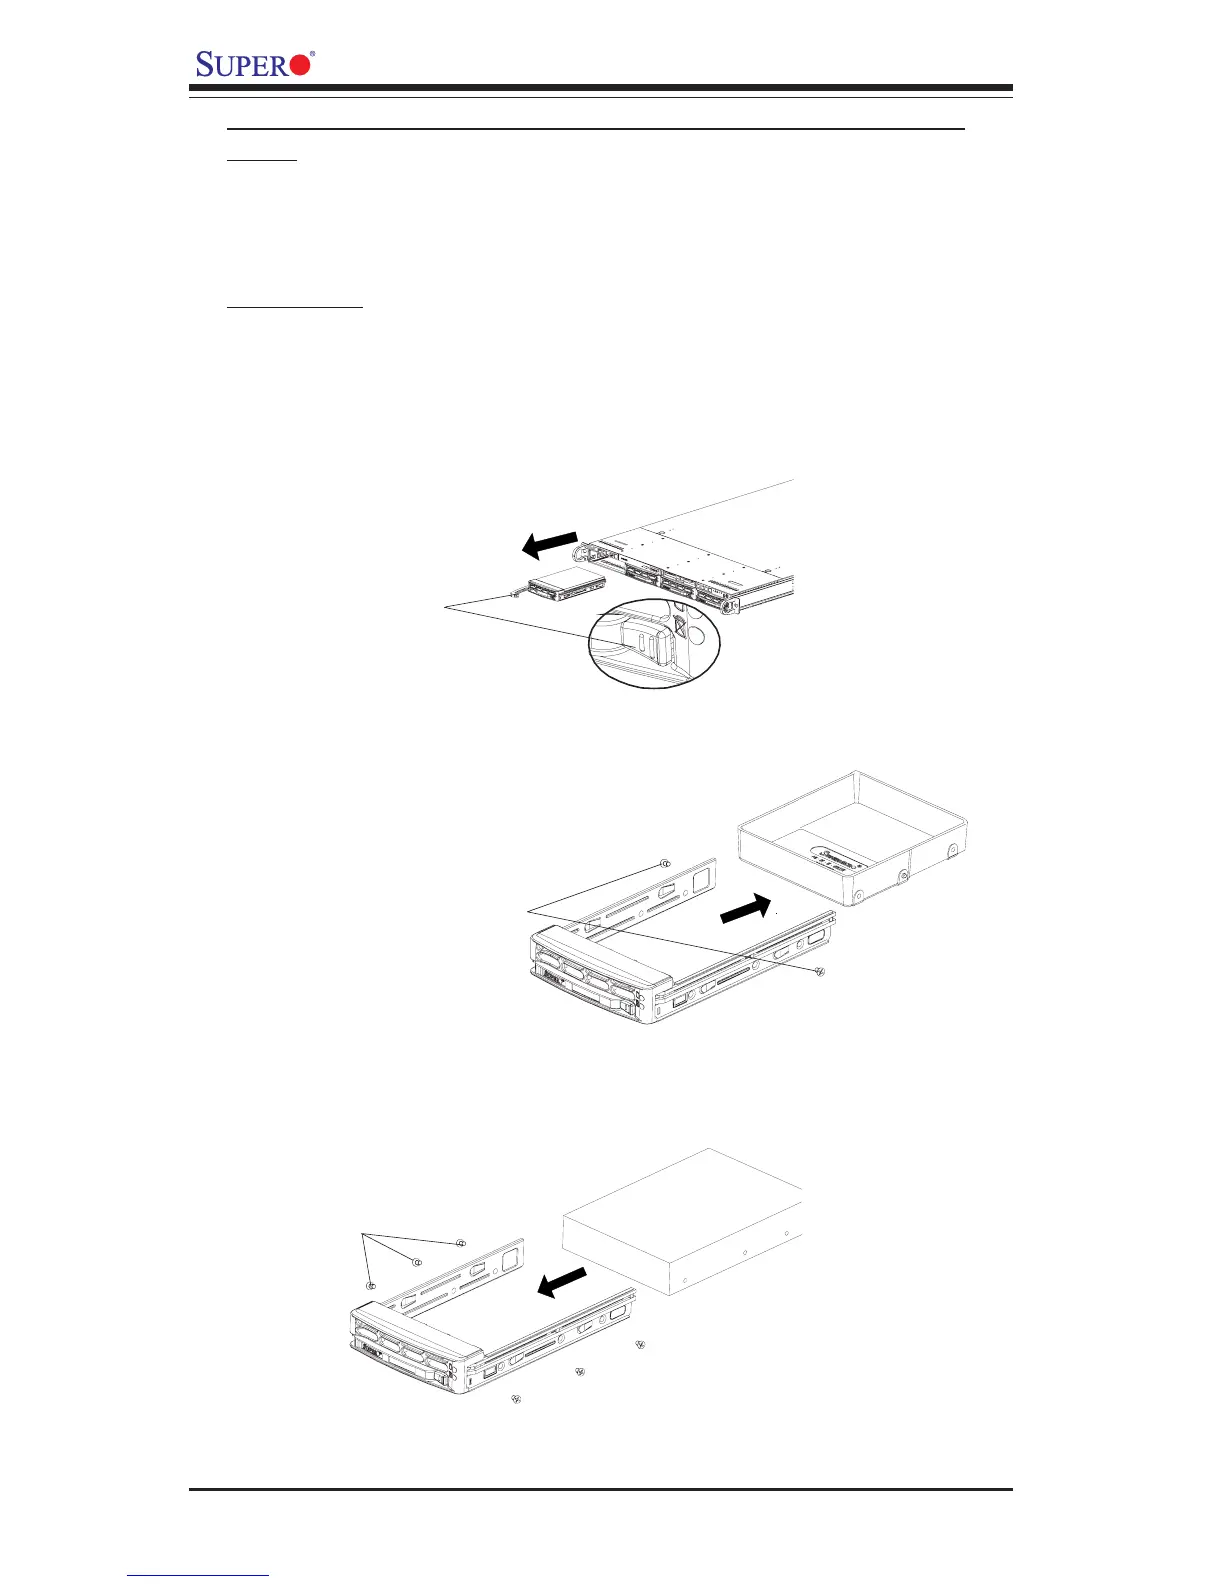
4. Slide a hard drive disk (HDD) into the SCA drive tray, and secure the
HDD to the tray with three screws on each side of the tray as shown
below:
Secure the HDD with 3
screws on each side
of the tray
Slide HDD into the tray
5. Once the HDD is securely placed into the SCA tray, you can install the
SCA drive tray back to the chassis.
 Loading...