For installation of the Microchip Pet Door in a wall we recommend that you use SureFlap Pet Door Tunnel
Extenders (Product Code: TUN101).
Choose your mounting position on the wall ensuring that your pet will have easy access through the Pet Door in
both directions.
1. Measure the height of your pet’s stomach from the oor when your pet is standing. This height is the level at
which the bottom of the hole should be cut through the wall. Make a mark on the wall at this height. Note: If
there is a large drop on the outside of the house you will need to place a step outside for your pet to access
the tunnel.
2. Take the external frame as you will need to use this as a template to mark the hole in the wall. Firstly make a
small pencil mark at the bottom of the external frame in the centre – see gure 1.
3. Put a piece of Blu-tack or similar low tack putty on the four corners of the frame. See gure 2.
4. Stick the external frame to the wall on the inside of the house, lining up the pencil mark and bottom of the frame
with the mark you have made on the wall. Use a spirit level to ensure that the frame is level. See gure 3.
5. Using a pen or pencil draw around the inside of the frame on the wall so you have a clearly visible cutting line.
You can now remove the frame from the wall.
6. Before you start to cut the hole through the wall remove the Pet Door from the area to minimise the amount of
dust and debris the product is subjected to.
7. We do not recommend that you cut through the inside and the outside surface of the wall in one go – cut the
hole on the inside of the house rst and then move outside to cut the hole there. You may want to drill one
hole straight through the wall in the centre of the tunnel as a guide.
8. Whether you are cutting through brick, wood, tiles or plaster you should drill some pilot holes rst around the
perimeter of the line you have drawn. These holes should go slightly over the line by no more than 1 or 2mm
(0.04 - 0.07”). Then remove all of the material in the centre using the most suitable tools for the material you
are cutting. See gure 4.
9. It is important not to make the hole too large or you will not be able to screw the Pet Door to the wall .
10. Once you have made the hole on the inside of the house you can move to cutting the hole on the outside of
the house. Remember to make the hole on the outside of the house slightly lower than the inside so that rain
can run out of the tunnel. Clear away any dust and debris from inside the hole
11. Fix the tunnel extenders together and to the end of the Pet Door tunnel using an All-Weather adhesive tape.
Do not use glue in case you have to make adjustments or remove the Pet Door – see gure 5.
12. From the inside of the house put the tunnel extenders and Pet Door into the hole through the wall until the Pet
Door is ush against the wall. At this point you can tell whether the holes are large enough or need adjusting.
If no adjustment is necessary you are at the point where you can make the holes for screwing the Pet Door to
the wall.
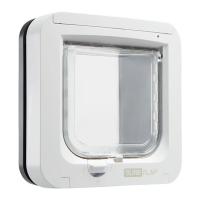
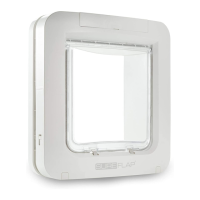
Installing the SureFlap Microchip Pet Door in walls
Before you install the Microchip Pet Door in the wall of your home please consult a qualied
builder about the best location. Remember that there may be electrical wires, gas or water pipes
hidden within the wall which if damaged during the installation can cause serious problems.