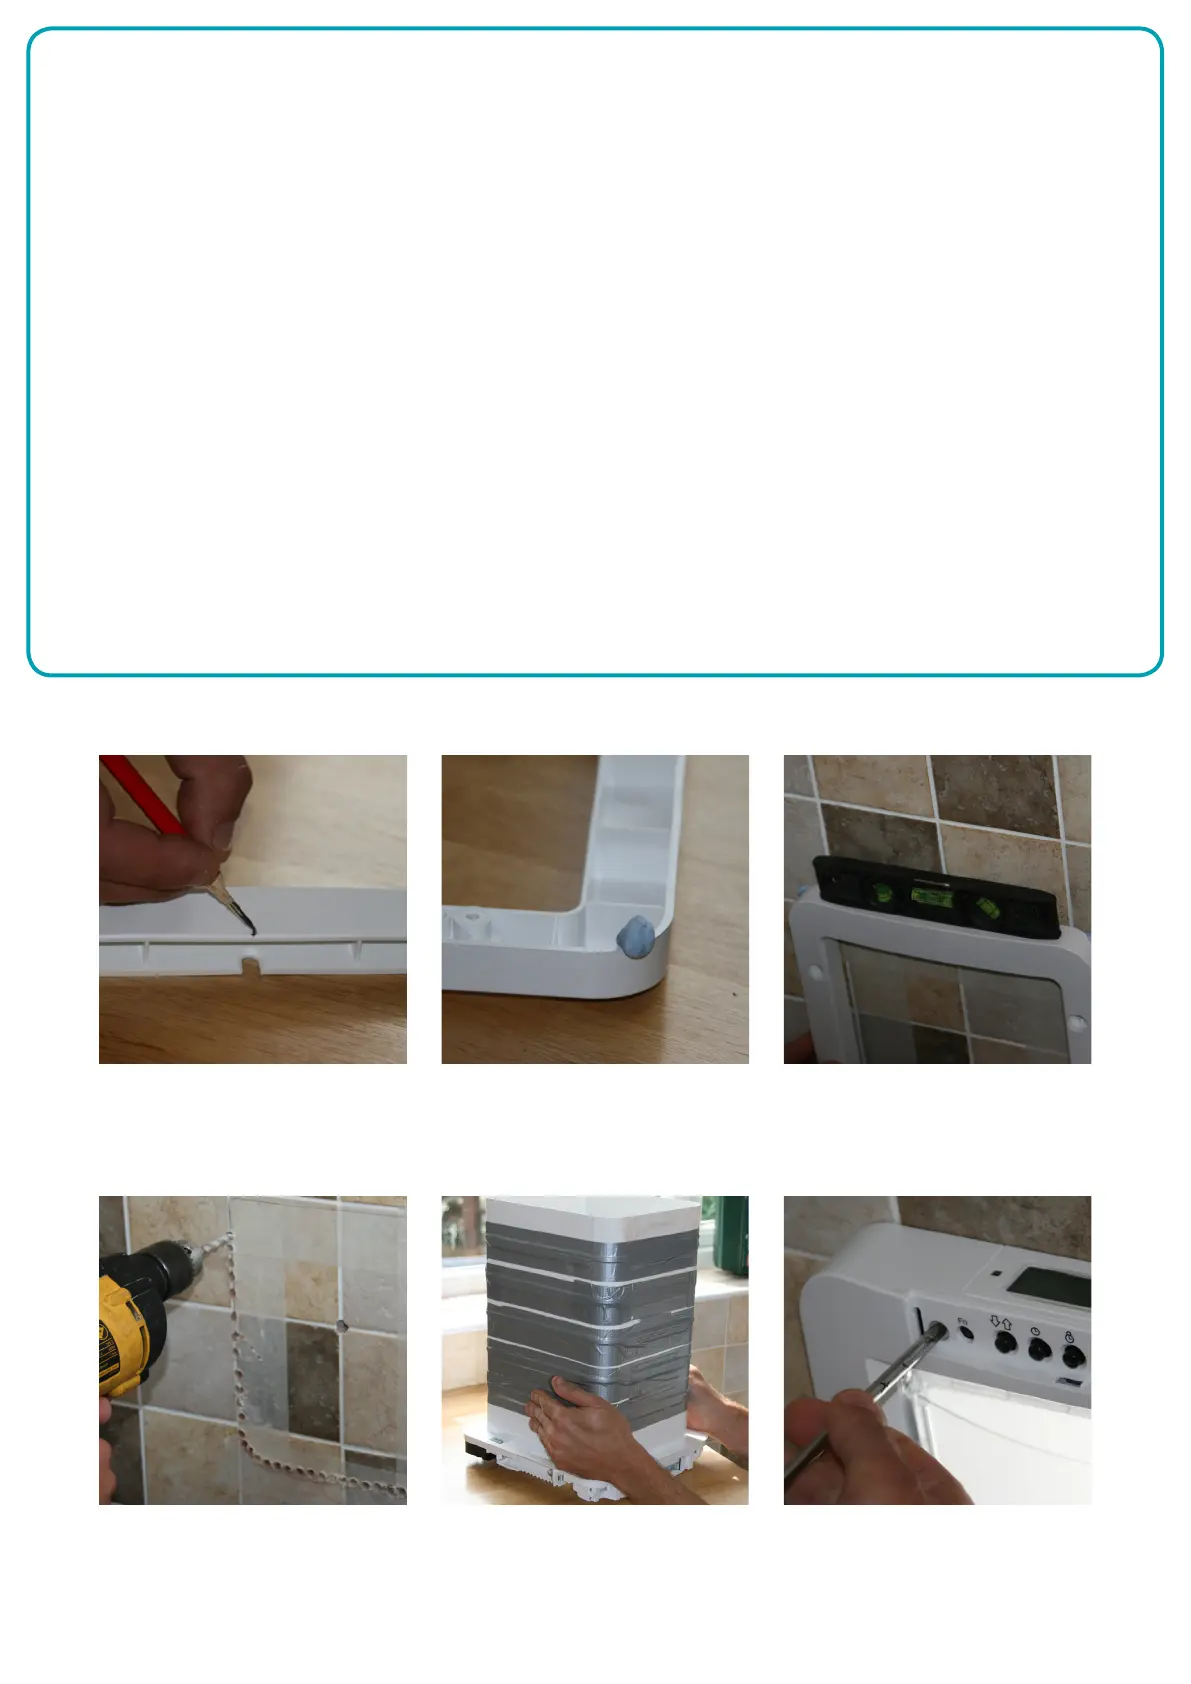
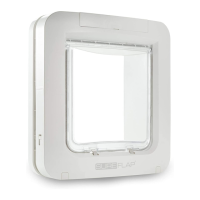
13. The screw holes for mounting the Pet Door to the wall are underneath the front panel. To remove the front
panel you need to remove the button cover and the two screw caps at the bottom of the Pet Door. Unscrew
the four screws and remove the front panel. See gure 6.
14. There are four screw mounting positions for the Pet Door, mark on the wall at the four positions using a pencil
or pen (do not drill through the hole as this will get debris and dirt in the locking mechanism of the Pet Door).
See gure 7.
15. Remove the Pet Door and tunnel extenders from the hole in the wall and away from the area while you drill
the four holes in the wall.
16. Replace the Pet Door and tunnel extenders in the hole and use any of the screws that came with the Pet
Door to x the product to the wall. We recommend screwing to the wall by hand so you do not overtighten the
screws. See gure 8.
17. Replace the front panel using the four screws, push in the screw caps and replace the button cover.
18. On the outside of the house you will have the tunnel extenders exiting the wall. Place the external frame over
the extender and using a pencil or pen mark the location for the four screws.
19. Remove the frame and drill the four holes for the screws.
20. Replace the external frame and screw in position. Insert the screw caps.
21. Use a silcone sealant around the joint between the tunnel extenders and the external frame and around the
top and two side of the frame where it meets the wall. See gure 9.
Figure 1 Figure 3Figure 2
Figure 6Figure 5Figure 4