7B1-80 AUTOMATIC TRANSMISSION (4 A / T)
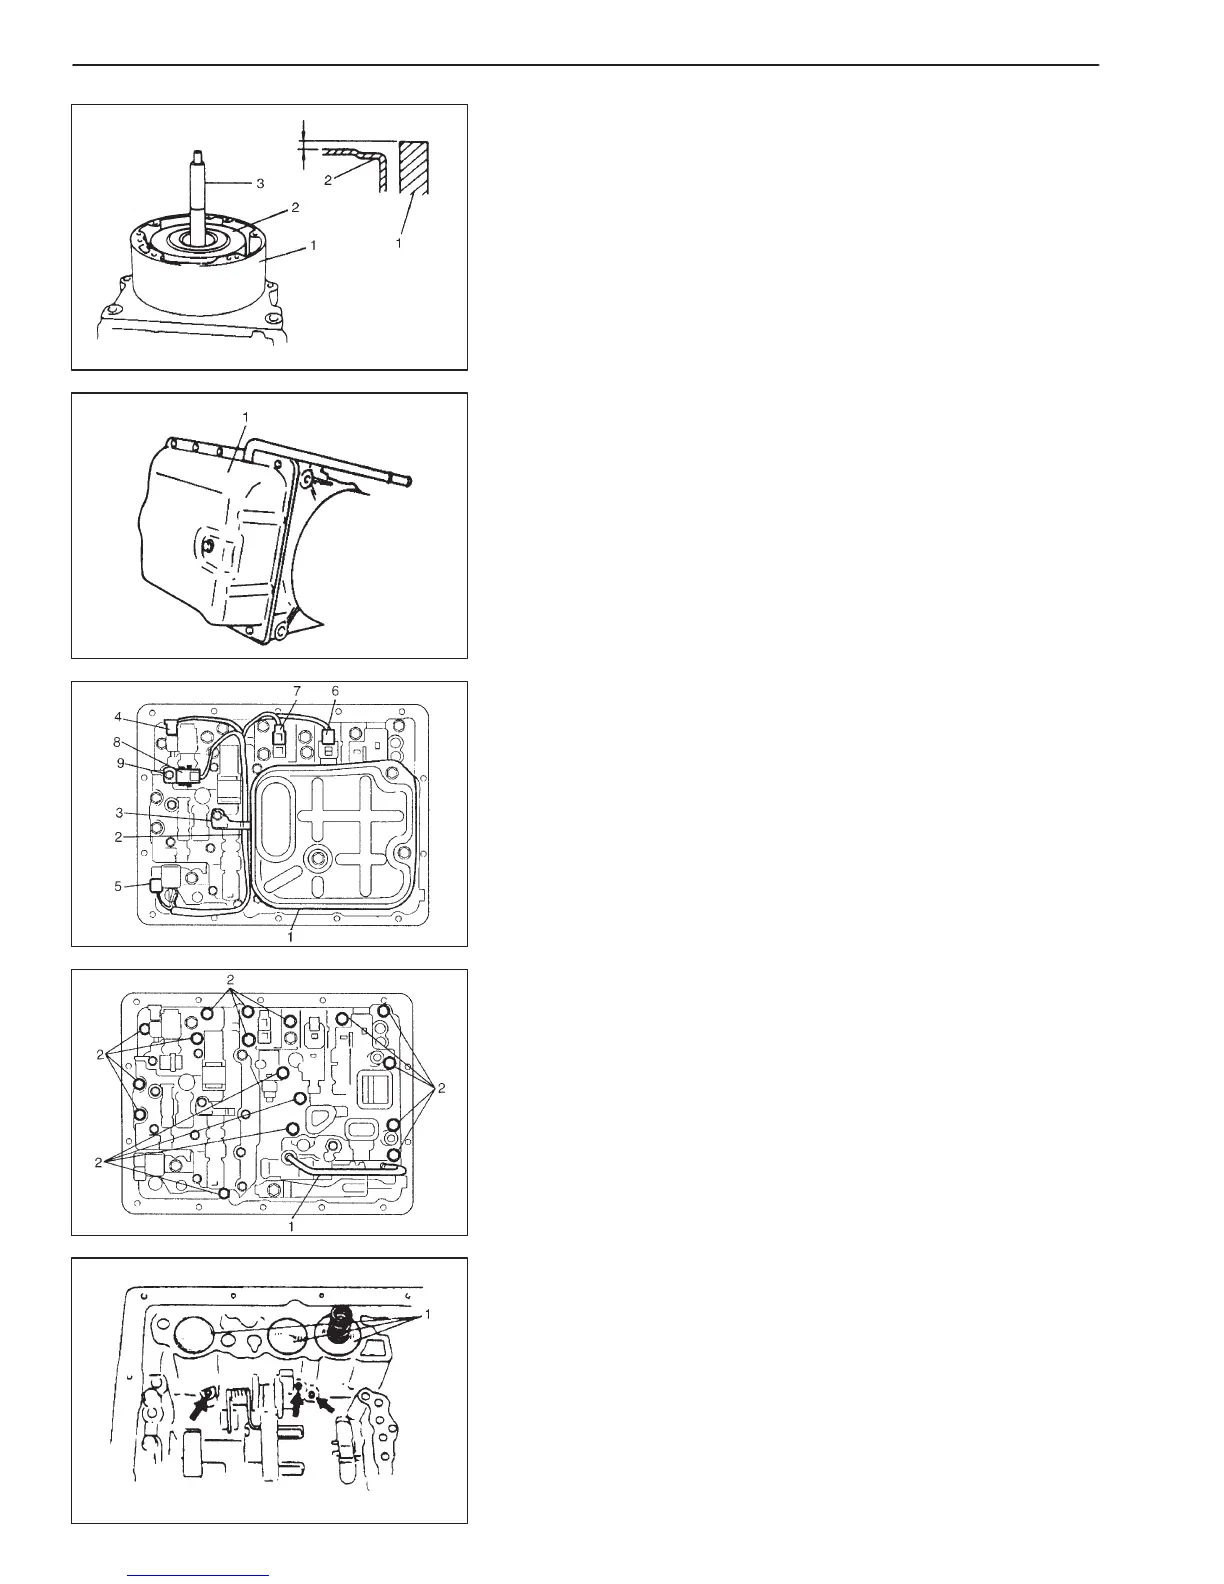
1. Over drive case
2. Clutch cylinder
11) Check dimensions of overdrive (O/D) case surface and clutch
cylinder surface for reassembly.
12) Remove overdrive (O/D) clutch assembly by holding input
shaft (3).
13) Remove O/D case, bearing and bearing race.
NOTE:
Confirm direction of bearing and bearing race for reas-
sembly.
14) Remove oil pan (1) and oil pan gasket.
NOTE:
D Hold oil pan with oil pan side down to prevent foreign
material in oil pan from entering valve body.
D If iron powder is found, it is possible that bearing, gear
or clutch plate is worn.
15) Remove oil strainer (1).
16) Remove wire harness (2) from wire harness clamp (3).
17) Disconnect the following connectors.
D Shift solenoid-A connector (4)
D Shift solenoid-B connector (5)
D TCC solenoid connector (6)
D Pressure control solenoid connector (7)
18) Remove transmission fluid temperature sensor (8) from sensor
clamp (9).
19) Remove oil pipe (1).
20) Remove valve body mounting bolts (2) as shown in the figure.
21) Remove accumulator pistons (1) by blowing air into holes indi-
cated in the figure.
NOTE:
Hold accumulator piston (1) with shop cloth while blow-
ing.

 Loading...