©2016 SwellPro All Rights Reserved
17
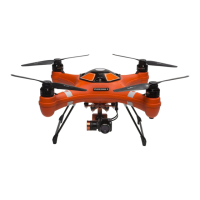
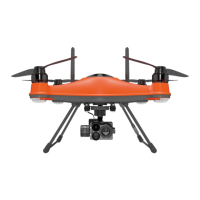
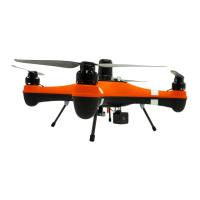
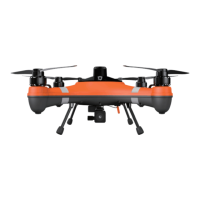
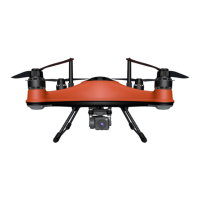
4.2.5.3 Install Battery
Fit the battery into the specied location as picture below. Put the battery power cord as far away as
possible from the GPS module. Make sure no cable is placed under the battery!!!
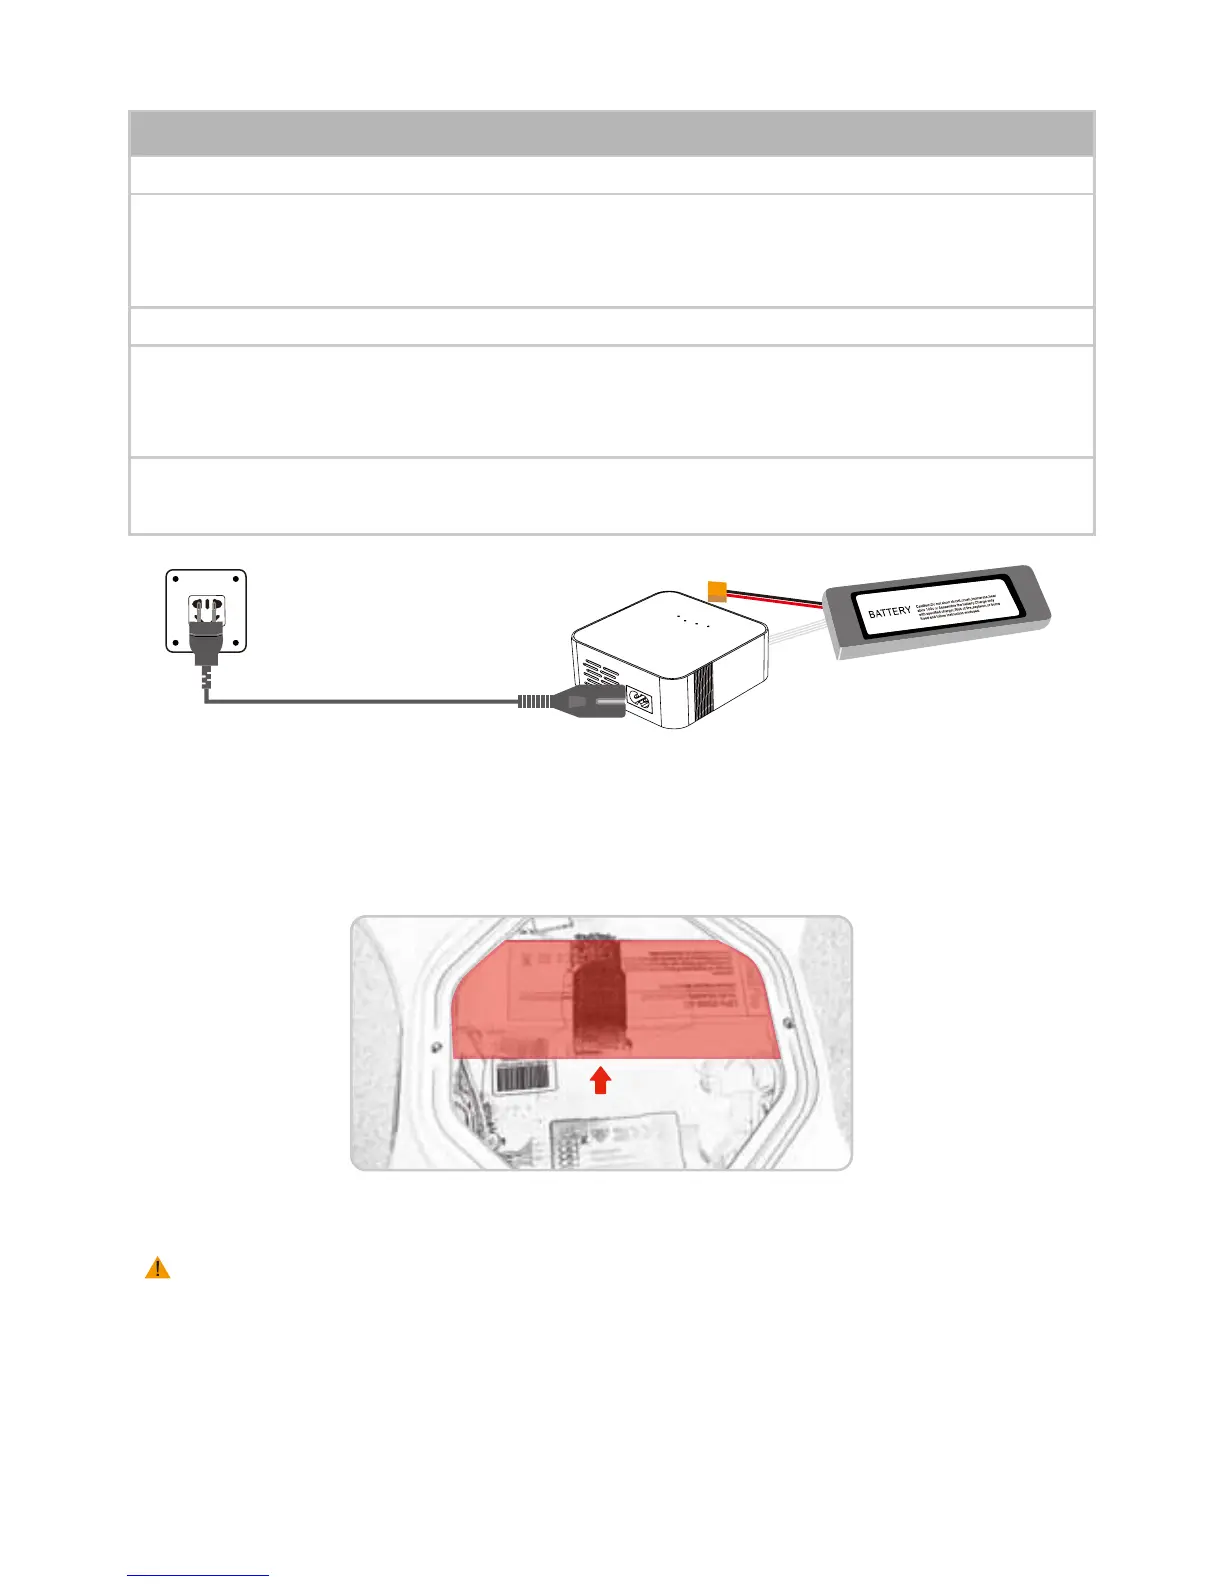
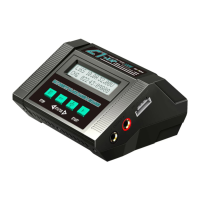
1. Insert the AC power cord into charger (Image I)
2. Insert the AC power cord into 100-240V AC socket, all LED will light for 1 second, then your charger
is ready for using ( Caution: Always power ON the charger before connecting a battery, otherwise,
damage will be occurred to the charger & battery)
3. Connecting the battery pack to the charger with the XH balance plug ( Image I )
4. When it starts charging, the 4 indication LEDs will show you the charging status: one LED blink
means 25%, two LED blink means 50%, three LED blink means 75%, and four LED blink means the
battery is fully charged.
5. During the charging process, if all 4LEDs keep blinking, that means an ERROR has occured. Check
your connection or battery status.
Charging Process
4.2.5.2 Charging Battery
Image I
There are two ways to do Accelerometer Calibration: via controller or via computer.
4.3 CALIBRATION
Attention: All calibrations MUST be done under LOCKING status WITHOUT propellers installed
Note personal injury may result if props are left on during this process!
4.3.1 ACCELEROMETER CALIBRATION