EasyManua.ls Logo

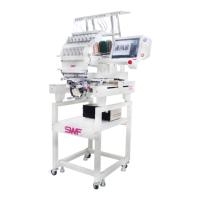
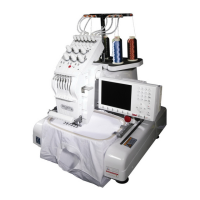
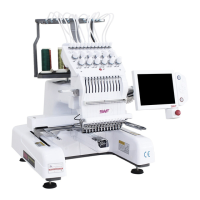
SWF E-U1201 User Manual

Default Icon
67 pages
To Next Page IconTo Next Page
Page #1 background imageLoading...
Page #1 background image
MANUAL
SSiinnggllee HHeeaadd BBrriiddggee
AAuuttoommaattiicc EEmmbbrrooiiddeerryy
MMaacchhiinnee
SSUUNNSSTTAARR PPRREECCIISSIIOONN CCOO..,, LLTTDD..
MMMMEE--006600442244

Table of Contents

Questions and Answers:

SWF E-U1201 Specifications

General IconGeneral
BrandSWF
ModelE-U1201
CategorySewing Machine
LanguageEnglish

Summary

01 MACHINE TYPE AND SPECIFICATIONS

1.2) MODEL TYPE

Details various SWF models with head count, embroidery space, and machine dimensions.

1.3) SPECIFICATIONS

Outlines technical specs like stitch length, speed, motor, power source, and consumption.

02 SAFETY RULES

2.1) SAFETY STICKERS

Explains the meaning and purpose of different safety stickers used in the manual.

2.3) MACHINE INSTALLATION

Outlines critical conditions for installing the machine to prevent damage and ensure safety.

2.4) MACHINE OPERATION

Details safety instructions and precautions to be observed during machine operation.

2.5) REPAIR AND MAINTENANCE

Specifies safety guidelines and procedures for machine repair and maintenance.

03 DISTINCTIVE FEATURES

(13) Automatic Tread Break Sensor

Detects thread breaks and automatically suspends machine operation.

(15) Automatic Return to Forced Stop Position At Power Outage

Automatically returns the frame to the stop position during power outages.

04 MATTERS TO CONSIDER REGARDING MACHINE INSTALLATION

4.1) INSTALLATION CONDITIONS

Details environmental requirements like temperature, humidity, and grounding for machine setup.

4.2) ELECTRICITY ENVIRONMENT

Specifies electrical requirements including voltage, power, and insulation resistance.

05 SAFETY RULES FOR MACHINE OPERATION

08 FUNCTIONS OF EACH PART AND OPERATION METHODS

8.3) UPPER THREAD PLACEMENT AND TENSION ADJUSTMENT

Covers the procedure for placing and adjusting upper thread tension.

8.4) LOWER THREAD PLACEMENT AND TENSION ADJUSTMENT

Details how to place and adjust the lower thread and its tension.

8.6) ADJUSTMENT OF NEEDLE AND HOOK TIMING AND OTHER RELATED INFORMATION

Discusses needle and hook timing, needle selection, and replacement.

09 Maintenance and Checkpoints

9.1) REGULAR CHECKUP

Outlines regular checks including cleaning, lubrication, and belt tension.

9.3) OIL SUPPLY

Details the procedure and frequency for supplying oil to machine parts.

9.4) GREASE SUPPLY

Specifies where and how often to supply grease for lubrication.

9.5) TENSION CHECK OF EACH DRIVING BELT

Explains how to check and maintain the tension of all driving belts.

10 ADJUSTMENT

10.1) ADJUSTMENT OF TRIMMER

Covers the adjustment of the trimmer's cam location and blade settings.

10.4) ADJUSTMENT OF UPPER THREAD HOLDING DEVICE

Guides on assembling and adjusting the upper thread holding mechanism.

10.10) ADJUSTMENT OF NEEDLE BAR UP/DOWN POSITION

Covers the adjustment of the needle bar's lowest and highest positions.

10.12) ADJUSTMENT OF TENSION OF EACH DRIVING BELT

Details how to check and adjust the tension of all driving belts.

11 CAUSES OF TROUBLE AND TROUBLESHOOTING

Wrong Machine Operation and Movement

Addresses issues related to machine movement, power, and signal detection.

Thread Break

Lists causes for thread breakage including stitch settings, needle damage, and placement.

Needle Break

Details causes for needle breakage like bending, damage, or incorrect installation.

Thread Break Before Trimming by Moving Blade

Discusses short upper/lower threads and damage to the moving blade.

Related product manuals