Do you have a question about the Swiss Madison Calice and is the answer not in the manual?
Read instructions thoroughly, use proper tools, and wear safety accessories for protection.
Provides key measurements for toilet installation, including distance from wall to flange centerline.
Lists essential tools and materials required for the proper installation of the toilet.
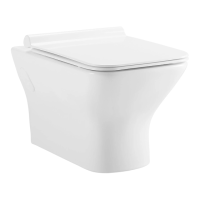
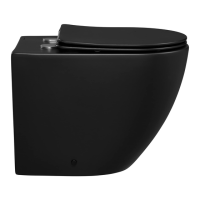
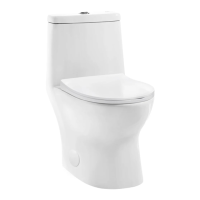
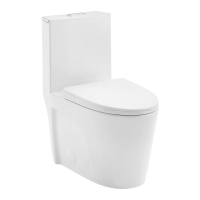
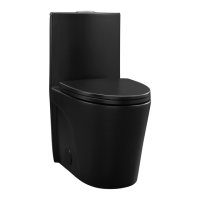
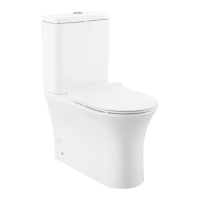
Details the components included with the Swiss Madison Two-Piece Toilet.
Steps to safely remove the existing toilet, including shutting off water and disconnecting supply.
Determine and prepare for wall-outlet or floor-outlet installation based on pipe fittings.
Thread the supply hose onto the tank and position the gasket on the bowl inlet.
Align holes for the threaded rod to ensure a smooth connection between the cistern and bowl.
Attach the tank to the bowl using bolts, washers, and a screwdriver, avoiding over-tightening.
Place the toilet in its final location, ensure it is level, and mark hole positions on the wall.
Measure bowl thickness and drill holes on the wall based on previously made marks.
Install anchors into pre-drilled locations and secure brackets to the floor.
Return the toilet to position and securely fasten the bolts onto the bracket nuts.
Affix the tank to the wall using screws and washers, tightening securely into place.
Connect the water supply line to the toilet and turn on the water supply.
Attach the push button assembly to the tank, adjust rods, and tighten connections.
Flush the toilet several times and carefully inspect all connections for any leaks.
Install the toilet seat by attaching rubber pieces, hardware, and cover caps.
| Brand | Swiss Madison |
|---|---|
| Model | Calice |
| Category | Toilets |
| Language | English |