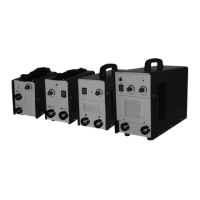
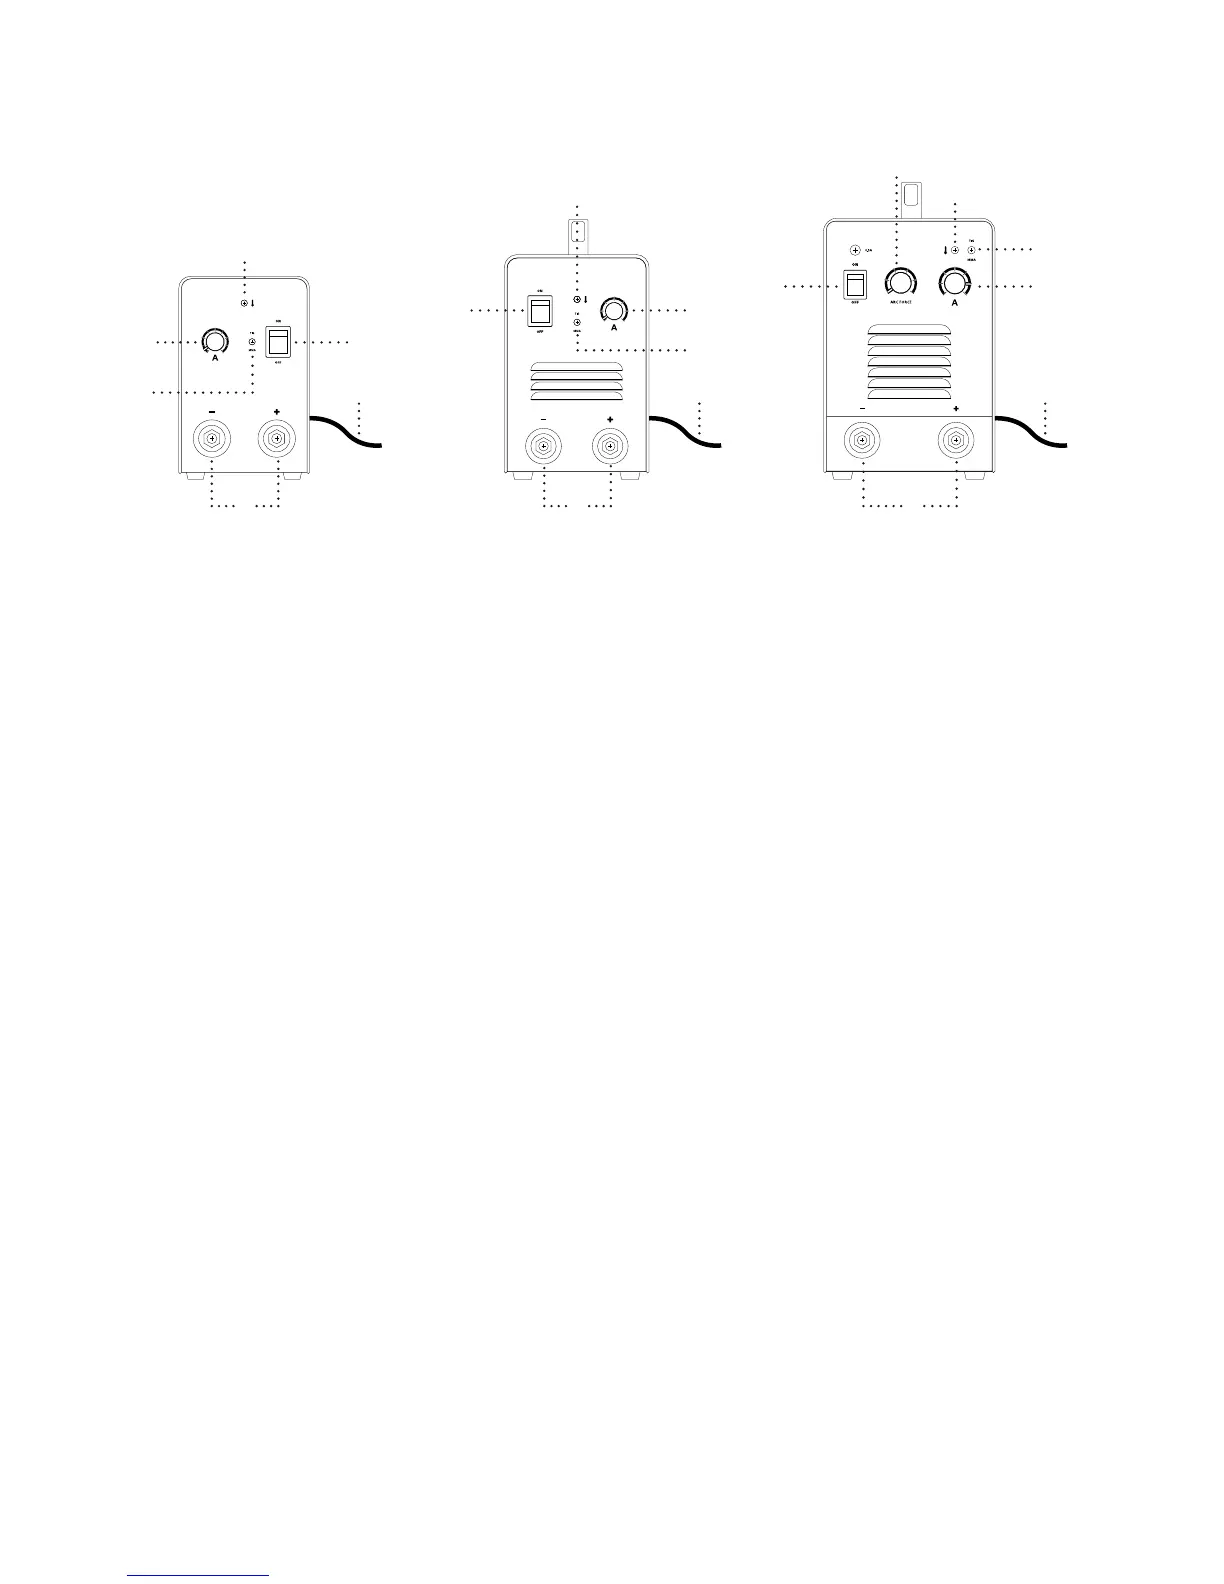
A : Mains Lead
A primary power supply cable is available for this welding equipment. Connect the power supply
cable with required voltage. Check whether the voltage value varies in the given range with a
multi-meter.
B : Connection of Output Cables
Two Dinze sockets are available for this welding equipment. Connect the plug to the socket on
the panel board. It is possibly damaging to both the plug and socket, if the plug and the socket
are incorrectly connected.
The electrode holder cable should be connected to the negative terminal, while the work piece
should be connected to the positive terminal.
•Positive connection electrode holder to “–”,while work piece to “+”
•Negative connection work piece to “–”, while electrode holder to “+”.
It is necessary to increase the diameter of cable in order to maintain and improve the performance
of voltage output.
C : On / O Switch
While the power supply switch is on, the built-in fan works and current meter displays the current
value.
D : Welding Current Output Setting
According to practical demand, set the parameters of current output by the operation of welding
current knob and arc-leading pulse knob.
E : O.C. Light
When the pilot lamp is lit, the machine is in a temporary shut down mode to prevent damage
from over heating. The machine will automatically restart when the internal temperature has
dropped to a safe operational level.
F : TIG / MMA Switch
Select between TIG and MMA welding process.
Installation and Operation
A A A
B
C
C
C
B B
D
F
D
E
E
E
G
F
D
F