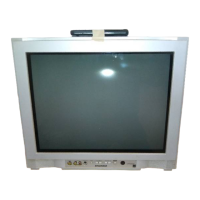
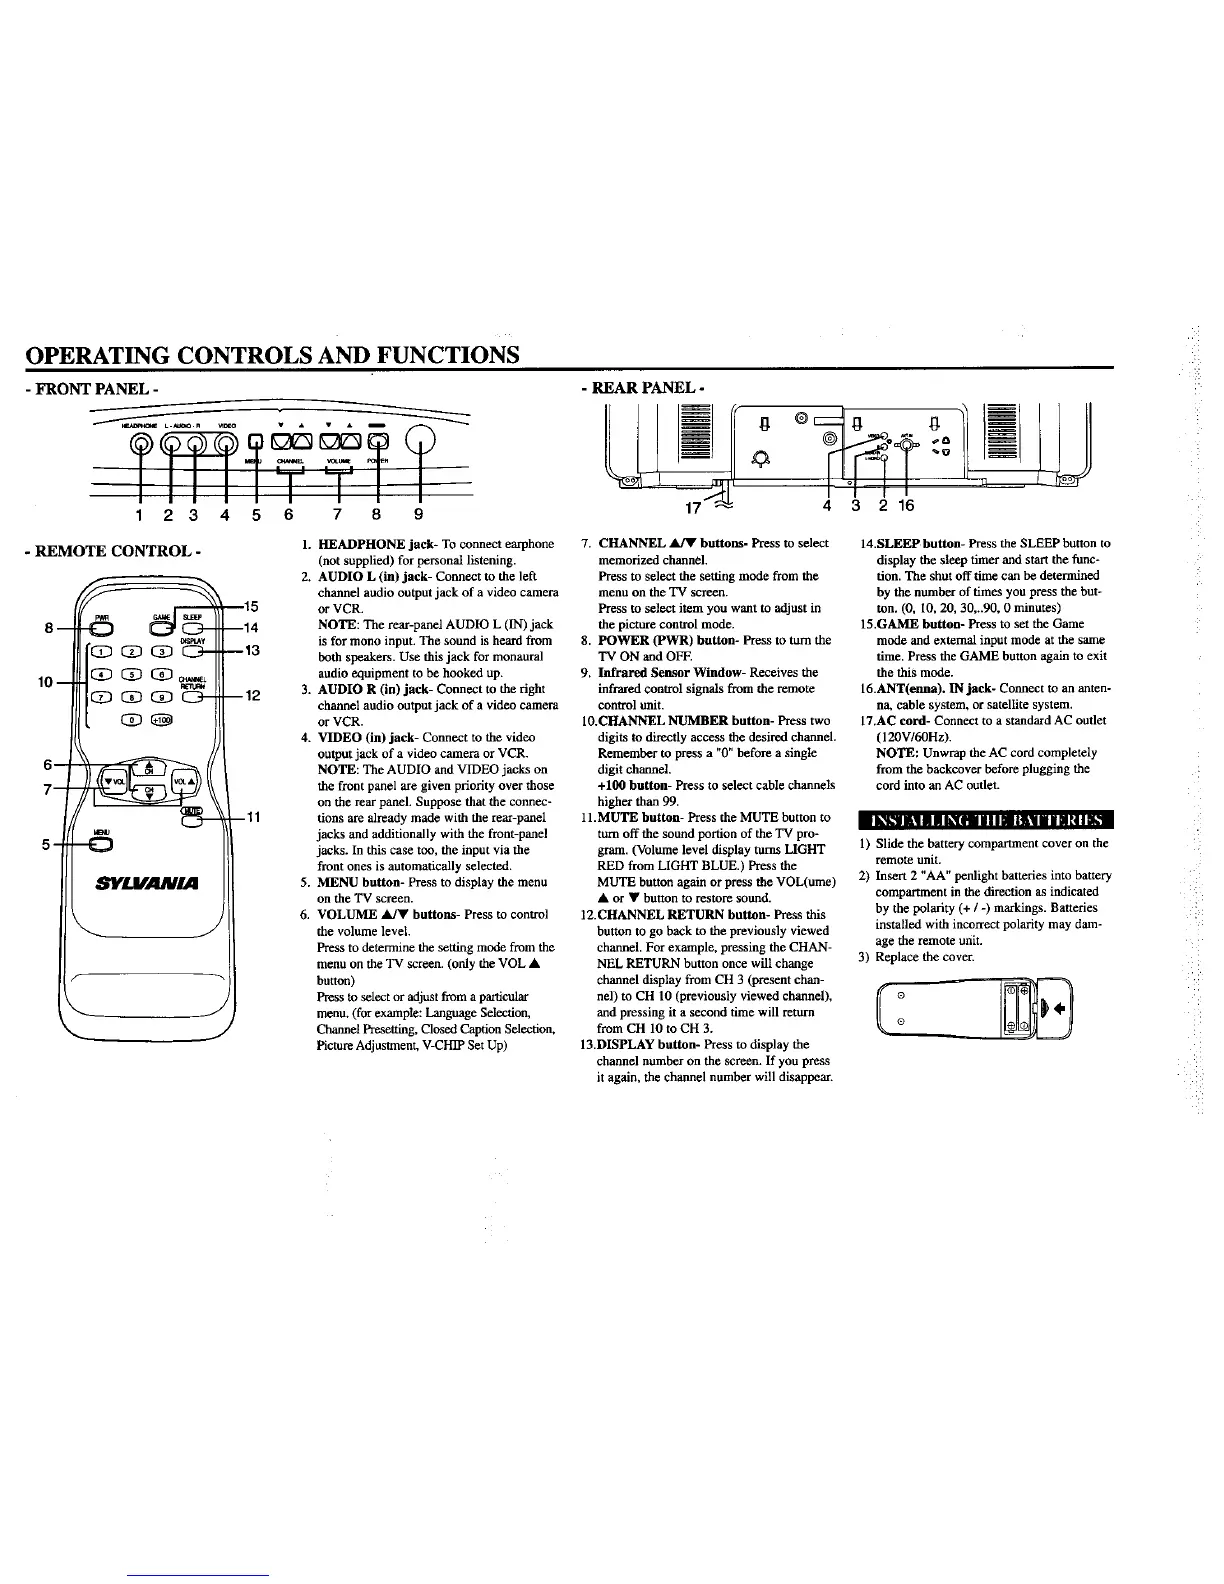
OPERATING CONTROLS AND FUNCTIONS
- FRONT PANEL -
........
IIIIITTI/
2 3 4 5 6 7 8 9
- REAR PANEL -
4 3 2 16
- REMOTE CONTROL -
| k_K_ll|! III h,_[Ellllllii|i||lilL_
--15
--14
--13
B12
--11
1. HEADPHONE jack- To connect earphone
(not supplied) for personal listening.
2. AUDIO L (in) jack- Connect to the left
channel audio output jack of a video camera
or VCR.
NOTE: The rear-panel AUDIO L (IN) jack
is for mono input. The sound is heard from
both speakers. Use this jack for monaural
audio equipment to be hooked up.
3. AUDIO R (in) jack- Connect to the right
channel audio outputjack of a video camera
or VCR.
4. VIDEO (in) jack- Connect to the video
outputjack of a video camera or VCR.
NOTE: The AUDIO andVIDEO jacks on
the front panel are given priority over those
on the rear panel. Suppose that the connec-
tions are already made with the rear-panel
jacks and additionally with the front-panel
jacks. In this case too, the input via the
front ones is automatically selected.
5. MENU button- Press to display the menu
on the "IV screen.
6. VOLUME _ buttons- Press to control
the volume level.
Press to determine the setting mode fromthe
menu on the TV screen. (only the VOL •
button)
Press to select or adjust from aparticular
menu. (for example: Language Selection,
Channel Presetting, Closed Caption Selection,
Picture Adjustment, Vq_HIP Set Up)
7. CHANNEL _ buttons- Press to select
memorized channel.
Press to select the setting mode from the
menu on the "IV screen.
Press to select item you want to adjust in
the picture control mode.
8. POWER (PWR) button- Press to turn the
TV ON and OFF.
9. Infrared Sensor Window- Receives the
infrared control signals from the remote
control unit.
10.CHANNEL NUMBER button- Press two
digits to directly access the desired channel.
Remember to press a "0" before a single
digit eharmol.
+100 button- Press to select cable channels
higher than 99.
11.MUTE button- Press the MUTE button to
turn off the sound portion of the TV pro-
gram. (Volume level display turns LIGHT
RED from LIGHT BLUE.) Press the
MUTE button again or press the VOL(ume)
• or • button to restore sound.
12.CHANNEL RETURN button- Press this
button to go back to the previously viewed
channel, For example, pressing the CHAN-
NEL RETURN button once will change
channel display from CH 3 (present chan-
nel) to CH 10 (previously viewed channel),
and pressing it a second time will return
from CH 10 to CH 3.
13.DISPLAY button- Press to display the
channel number on the screen. If you press
it again, the channel number will disappear.
14.SLEEP button- Press the SLEEP button to
display the sleep timer and start the func-
tion. The shut off time can be determined
by the number of times you press the but-
ton. (0, 10, 20, 30,..90. 0 minutes)
15.GAME button- Press to set the Game
mode and external input mode at die same
rime. Press die GAME button again to exit
the this mode.
16.ANT(enna). IN jack- Connect to an anten-
na, cable system, or satellite system.
17.AC cord- Connect to a standard AC outlet
(120W60Hz).
NOTE: Unwrap the AC cord completely
from the backcover before plugging the
cord into an AC outlet.
1) Slide the battery compartment cover on the
remote unit.
2) Insert 2 "AA" penlight batteries into battery
compartment in the direction as indicated
by the polarity (+ / -) markings. Batteries
installed with incorrect polarity may dam-
age the remote unit.
3) Replace the cover.
N
H
 Loading...