How to Replace Hard Disk Backplane for 8 bay/5 bay DiskStation
Page 22 of 39
Date: 2014/4/11
Issued by: Hardware Development Group, Synology
®
Inc.
2.2 Install the replacement HDD backplane
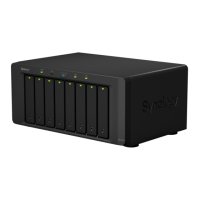
2.2.1 For DS1813+, DS1812+:
Insert the bottom edge of the replacement HDD backplane to the space
between the two lower metal frames. Then fix the two (2) screws (Marked by
the red circles) to secure them together. (Fig. 34)
Fig. 34
Assemble the replacement HDD backplane (Top edge) and the two upper metal
frames. Then fix the two (2) screws (Marked by the red circles) to secure them
together. (Fig. 35)
Fig. 35
Replacement HDD Backplane
Replacement HDD Backplane
– SATA Connector Side