17 p250 Laser Quick Start Guide Version 3.1
p250 Quick Start Guide
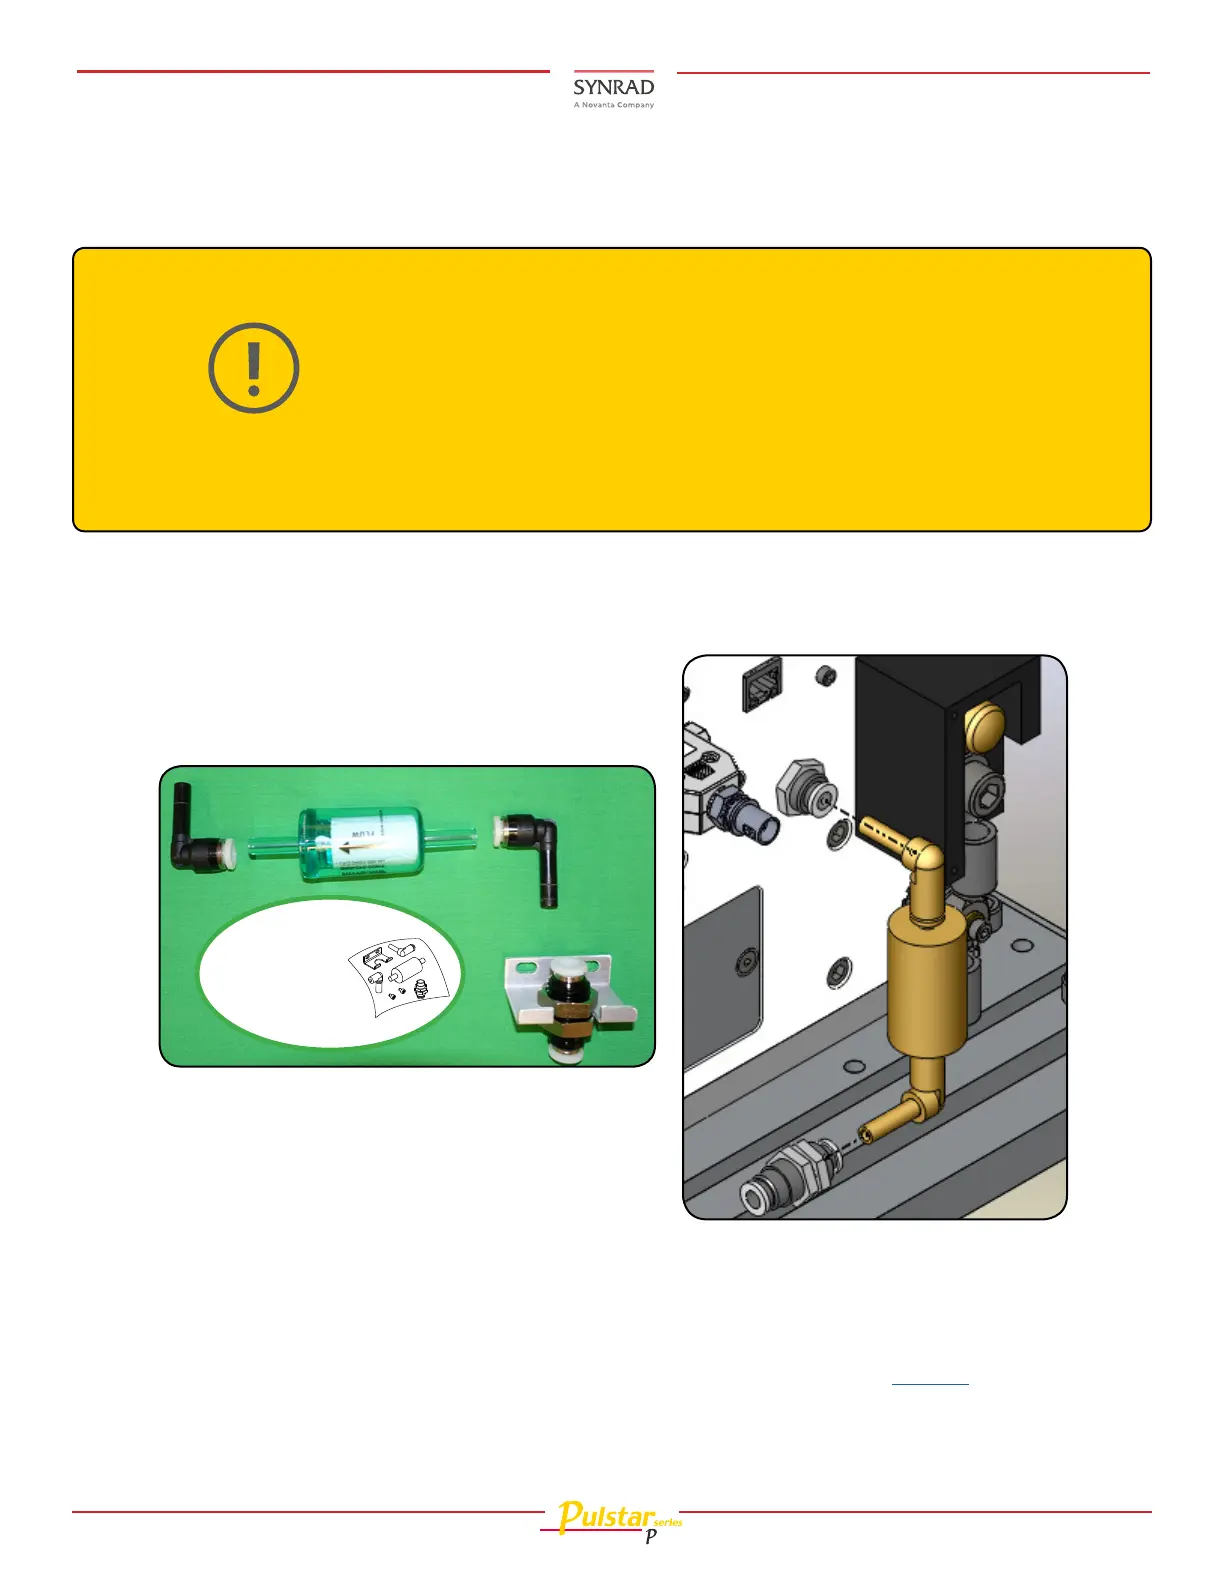
Facilities/Utilities (Air Drop or Gas Purge Port):
22. See gas purge sections in the Technical Reference section of your laser’s Operation Manual for specica-
tions. Locate the gas purge kit shipped with your laser.
23. Assemble the two 90
o
ttings as shown. Set a purge pressure between 13.8–34.5 kPa (2–5 PSI). This
provides just enough positive airow to prevent dust from entering the laser. If a ow-meter is
available, set a ow rate per the purge gas specications in the technical reference chapter within
the laser’s Operation Manual.
Caution
Possible equipment
damage
Use dry nitrogen or clean, dry ltered air (CDA) to reduce the risk of condensation
damage. Do not use argon or any other gas as a purge gas. The Gas Purge port on
the laser must be connected to a source of nitrogen or clean, dry air only; do not
use any other gases for purging otherwise damage to your laser may occur.
Refer to the purge gas specications in the laser’s Operation Manual.
Final Preparations:
24. See your Marking Head’s Quick Start Guide for WinMark software setup and initial startup after a move
or a new laser. If using a diode pointer and/or this is a new laser and you need to verify performance,
see the Diode Pointer Quick Start Guide and the How to video located on our website.
A gas purge is highly recommended when operating the laser. Purging the laser creates positive-pressure
inside the laser housing that prevents dirt and debris from accumulating on optical surfaces inside the
laser housing. In condensing atmospheres, a gas purge helps to reduce the potential for condensation
damage.