Hardware Setup
Hardware SetupHardware Setup
Hardware Setup
Page - 4
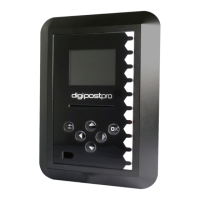
Removing the Frame
Power and USB Connection
Remove the
outer frame to
access the
mounting plate.
Apply pressure
with your
thumbs on the
face and pull
the frame
upwards with
your ngers.
USB connection for
programming
Power connection
(use included 9V
power supply)
Hardware Setup
Hardware SetupHardware Setup
Hardware Setup
Page - 5
Cabling
Inserting the module and xing to the wall
The outer frame has
four break out tabs
for cabling. Clip the
tabs with pliers (or
similar) and feed the
cables through. It is
also possible to run
the cables behind
the unit.
Insert the module into the
left side of the digipostpro
until it clicks. The module
contacts should face up (see
below). The digipostpro
detects which module is
inserted and displays
appropriate menu options.
There are four screw points in the base. Use the xing kit
supplied to attach the digipostpro to the wall.