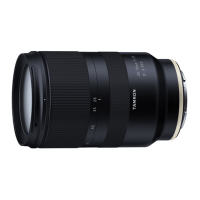
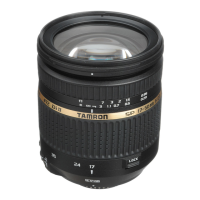
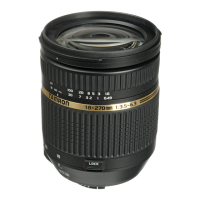
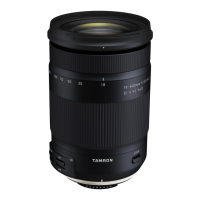
FLEX-ZOOM LOCK (Ref. Figs. 1, , )
This mechanism is intended to stop the lens from zooming inadvertently at any position.
Rotate the zoom ring ⑥ to the desired zoom position, and then apply the lock after you have determined the position.
Setting the zoom lock (Ref. Fig. )
Move the zoom ring ⑥ to the subject side until the white mark is visible.
Releasing the zoom lock (Ref. Fig. )
Move the zoom ring ⑥ to the camera side.
• During activities such as carrying the product, use the wide-end zoom lock to prevent zooming due to its own weight. (Ref.
Figs. 1, 3)
• To zoom, release the flex-zoom lock, and then rotate the zoom ring ⑥.
• Take care not to get your fingers caught while you switch the flex-zoom lock.
• If the camera will not be used for an extended period, release the flex-zoom lock before storage.
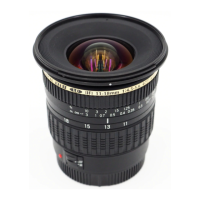
LENS HOOD (Ref. Figs. 1, , )
A bayonet-type lens hood ① is provided as standard equipment.
We recommend shooting with the hood properly attached because the lens hood eliminates stray light that may affect the picture.
Using the lens hood (Ref. Fig. )
Align the hood attaching alignment mark ② of the hood with the hood release mark ⑤ of the lens.
Rotate the hood ① in the direction of the arrow until the hood locking mark ③ meets the hood release mark ⑤.
Stowing the lens hood (Ref. Fig. )
You can stow the lens hood ① by attaching it in reverse.
Align the hood locking mark ③ of the hood with the hood release mark ⑤ of the lens.
Rotate the hood ① in the direction of the arrow until the hood attaching alignment mark ② meets the hood release mark ⑤.
• Be aware that the periphery of the photographed image may be darkened if the hood ① is not attached properly.
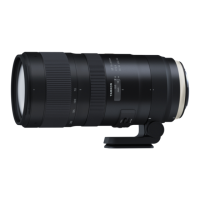
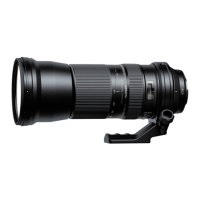
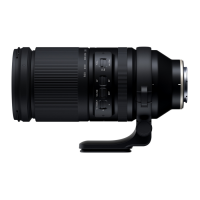
TRIPOD MOUNT (Ref. Figs. 1, - )
The A057 model comes with a tripod mount ⑩. When you use a tripod, lock the lens firmly to the tripod using the tripod mount ⑩.
Attaching and removing the tripod mount (Ref. Figs. , )
You can attach and remove the tripod mount by loosening tripod mount locking screw ⑫ and then lift the portion with the screw, to
open the ring.
When attaching the tripod mount, make sure that the protruding part on the inner side of the tripod mount ⑩ is inserted into the
groove on the lens, and then tightly secure the tripod mount locking screw ⑫.
If this protruding part is not inserted into the groove on the lens correctly when attaching the tripod mount ⑩, the lens may be
damaged or fall off.
Changing the directional position of the camera (Ref. Fig. )
When you change the directional position of the camera, you can rotate the lens by loosening the tripod mount locking screw ⑫.
Align the tripod mount mark on the lens ⑪ with the mark on the tripod mount ⑩.
After determining the shooting position, tightly secure the tripod mount locking screw ⑫ to fix the position.
Strap hole (Ref. Fig. 1)
You may pass a strap through these holes to prevent the lens from falling.
When using the strap holes ⑯ of the tripod mount ⑩, first check that the tripod mount locking screw ⑫ is firmly tightened, and
then attach the strap securely. Note that the lens may fall if the tripod mount ⑩ or the strap detaches from the lens.
• The A057 tripod mount ⑩ can be attached to an ARCA-SWISS camera platform.
SAFETY LOCK SCREW (Accessory for the tripod mount) (Ref. Figs. 1, )
We recommend attaching the lock screws in accordance with the camera platform type when you use an ARCA-SWISS-standard
compatible camera platform or clamp.
How to use safety lock screws (Ref. Fig. )
The safety lock screws ⑭ prevent the lens/camera from falling from the camera platform when a tripod mount ⑩ is attached to an
ARCA-SWISS-standard compatible camera platform or clamp.
As shown on the figure, use the hexagonal wrench ⑮ to tighten the safety lock screws ⑭ to the two screw holes ⑬.
• After attaching the safety lock screws ⑭, the screw heads protrude from the tripod mount ⑩ bottom surface to prevent the lens/camera
from falling. For this reason, if you are using a camera platform or a clamp other than ARCA- SWISS-standard compatible, you do not
need to have them attached.
USAGE PRECAUTIONS
• An internal focusing (IF) system is employed to reduce the minimum focus distance. The angle of view may be wider than that of
lenses with other focusing systems when shooting at a distance less than infinity.
• The lens hood or the lens barrel may block the light from the flash. It is recommended to perform trial shooting in advance.
• Differences in the display systems of cameras may cause to show values different from the maximum and minimum aperture values
from the specifications. This is not an indication of an error.
• Do not touch the lens-camera interface contacts with your fingers. Otherwise, it may cause a malfunction.
• If the temperature changes suddenly, condensation may form and cause malfunctions.
• The front lens is covered with stain-proof coating. After removing the dust on the lens surface with a blower or another means, wipe it
with a dry cloth.
• Never use benzene, thinner, or other organic solvents to clean the lens.
• Store the lens in a clean and well-ventilated place.
• For more details on the lens cleaning and storage, the compatibility with cameras, and other support information see our website.
https://www.tamron.com/global/consumer/support/
 Loading...