8
3.0: PLACEMENT OF THE SPEAKERS 3.1: POSITIONING
Speaker placement, and the listening environment itself, can completely compromise the performance of any loudspeaker. It is
important to understand some of the positional limitations of near-field speakers, and the operating environment, in order for
you to gain maximum performance.
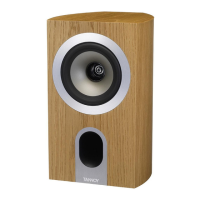
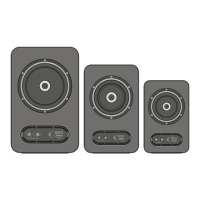
Your Ellipse monitors have an integral rubber base that will allow non-slip, vibration free mounting on the near-field platform
on your desk or a dedicated speaker stand. Alternatively the rubber base may be removed and an "Omnimount" wall bracket
attached, increasing the range of mounting and location possibilities.
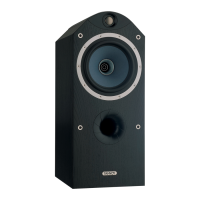
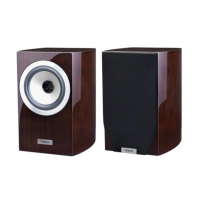
The construction of the Ellipse incorporates magnetic shielding for the drive units. These monitors can therefore be used in close
proximity to TV screens without any picture distortion. The greatest stray magnetic field is radiated from the front of the main
driver, but it's unlikely you'd put your VDU right in front of the speaker. Side-by-side placement should be OK virtually touching,
and, of course, modern non-CRT flat screens are unaffected by magnetic field.
3.2: ORIENTATION
Where do you aim the speakers to give you the smoothest and most consistent sound?
How far apart do you place them to give you a good stereo image?
The basic rule is to arrange an equilateral triangle. The distance between the two monitors should be roughly the same as the
distance between one monitor and your ears, this in the listening position where you are leaning forward on the console armrest.
This distance translates into a usual listening distance, for a near-field system, of around 1.3m (4'3") from each speaker, implying
that the speakers will be around 1.3m (4'3") apart to create the normal equilateral arrangement applied in most stereo set-ups.
The speaker horizontal axis should be aimed at a point halfway between the two extremes of the listening positions (furthest
forward and back) used when working. This is typically a range of about 600mm (24"). If possible, line up the vertical axis on
a level with your ears referencing to the very centre of the Dual Concentric™ drive unit.
You can now confirm that you are on axis in both planes. First ensure that your head is in your normal listening position, look
into the centre of the Dual Concentric™ high frequency unit wave guide, if you can see the gold colour of the HF driver dome
in the centre of the WaveGuide, then you are close to the ideal listening position. Also, having the monitors angled in towards
the user minimises high frequency reflections from walls and outboard gear. Keeping close to this height, while moving around
horizontally to access extremes of the desk and so on, will maintain a consistent frequency response; experienced as a wide
"sweet spot" in which to work.
3.3: CONNECTING YOUR SPEAKERS
Before hooking up and switching on, ensure that the sensitivity control is set to minimum (+4dB). Connect the IEC plug on the
mains power cord into the mains socket/switching module on the amplifier panel. To prevent overload risk it is advisable to
check there is no signal present prior connecting a source to the monitor input. Connect the audio signal source (console output)
to the input XLR connector at the back of the monitor.
Once the power has been switched on the Multi function LED on the front panel will illuminate RED for two seconds before
turning GREEN.
The connectivity of the balanced input is:
Ground (screen) pin 1
Signal (+) (hot) pin 2
Signal (-) (cold) pin 3

 Loading...