Do you have a question about the Tascam CD-A580 and is the answer not in the manual?
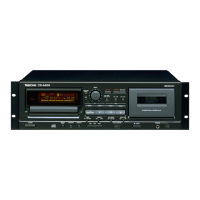
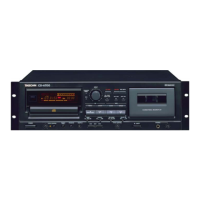
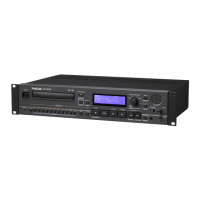
Introduces the Tascam CD-A580 for converting cassette tapes and CDs to MP3 formats onto a flash drive.
Details the need for a large flash drive, estimating 10MB per minute of audio for storage.
Advises booking Creative Studio B and notes that conversion is in real-time, taking one hour per hour of audio.
Steps to load cassette/USB, select source, and prepare the USB for recording, noting indicator lights.
Guidance on setting the recording level using REC LEVEL knob to prevent distorted or noisy sound.
Instructions on cueing the tape, starting recording, and stopping to finalize the transfer process.
| CD changer | No |
|---|---|
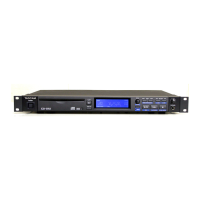
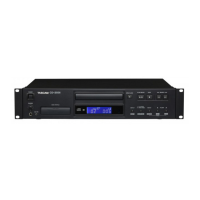
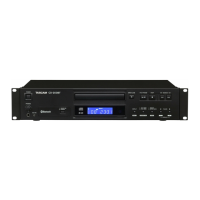
| Device type | CD recorder |
| Form factor | Rackmounted |
| Cassette deck | Yes |
| Product color | Black |
| Playback modes | Fast backward, Fast forward, Next, Previous, Stop |
| Number of decks | 1 deck(s) |
| Channels quantity | 2 channels |
| Cassette playback modes | Forward, Pause, Rewind |
| Cassette deck technology | Logic |
| Frequency range | 20 - 20000 Hz |
| Audio formats supported | MP3 |
| Signal-to-Noise Ratio (SNR) | 87 dB |
| Operating temperature (T-T) | 5 - 35 °C |
| Power consumption (typical) | 13 W |
| Headphone outputs | 1 |
| Headphone connectivity | 3.5 mm |
| Display type | - |
| Depth | 290 mm |
|---|---|
| Width | 483 mm |
| Height | 138.5 mm |
| Weight | 6000 g |