24
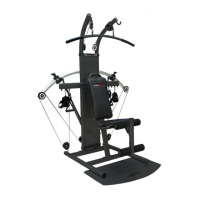
Multi Smith Pro
2.3 Assembly
Before assembly, take a close look at the individual assembly steps shown and carry out the assembly
in the order given.
L NOTICE
First loosely screw all parts together and check that they t properly. Tighten the screws using
the tool only when you are instructed to do so.
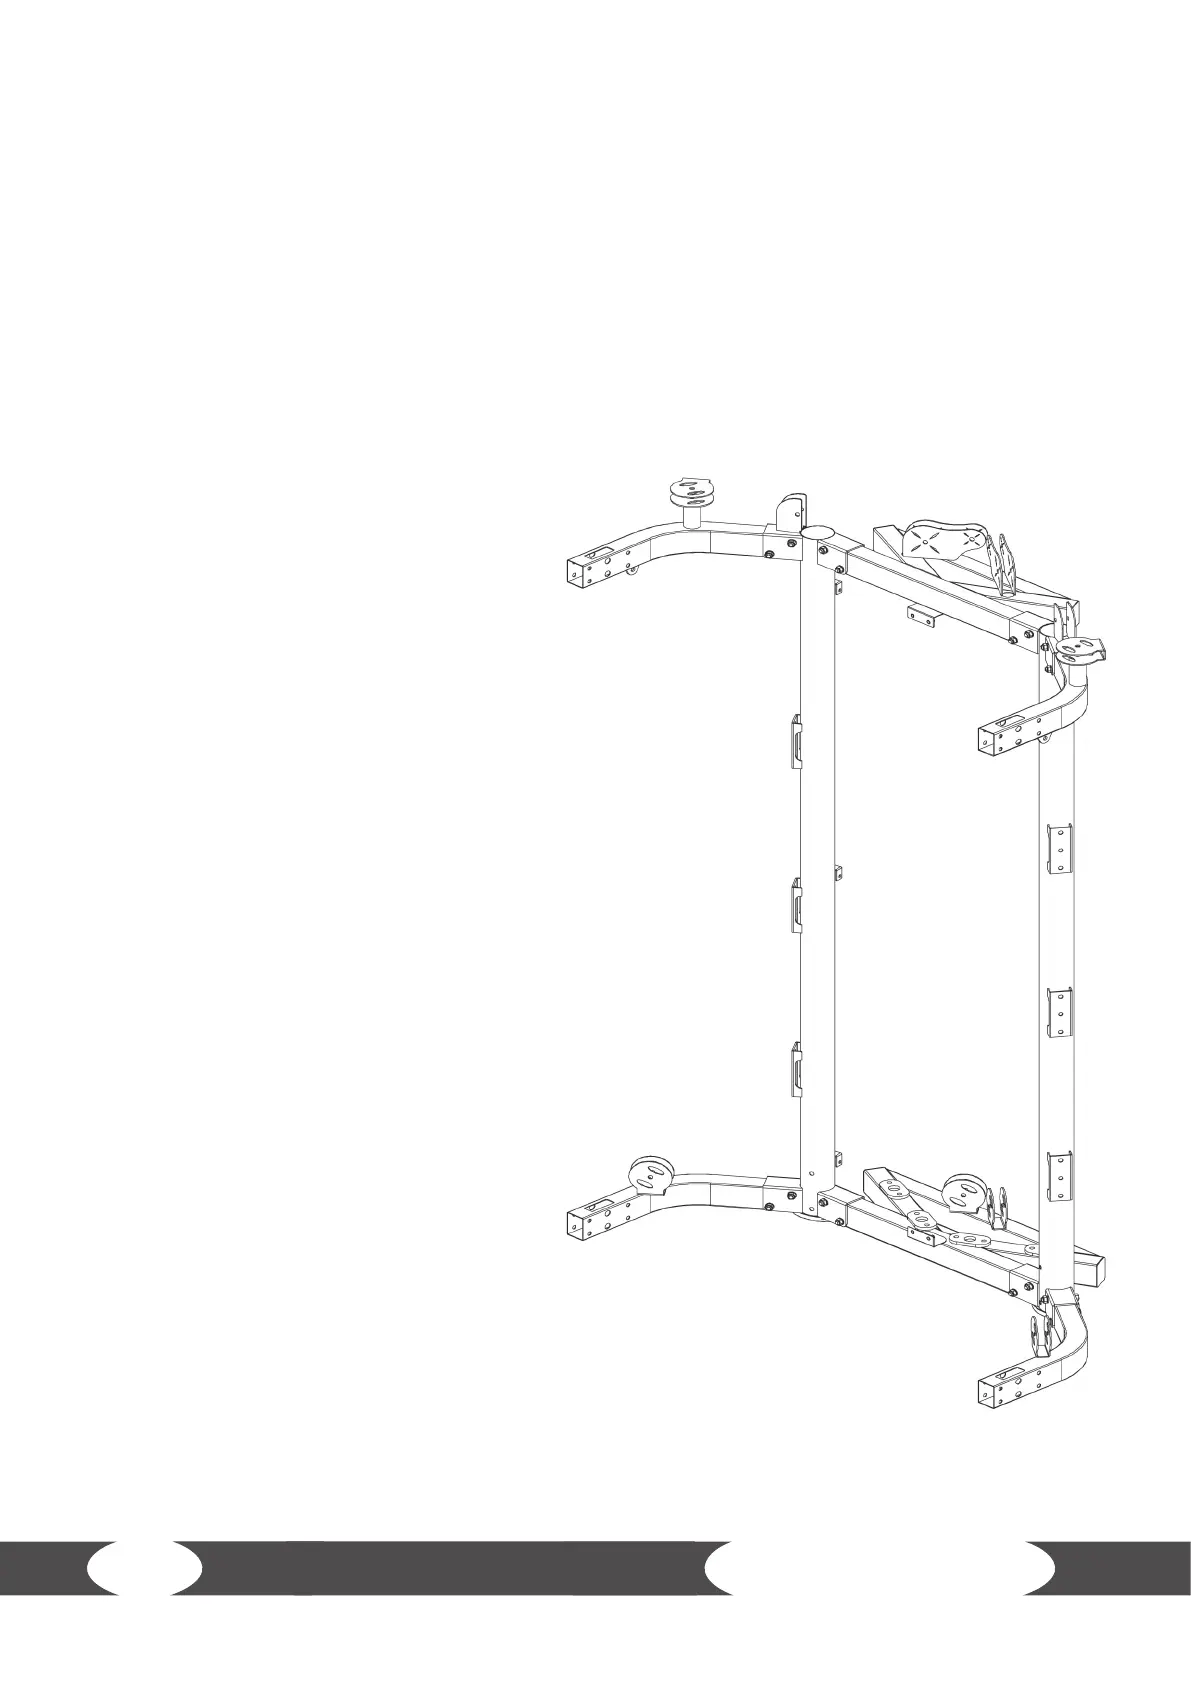
Step 1:
1. Mount the left bending tube (4) to the left upright
frame (2) using two hexagon bolts (9), four
washers (11) and two lock nuts (10).
2. Mount the right bending tube (5) to
the right upright frame (3) using two
hexagon bolts (9), four washers (11)
and two lock nuts (10).
L NOTICE
Before continuing with the next step, place the two foot
tube covers (22) underneath the two upright frames (2 & 3)
and the connection tube (1).
3. Mount the connection tube (1) to the upright frames (2 & 3)
using a total of four hexagon bolts (9), four washers (11) and
four lock nuts (10).
4. Mount the upper connection tube (6) to the upright frames
(2 & 3) using a total of four hexagon bolts (9), four washers
(11) and four lock nuts (10).
5. Mount the left upper bending tube (8) to the left upright
frame (2) using two hexagon bolts (9), four washers (11) and
two lock nuts (10).
6. Mount the right upper bending tube (7) to the right upright
frame (3) using two hexagon bolts (9), four washers (11) and
two lock nuts (10).
7. Tighten all bolts and nuts before
proceeding.