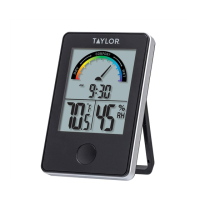
BACKLIGHT FEATURE
The base unit has a backlight for easy viewing of the screen. Press the “SNOOZE” button for a 5 second
backlight.
LCD DIGIT BRIGHTNESS
The brightness of the LCD digits may be adjusted from a level of 1 to 8.
1. Press and hold the “LCD” button for 2 seconds. “Lcd” and a number (01-08) blink in place of the clock
display.
2. Press “UP/CH” or “DOWN/CF” to adjust the display, with “01” being the faintest digits and “08” being the
brightest digits.
3. Press “LCD” to set brightness and return to the clock display.
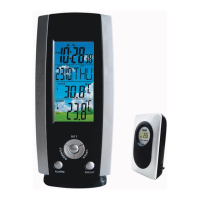
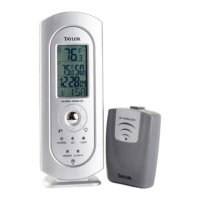
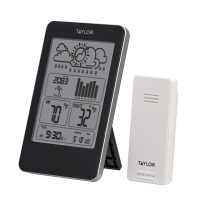
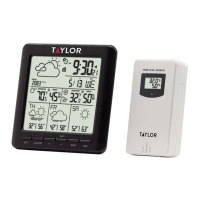
DISPLAYING YOUR WEATHERGUIDE
Base unit
Table top – use the Table Stand on the bottom of the base unit to set it on a flat surface.
Wall – remove the Table Stand. Use the recessed keyhole on the back of the base unit to hang on a wall using a
nail or screw (not included).
Place the base unit indoors in a well-ventilated location away from direct sunlight.
Remote sensor
Table top – flip out the Table Stand located on the bottom of the remote sensor/battery compartment door to set
it on a flat surface.
Wall – use the keyhole on the back of the remote to hang on a wall using a nail or screw (not included).
The transmission range of the remote sensor is 100 feet. The effective transmission range is vastly affected by
obstacles such as walls, sheds, trees, etc. Try various set ups for the best results. Shorten the distance between
the base and remote units when necessary.
To get the most accurate readings and to prolong the life of your sensor, we recommend that you mount it out of
direct sunlight and rain. Direct sunlight will heat the casing and inflate temperatures readings. Place the sensor
in a dry, shaded area. Fog and mist will not affect the sensor, but large volumes of soaking rain may. To guard
against this, we recommend that you mount it under the eve of your house, your garage or any other suitable
place that will keep it out of direct sun and rain.
Important: Though the remote unit is weather proof, it should be placed away from direct sunlight, rain, snow
and should never be submerged in water.
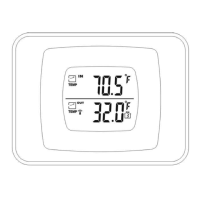
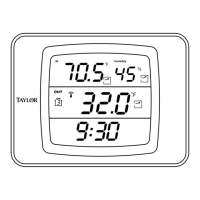
LOW BATTERY
Base unit: replace the batteries when “ ” appears by the “INDOOR” readings on the base unit, or if readings
grow dim or irregular.
Remote sensor: replace the batteries when “ ” appears by the “OUTDOOR” readings on the base unit, when “
” appears on the remote sensor, or if readings grow dim or irregular.
Always replace all batteries in each unit at the same time; do not mix old and new batteries. Do not mix
alkaline, standard (carbon-zinc) or rechargeable (ni-cad, ni-mh, etc.) batteries.
NOTE: Please recycle or dispose of batteries per local regulations.
WARNING: Batteries may pose a choking hazard. As with all small items, do not let children handle batteries.
If swallowed, seek medical attention immediately.
PRECAUTION: Do not dispose of batteries in fire. Batteries may explode or leak. Remove the batteries if the
units will not be used for a long period of time.