6-56-5TX / TXH / TXB 180S - 400L (Rev. 4/23/07)TX / TXH / TXB 180S - 400L (Rev. 4/23/07)
CONDENSERCONDENSER
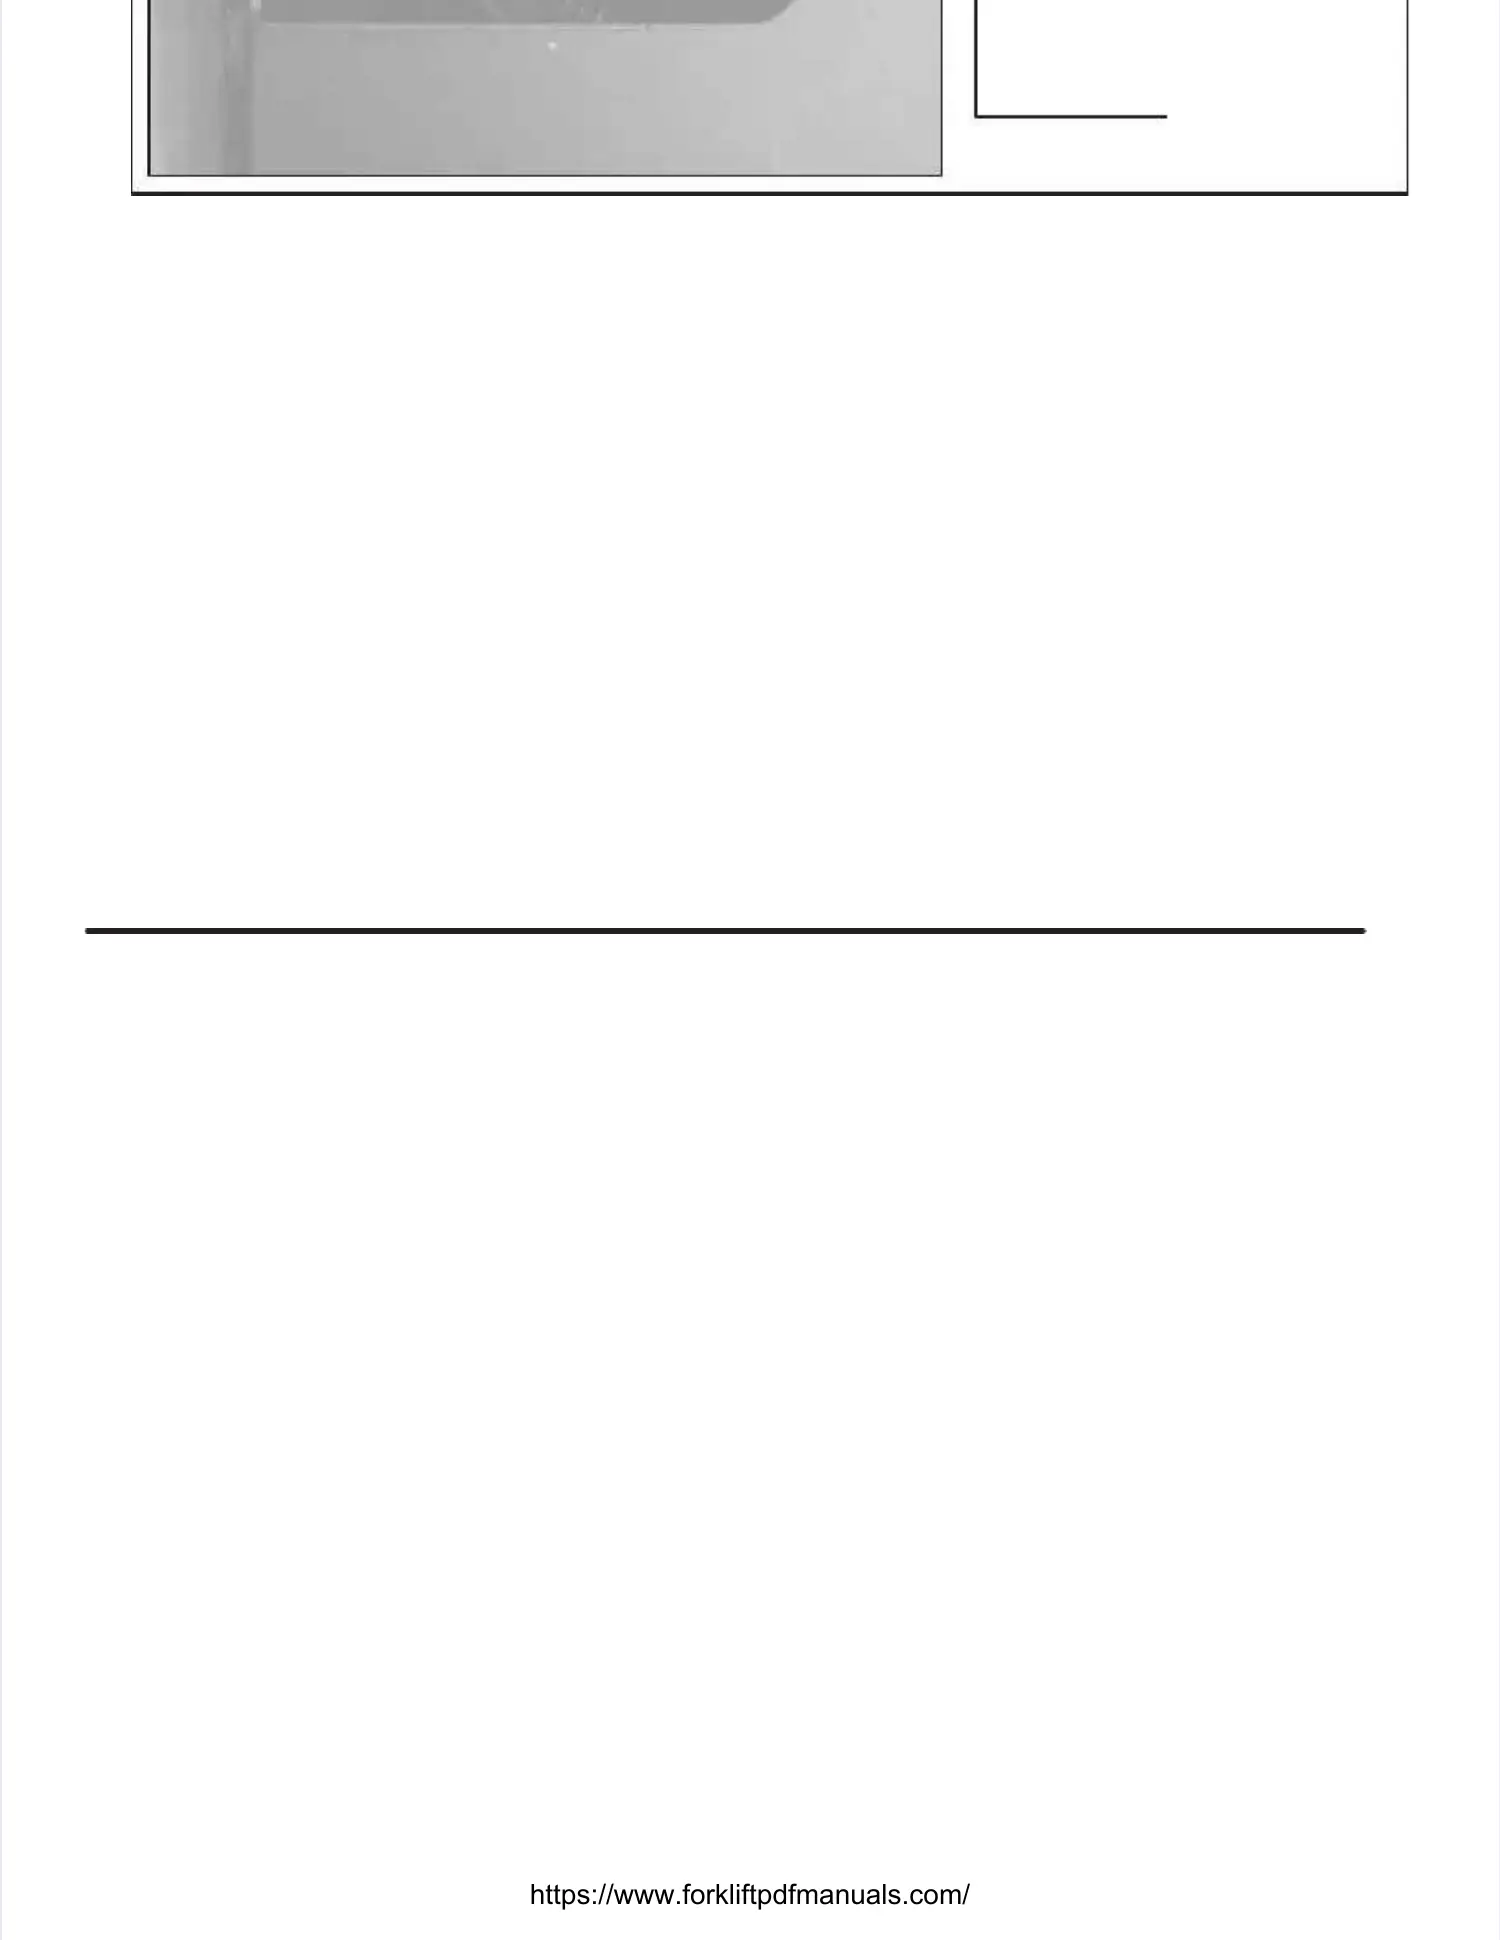
CB25, CB26CB25, CB26
(10 AMP)(10 AMP)
ACCESSORY (CB,ACCESSORY (CB,
RADIO, ETC.)RADIO, ETC.)
Illustration 6-3. Illustration 6-3. Control Stand Control Stand Circuit BreakersCircuit Breakers
Component TroubleshootingComponent Troubleshooting
Alternator.Alternator. The alternator provides 13.8 - 14.4The alternator provides 13.8 - 14.4
VDC at 130 amps of power for the electrical sys-VDC at 130 amps of power for the electrical sys-
tem and trickle charges the battery when thetem and trickle charges the battery when the
engine is being operated.engine is being operated.
The most effective way to troubleshoot an alterna-The most effective way to troubleshoot an alterna-
tor is with an ammeter on the output of the alter-tor is with an ammeter on the output of the alter-
nator. nator. Another good check Another good check is with a is with a voltmetervoltmeter
across the batteryacross the battery. . With the engine With the engine operating at aoperating at a
moderate speed, the voltmeter reading shouldmoderate speed, the voltmeter reading should
never exceed 15.5 never exceed 15.5 VDC. VDC. If reading exIf reading exceeds 15.5ceeds 15.5
VDC, the alternator is defective and requiresVDC, the alternator is defective and requires
replacing. replacing. Should the Should the alternator alternator output dropoutput drop
below 12 VDC, the alternator is defective andbelow 12 VDC, the alternator is defective and
requires replacing.requires replacing.
Perform the following procedures below for abnor-Perform the following procedures below for abnor-
mal charging system operation.mal charging system operation.
1.1. InsInsure thure that the unat the underderchachargerged condd conditiition (beon (belowlow
12 VDC) has not been caused by accessories12 VDC) has not been caused by accessories
having been left on for extended periods ofhaving been left on for extended periods of
time.time.
2.2. Check Check the dthe drive rive belt belt for pfor proper roper tensiotension (ren (refer tfer too
Drive Belt Drive Belt TenTensionsioninin Section 1Section 1).).
3.3. EnsEnsure ture that bhat battattery iery is goos good and cd and capaapable oble off
holding a charge.holding a charge.
4.4. InspecInspect t the the wirinwiring g for for defecdefects. ts. Check Check all all con-con-
nections for tightness and cleanliness, includ-nections for tightness and cleanliness, includ-
ing the slip connectors at the alternator anding the slip connectors at the alternator and
connections at the battery.connections at the battery.
5.5. WitWith the igh the ignitnition swion switcitch on and alh on and all wirl wiring haing har-r-
ness leads connected, connect a voltmeterness leads connected, connect a voltmeter
from:from:
a.a. altalternernatoator “BAr “BAT” tT” termerminal inal to grto grounoundd
b.b. altalternernatoator #1 r #1 terterminminal tal to gro grounoundd
c.c. altalternernatoator #r #2 t2 termerminainal tl to gro grounoundd
An infinity reading An infinity reading indicates an open indicates an open circuitcircuit
between the voltmeter connection and bat-between the voltmeter connection and bat-
tery. tery. Repair Repair if if required.required.
6.6. With With all aall accessccessories ories turneturned ofd off, cf, connect onnect a vola volt-t-
meter across meter across the batterythe battery. . Operate engine atOperate engine at
moderate speed. moderate speed. If voltage If voltage is 15.5 is 15.5 VDC orVDC or
higher, replace the alternator.higher, replace the alternator.
Circuit Breakers.Circuit Breakers. Circuit breakers are employedCircuit breakers are employed
in the electrical system and act similar to fuses,in the electrical system and act similar to fuses,
protecting the electrical circuits and valuable com-protecting the electrical circuits and valuable com-
ponents from overloads which could damageponents from overloads which could damage
them. them. Perform the Perform the following troubleshooting following troubleshooting pro-pro-
cedures to troubleshoot a circuit breaker.cedures to troubleshoot a circuit breaker.
11 TurTurn then the ignitignition keion key toy to the “the “IgnitiIgnition” pon” positioositionn
it trips. it trips. If the If the circuit breaker circuit breaker cannot maintain cannot maintain aa
set state, perform the following troubleshootingset state, perform the following troubleshooting
procedures to troubleshoot the automatic circuitprocedures to troubleshoot the automatic circuit
breaker.breaker.
1.1. TTurn turn the ighe ignitnition kion key to tey to the Ofhe Off posif positiotion.n.
2.2. RemRemove aove all will wires fres from trom the ouhe outputput sidt side (loe (loadad
side) of the circuit breaker.side) of the circuit breaker.
3.3. TuTurn the rn the ignitiignition key on key to thto the “Ige “Ignitionnition” pos” position.ition.
If the circuit breaker retrips, the circuit breakerIf the circuit breaker retrips, the circuit breaker
is defective and must be replaced.is defective and must be replaced.
4.4. If tIf the cihe circuit rcuit breakbreaker maer maintainintains a s a set sset state, tate, oneone
of the of the output circuitoutput circuits is s is shorted. shorted. ReconnectReconnect
the wires one by one to the output side (loadthe wires one by one to the output side (load
side) until side) until the circuit the circuit breaker trips. breaker trips. Trouble-Trouble-
shoot the circuit of the wire, that tripped theshoot the circuit of the wire, that tripped the
circuit breaker, for a short.circuit breaker, for a short.
5.5. IsolatIsolate and e and removremove the the she short ort from from the the circucircuit.it.
Single-Pole, Single-Throw 30 amp RelaysSingle-Pole, Single-Throw 30 amp Relays
(Illustration 6-4)(Illustration 6-4).. A relay is A relay is nothing more than annothing more than an
electrically contelectrically controlled switch. rolled switch. Relays are Relays are alwaysalways
shown on electrical circuits in a de-energizedshown on electrical circuits in a de-energized
state. state. The internal switcThe internal switch, common at h, common at pin 30,pin 30,
toggles between pins 87A (when de-energized)toggles between pins 87A (when de-energized)
and 87 (wand 87 (when energized). hen energized). Pins 86 and Pins 86 and 85 control85 control
the coil of the relay.the coil of the relay.
The most effective way to troubleshoot the relay isThe most effective way to troubleshoot the relay is
with an ohmmeterwith an ohmmeter. . This can be This can be accomplished byaccomplished by
removing the female spade connectors from pinsremoving the female spade connectors from pins
30 87 and30 87 and 87A87A In a de energizedIn a de energized state ensurestate ensure
 Loading...