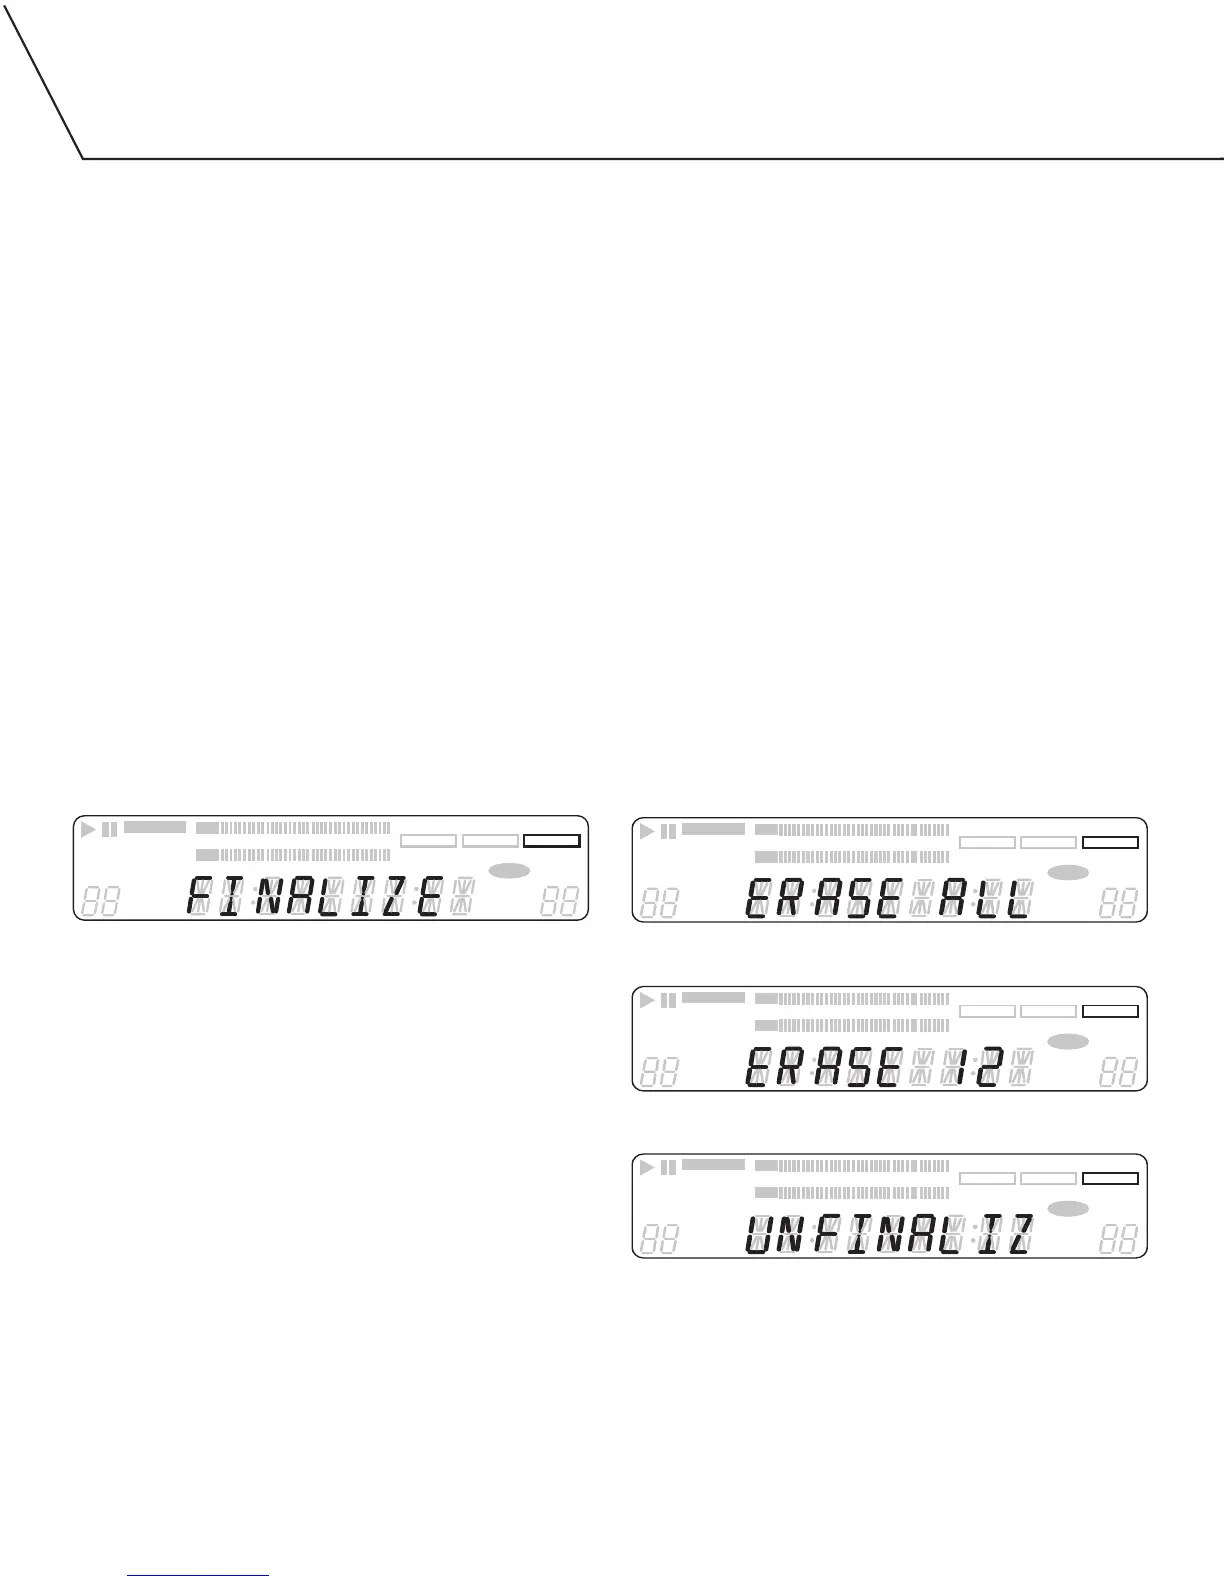
The last step in making a recording is the finalization process. Unless
this step is completed, the disc will not work in other players or the
DA-5900’s TRAY I. Once finalized, CD-R discs will play in virtually
any CD player. CD-RW discs will play in this unit and other CD-RW
compatible players. Check the specifications of your CD player if
you have questions about compatibility with CD-RW discs.
Once a CD-R disc has been finalized, it cannot be unfinalized.
A finalized CD-RW disc can be unfinalized, allowing you to erase
or add songs.
Unfinalized CD-R and CD-RW discs can only be played in the
DA-5900’s TRAY II. Unfinalized discs will not play in the unit’s TRAY I.
To finalize a disc:
1. Load an unfinalized disc in TRAY II.
2. With playback stopped, press and hold in the FINALIZE button for
three seconds.
• Finalization will take about 60 seconds.
• If for some reason you wish to cancel the finalize process, press
STOP [
■
].
• When the operation is finished, COMPLETE will appear briefly
on the display, then the display will return to its track/time
display mode.
• During the finalization process, all buttons are disabled. Never
turn the power off or unplug the power cord.
UNFINALIZING AND/OR ERASING A CD-RW
The following information only applies to CD-RW type discs. It does
not apply to CD-R discs.
• It is possible to erase the last recorded track. It is also possible
to erase a whole disc.
• Erase procedures are possible only on an unfinalized CD-RW disc.
If a CD-RW disc has been finalized, it must be unfinalized before it
can be erased.
To unfinalize a CD-RW:
1. Load a finalized CD-RW into TRAY II.
2. Press the FINALIZE button.
To erase an entire CD-RW:
1. Load a recorded CD-RW into TRAY II.
2. Press and hold in the ERASE button for three seconds.
•
If the disc was finalized, it will be automatically unfinalized and
erased. If the disc wasn’t finalized, it will still be erased.
To erase the last track on a CD-RW:
1. Load a recorded CD-RW into TRAY II.
2. If the disc is finalized, press ERASE to unfinalize the disc.
3. Press ERASE to erase the last track on the disc.
4. Repeat step 3 untill as many tracks as desired have been erased.
Erase all the tracks.
Erase the last track. In this example, track 12 is the disc’s last track.
Unfinalize the disc.