9
EN
V
Do not turn the power on until after
making all connections.
o
Carefully read the manuals of the devices that
you are connecting and follow their instructions
when making connections.
o
Do not bundle connecting cables with power
cords. Doing so could cause noise.
o
Connect all plugs completely.
A
Analog audio input connectors (INPUTS)
These are two-channel analog audio input pairs.
Connect cassette decks, CD players and other devices
that output audio.
Connect the L connectors of this unit with the L
connectors of audio output devices. Connect the R
connectors of this unit with the R connectors of audio
output devices.
o
This unit's XLR connectors are pin 2 “hot”.
Use commercially available cables to make the
connections.
XLR: Balanced XLR cables
LINE 1: RCA audio cable
LINE 2: RCA audio cable
B
LEVEL switch
Set the level of the audio output from the analog
audio output connectors (LINE OUT).
FIX: Output the same level as input.
VARI: Output according to the VOLUME knob
setting.
OFF: No output.
C
Analog audio output connectors
(LINE OUT)
These are a two-channel analog audio output pair.
Connect these to an amplifier or other device with
audio inputs.
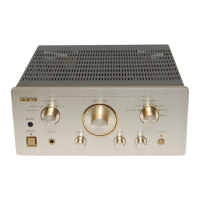
Use commercially available cables to make the
connections.
Red (R)
Red (R)
D
Power inlet (
~
IN)
Insert the included power cord here. After complet-
ing all other connections, insert the power plug into a
power outlet.
Unplug the cord from the outlet when not using the
unit for a long time.
V Use only the included power cord. Use of a differ-
ent cord could cause fire or electric shock.