ENGLISH
Connections
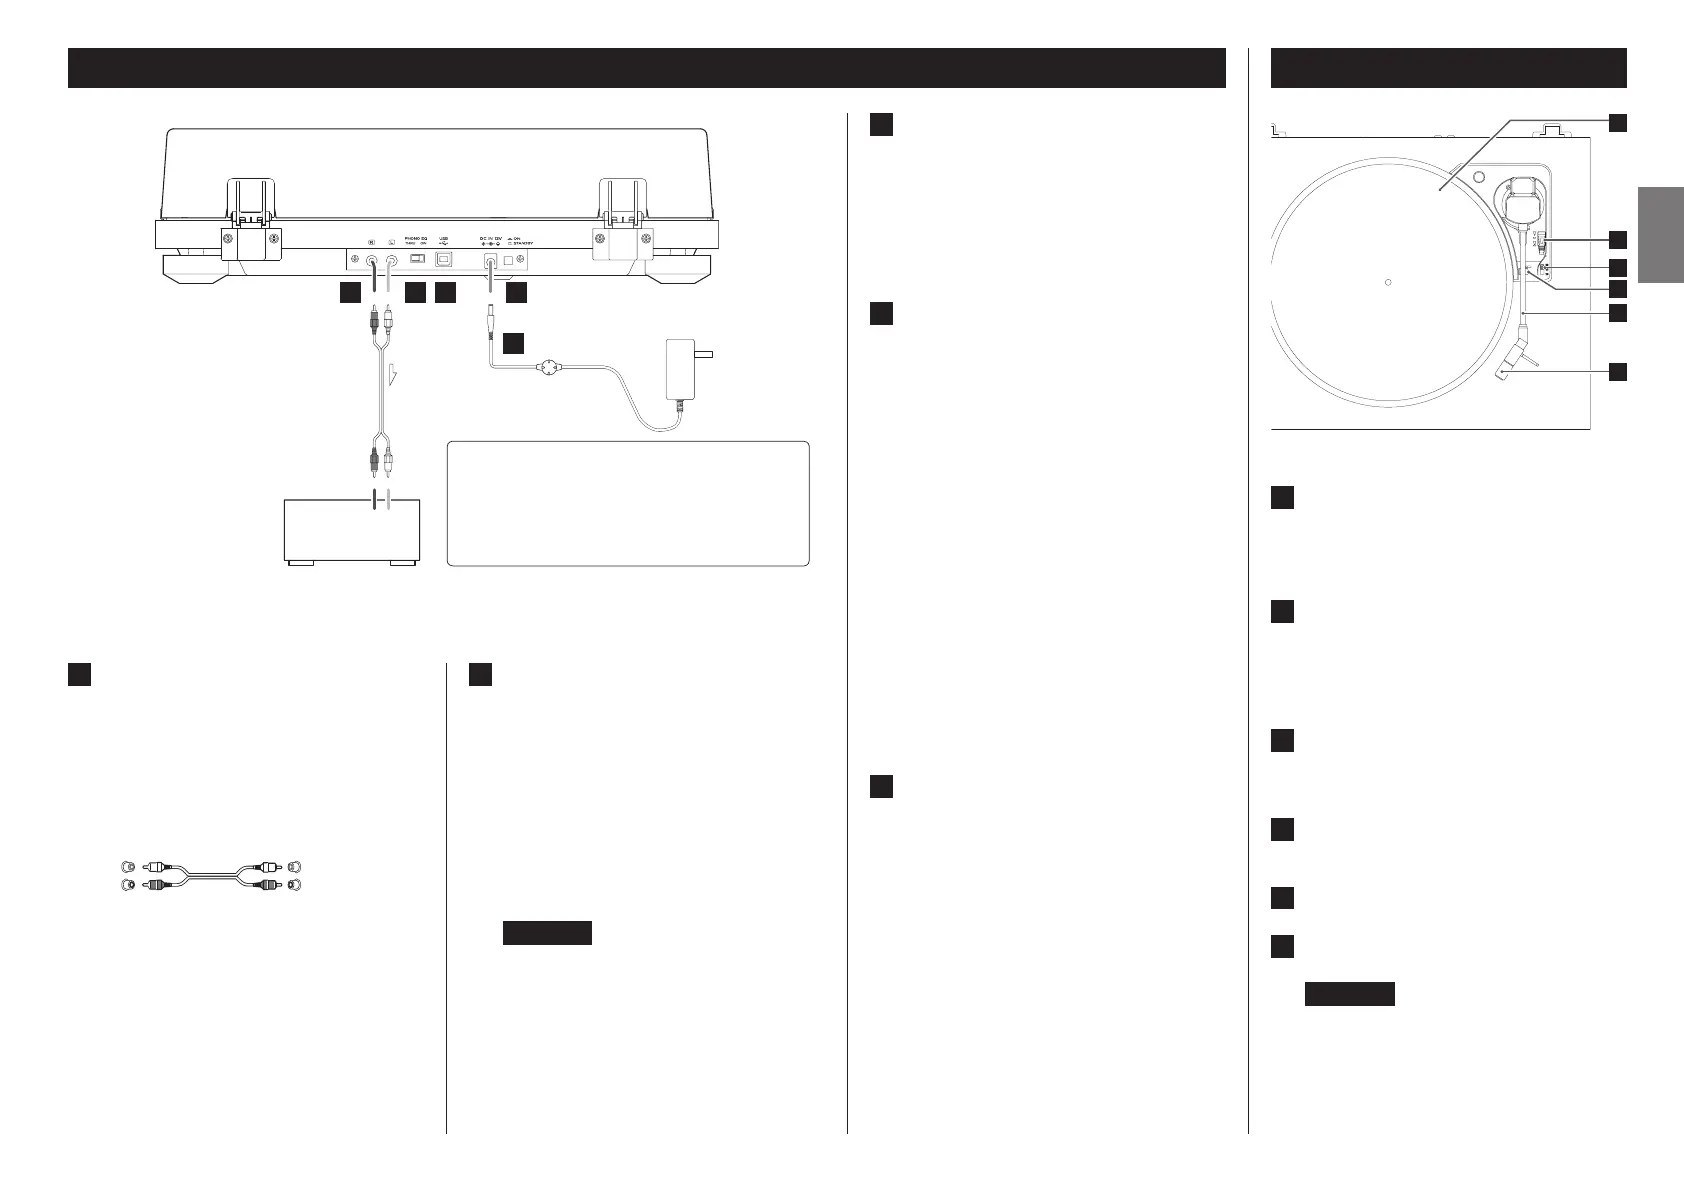
A
Analog audio output connectors (L/R)
These output analog audio signals.
The PHONO EQ switch setting changes the type of out-
put signal.
Use the included audio cables (or commercially-available
ones) to connect to analog audio input connectors (LINE,
PHONO, etc.) on other equipment.
RCA audio cable
L
R
L
R
B
PHONO EQ (audio output setting) switch
ON
Audio signals that have been amplified by the built-in
phono equalizer amp are output from the analog audio
output connectors (L/R).
THRU
The signal from the stylus is output directly through the
analog audio output connectors (L/R).
Use this when connecting to equipment that has PHONO
inputs.
o When shipped new from the factory, this is set to ON.
ATTENTION
When set to ON, if connected to the PHONO inputs of
an amplifier, for example, the output from speakers and
headphones will be very loud, which could damage
equipment or harm hearing.
C
USB port (USB B type) (TN-100 only)
Analog audio from the record is converted to PCM digital
signals (up to 48kHz/16-bit) and output through this.
Recording on a computer is possible by connecting this
to a USB port on the computer using a USB cable (type A
to type B) (page8).
D
DC input connector
After completing audio cable connections, connect the
included AC adapter here.
Confirm that the power plug of the AC adapter is
plugged into a power outlet.
o Do not use any AC adapter other than the one
included.
V
Be sure to connect the power cord to
an AC outlet that supplies the correct
voltage. Connection to an outlet that
supplies incorrect voltage could cause
fire or electric shock.
V
Hold the power plug when plugging it
into an outlet or unplugging it. Never
pull or yank on the power cord.
V
Unplug the power cord from the outlet
when you are not planning to use the
unit for an extended period of time.
E
STANDBY/ON button
Press the STANDBY/ON button to turn the unit on or put
it in standby.
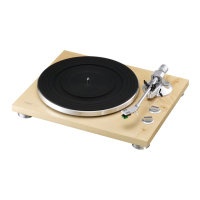
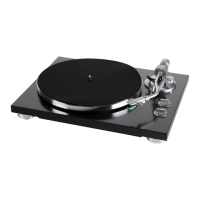
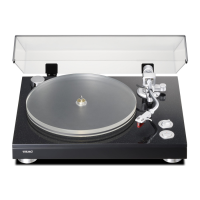
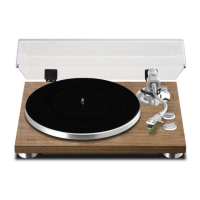
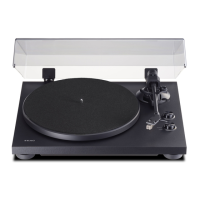
Names and functions of parts
a
Turntable (platter)
Place records centered on the turntable (platter).
o Place the included rubber mat on the turntable (plat-
ter) before using it.
b
Arm lifter lever
Use this to raise and lower the tip of the stylus.
We recommend using the arm lifter lever to avoid dam-
aging records and styluses, because it is safer and more
certain than using a finger to do so.
c
Rotation speed setting knob
Select the rotation speed indicated on the record to be
played.
d
Tone arm holder
This is a rest for the tone arm.
e
Tone arm
f
Headshell
ATTENTION
Always remove the protective cover (white) before use.
Keep this protective cover to protect the tip of the stylus
during transportation.
V
Precautions when making connections
o Do not plug the unit in until after making all connections.
o Carefully read the manuals of the devices that you are
connecting and follow their instructions when making
connections.
B C
D
A
RL
E
When PHONO EQ is ON
Connect to line input connectors of
amplifier, etc.
When PHONO EQ is THRU
Connect to phono input connectors
of amplifier, etc.
Included AC adapter
Amplifier
This illustration is of the TN-100.
e
b
c
f
d
This illustration is of the TN-100.
5


 To Next Page