Do you have a question about the Techno Line WT 235 and is the answer not in the manual?
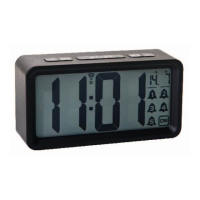
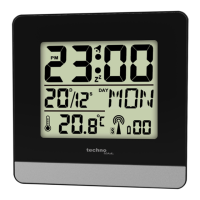
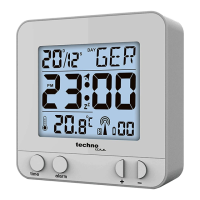
Details the various indicators and information displayed on the LCD screen.
Identifies and explains the functions of the physical buttons on the device.
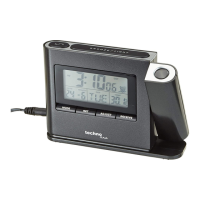
Clock synchronizes automatically via DCF frequency for accurate timekeeping.
Supports both 12-hour and 24-hour time display formats.
Allows users to manually adjust the time settings.
Features a continuous calendar up to the year 2099.
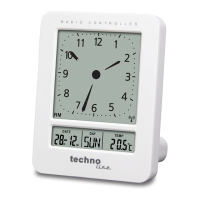
Shows the current date and the corresponding day of the week.
Temperature can be displayed alternatively in °C or °F.
Includes a snooze function that activates automatically after 5 minutes.
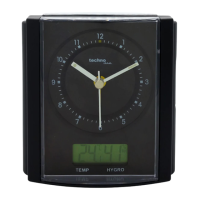
Indoor measurement range for the thermometer is -9.9°C to 49.9°C.
Requires two 1.5V "AAA" size batteries (not included).
Upon battery insertion, display lights up, shows full display for 2s with beeping, then enters DCF reception.
Press and hold 'time' button; use '+' and '-' to set time zone.
Press 'time' to confirm; use '+' and '-' to set the hour.
Press 'time' to confirm; use '+' and '-' to set the minute.
Press 'time' to confirm; use '+' and '-' to set the year.
Press 'time' to confirm; use '+' and '-' to set the month.
Press 'time' to confirm; use '+' and '-' to set the date.
Press 'time' to confirm; use '+' and '-' to set the language.
Press 'time' to confirm and exit setting procedures, entering clock mode.
In clock mode, press '+' to switch between 12/24 hour format.
Clock switches from Set Mode to Normal Time Mode after 30 seconds of inactivity.
Press 'time' button to activate/deactivate alarms, indicated by an icon.
Hold 'alarm' for 2s; use '+' and '-' to select time, 'time' to confirm.
Alarm hour display flashes; use '+' and '-' to set, 'time' to confirm.
Alarm minute display flashes; use '+' and '-' to set.
Alarm sounds for 2 minutes if not deactivated; repeats after 24 hours.
Alarm sound crescendos, changing volume 4 times during alarm signal.
Touch '/zz' icon while alarm sounds to activate snooze; 'ZZ' icon appears.
Snooze delays alarm by 5 minutes; can be interrupted by any button.
Temperature can be switched between Celsius and Fahrenheit using the '-' button.
Search starts automatically when batteries are changed; radio mast symbol flashes.
Clock synchronizes with DCF signal at 1:00 AM to correct deviations.
System retries synchronization up to 5 times if initial attempt fails.
Press and hold '-' button to start manual DCF reception.
Buttons are inactive during RCC except '-' to exit receiver function.
If DCF signal is too weak, manual time setting is available.
Maintain 2.5m distance from interference sources like TVs and monitors.
Reception is weaker in rooms with concrete walls; place near window.
Lists factors affecting wireless time reception (distance, mountains, construction, etc.).
Place clock near a window, away from metal surfaces and electrical appliances.
This main unit is intended for indoor use only.
Do not subject the unit to excessive force or shock.
Avoid extreme temperatures, direct sunlight, dust, humidity, and corrosive materials.
Do not immerse the unit in water.
Do not dispose of the unit in fire as it may explode.
Do not open the back case or tamper with components.
Use only alkaline batteries, not rechargeable ones.
Install batteries correctly, matching polarities (+/-).
Always replace a complete set of batteries; never mix used and new ones.
Remove exhausted batteries immediately and when not in use.
Do not recharge or dispose of batteries in fire due to explosion risk.
Store batteries away from metal objects to prevent short circuits.
Avoid exposing batteries to extreme temperatures, humidity, or direct sunlight.
Keep batteries out of reach from children; they are a choking hazard.
Return used batteries to dealers/collection points; do not discard as domestic waste.
Dispose of electrical devices separately from household waste at collection points.
| Snooze Function | Yes |
|---|---|
| Power Source | Battery |
| Type | Digital |
| Display Type | LCD |
| Alarm Modes | Buzzer |
| Additional Features | Temperature Display |