Techno
Inc.
HTT03170704
3
Premium Class Setup Instructions
Phone: 516-328-3970 · Web: www.technocnc.com
Continue to next page …
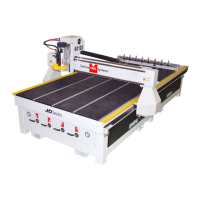
Vacuum Pump Motor
Starter Box & Connector
II. HOW TO USE THE VACUUM TABLE
The motor has been wired to the Motor
Starter. The incoming voltage must be wired
to the Motor Starter Box.
NOTE: Voltage is specifi ed on the box
Vacuum Pump w/ Motor Starter
The signal connector needs
to be connected to its mating
connector (shown left).
Pump/Blower Cable
You will need to connect the
AC power (220 or 440 VAC)
as specifi ed on the unit to
the Motor Starter.
Connect one end of the 2”
diameter vacuum hose to
the manifold fi tting …
… and connect other end of the
vacuum hose to the Vacuum
Pump fi lter.
Vacuum Hose Fittings …
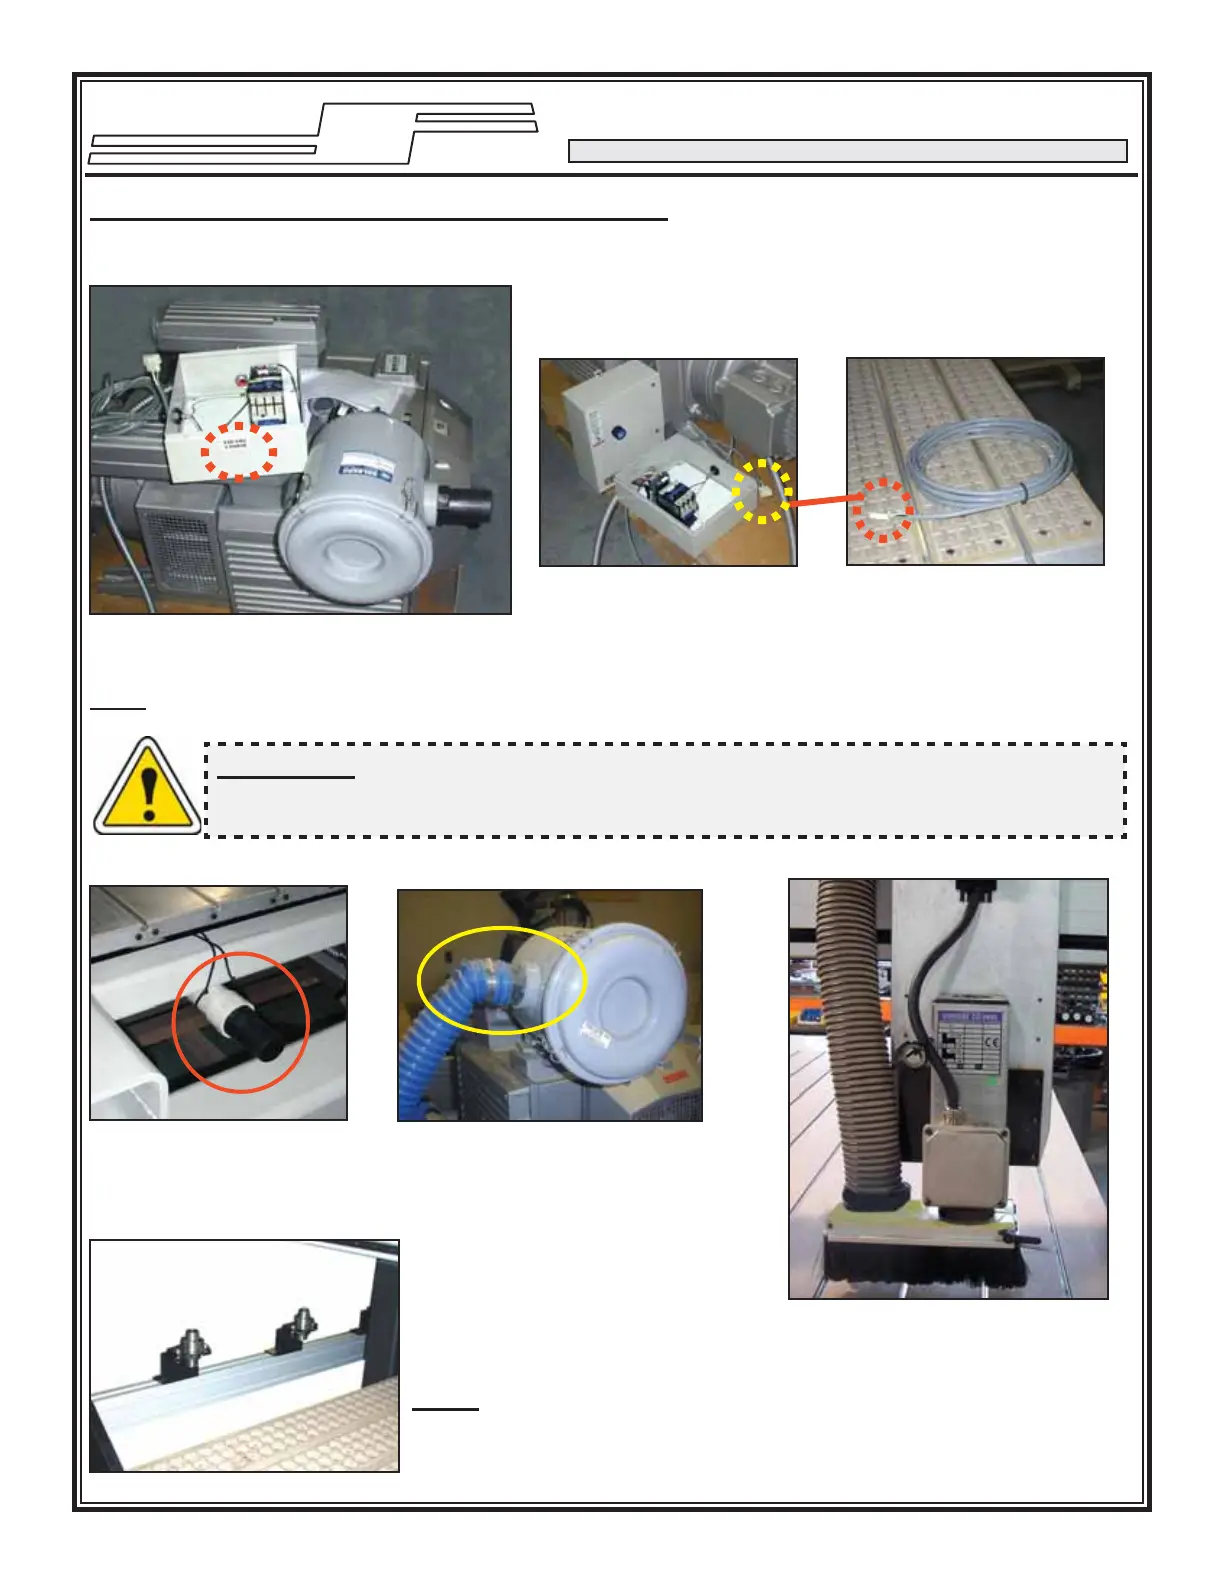
Tool Changer Rack (if applicable)
Vacuum Shroud
Place the toolholders here on the tool
holder rack. Please note the collets
and the collet wrenches are supplied
with the unit. Refer to manual on how
to teach tool locations.
Note¹: Make sure the distance
between Tool Holders is greater than
the length of the vacuum shroud/dust
collector.
WARNING: Direction of Rotation is critical. Briefl y start motion and check rotation (arrow
on casing). Exchange phases if rotation is incorrect. IF YOU RUN THE PUMP/BLOWER
CONTINUOUSLY IN THE WRONG DIRECTION THE VANES WILL BE DAMAGED.
The dust collector shroud is
mounted through the block next to
the spindle and the dust collector
hose should be attached to the
fi tting supplied with the shroud.
 Loading...