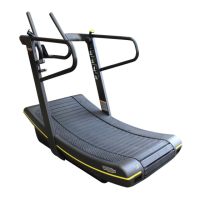
7.4 DISASSEMBLING THE CENTRAL HANDLEBAR
1. Remove the left hand guard, next to the handlebar.
2. Disconnect the two connectors.
3. Remove the screws fastening the handlebar (left side).
WARNING: leave a screw loosely aached, to support the handlebar.
4. Remove the right-hand guard, next to the handlebar.
5. Remove the screws fastening the handlebar (right side).
6. Remove the handlebar, also removing the screw that had just been loosened (left side).
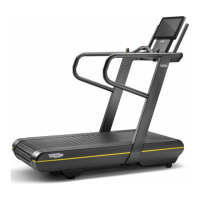
7.5 DISASSEMBLING THE SIDE HANDLEBARS
1. Disassemble the central handlebar as described in paragraph “7.4 Disassembling the central
handlebar”.
2. Remove the upper angular side guard (the outer part of the equipment).
3. Remove the upper angular side guard (the inner part of the equipment). ATTENTION: there
are a number of hidden screws to remove.
4. Remove the 2 upper screws from the side handlebar.
5. Loosen the grub screw on the lower part of the side handle.
6. Remove the side handlebar.
When the handlebar has been removed, recover the pawl.
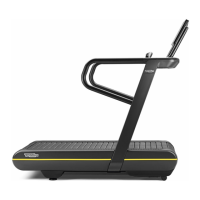
7.6 DISASSEMBLING THE UPRIGHT
1. Disassemble the side handlebars as described in paragraph “7.5 Disassembling the side
handlebars”.
2. Remove the front tread belt footboard.
Mark the screws according to their size.
3. Remove the guard next to the upright, on the inner side of the equipment.
4. Remove the (interlocked) side covering from the lower part of the upright, on the outer side
of the equipment.
Skillmill:
Technical Service Guide - Rev. 3.5
Page 99email: support@technogym.com
 Loading...