®
MULTI4 / QUICK USER GUIDE N°1
USER’S MANUAL
STEP 1 : Read the safety instructions
STEP 2 : Unpacking, assembly and starting up
• Depending on your
application, we
strongly recommend to
wear protective glasses
and gloves, as well as
safety shoes.
• Keep the machine
away from heat,
humidity, and radio
interferences sources
(ex : welding machine).
• Never tighten or
release the knurled nut
of the percussion sub
assembly* using a
plier or any other tool.
Hand tightening is
sufcient (See User’s
guide 1-B-2).
• Avoid violent impact
on the marking head
or the control box.
• Never cover the
control box.
• Do not insert your
ngers between the
stylus and the part to
be marked.
• Never activate the
machine when empty
(without part to mark
under the marking head).
• Think about positioning
stylus between 0.039’’
and 0.37’’ (1mm and
9.5 mm) from the
surface to be marked.
Optimal conguration
is 0.12’’ (3 mm).
• In hand held position,
do not point or position
the active part of the
stylus towards yourself
or anybody else.
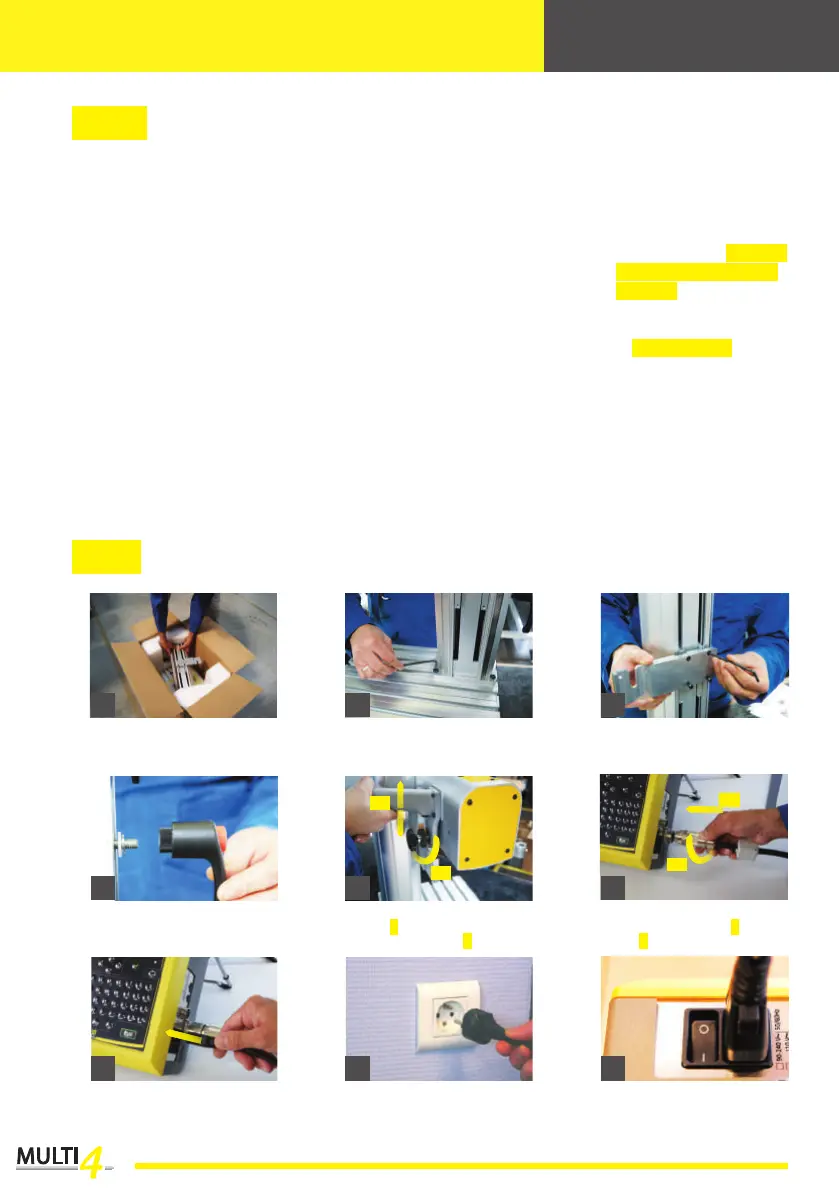
Connect the power cable to the
controller.
Tighten the locking handle on the
column (see assembly plan ASC10
included in the packing box).
Unpack the different parts
comprising the machine.
Plug in the power supply cable into
a power socket.
Mount the marking head on the
column (1), using the knurled nut at
the back of the head (2).
Assemble the base and the column
(see assembly plan ASC10
included in the packing box).
Power up the machine by switching
the main switch to ( I ).
Connect the marking-head
cable to the controller (1) and
lock it (2).
Fix the xing plate on the column
(see assembly plan ASC10
included in the packing box).
3
6
9
2
5
8
1
4
7
1
1
2
2
* Part where the stylus is located.