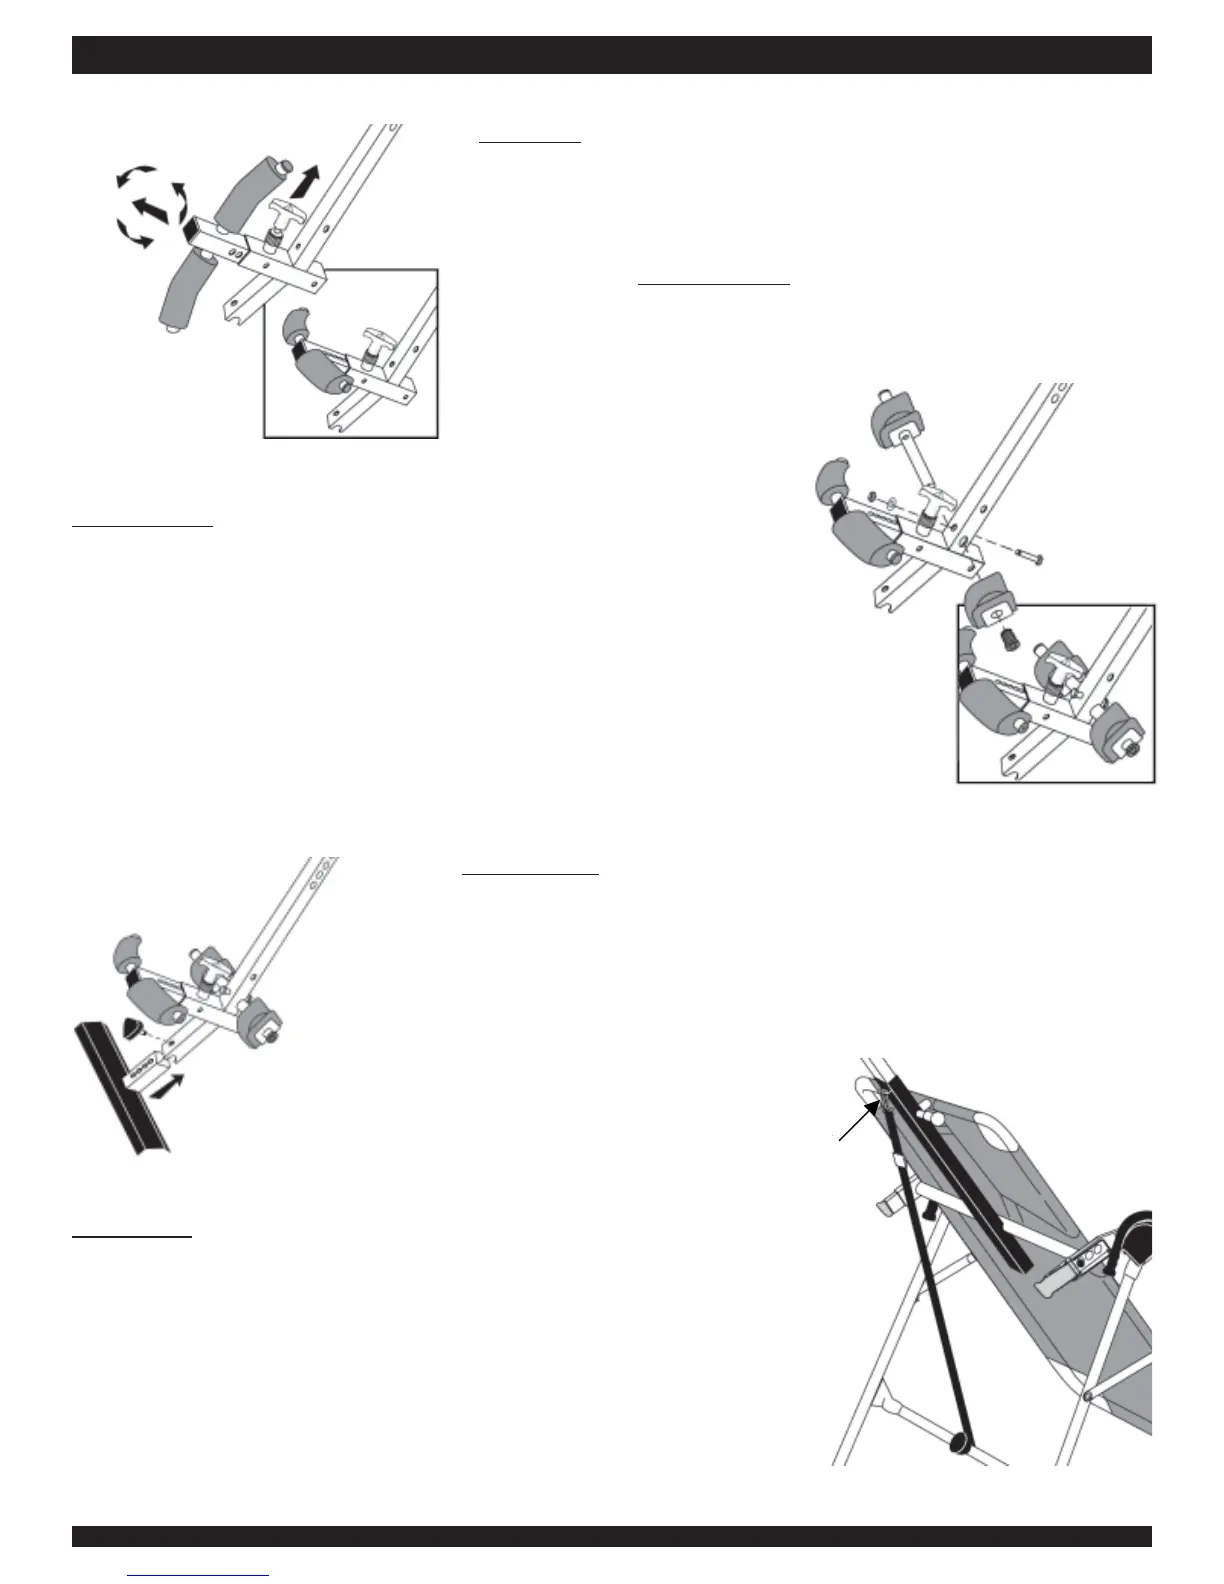
Figure 6
Figure 6A
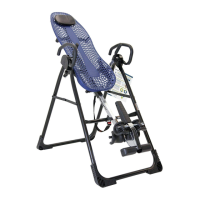
STEP SIX
Rotate the Front Ankle Clamps on the Main Shaft (F51039)
• Pull up on the locking pin for the ankle clamps. (See Figure 6)
• Pull out the spring loaded front ankle clamps until the square tubing is
disengaged from the main shaft. Do not overstretch the spring.
• Rotate clamps
counterclockwise so that the pin holes face up. (See
Figure 6A) Re-engage the square tubing into the main shaft.
ASSEMBLY
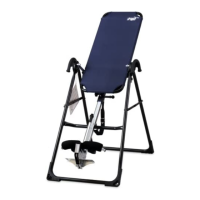
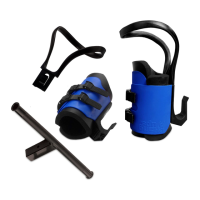
STEP SEVEN
Assemble Rear Bar with Ankle Clamps (F51052)
• With the rounded corners of the rear foam ankle piece facing down, insert
the rear bar with one ankle clamp into the large hole at the bottom of the
main shaft. (See Figure 7)
• Align the hole in the rear bar with the hole on the main shaft and insert
the Hex bolt (F51087) into the holes from the rear. Install the washer and
nut; tighten with the wrenches provided.
• Slip the other foam ankle clamp with silver backing (rounded corners
down) onto the rear bar and push the black rubber plug (F51056) into the
bar. See Figure 7A for correct assembly.
Figure 7
Figure 7A
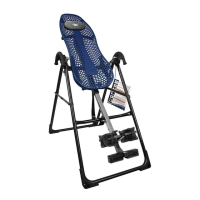
STEP NINE
Attach the Tether Strap to Limit the Degree of Rotation
• Unfold the tether strap and snap it into the U-bar on the underside of the
table frame. (See Figure 9)
• The tether strap is adjustable to stop the inversion table at any desired
angle.
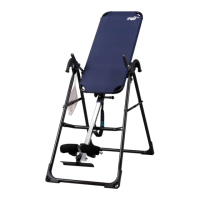
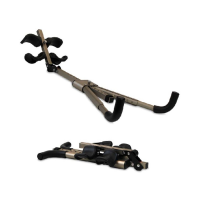
STEP EIGHT
Assemble Foot Platform (F51060)
• Slide the foot platform into the bottom of the main shaft and adjust to
desired height. (See Figure 8) Refer to the Owner’s Manual for proper user
settings before use.
• Insert the Triangle-head knob (F51063) through the predrilled holes and
tighten.
Figure 8
Hook tether
strap here.
Figure 9
Assembly Instructions #LF5100 Pg. 3