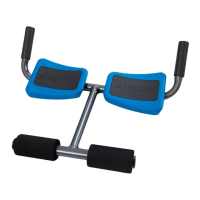
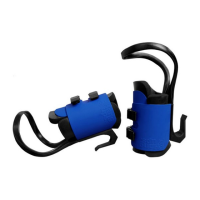
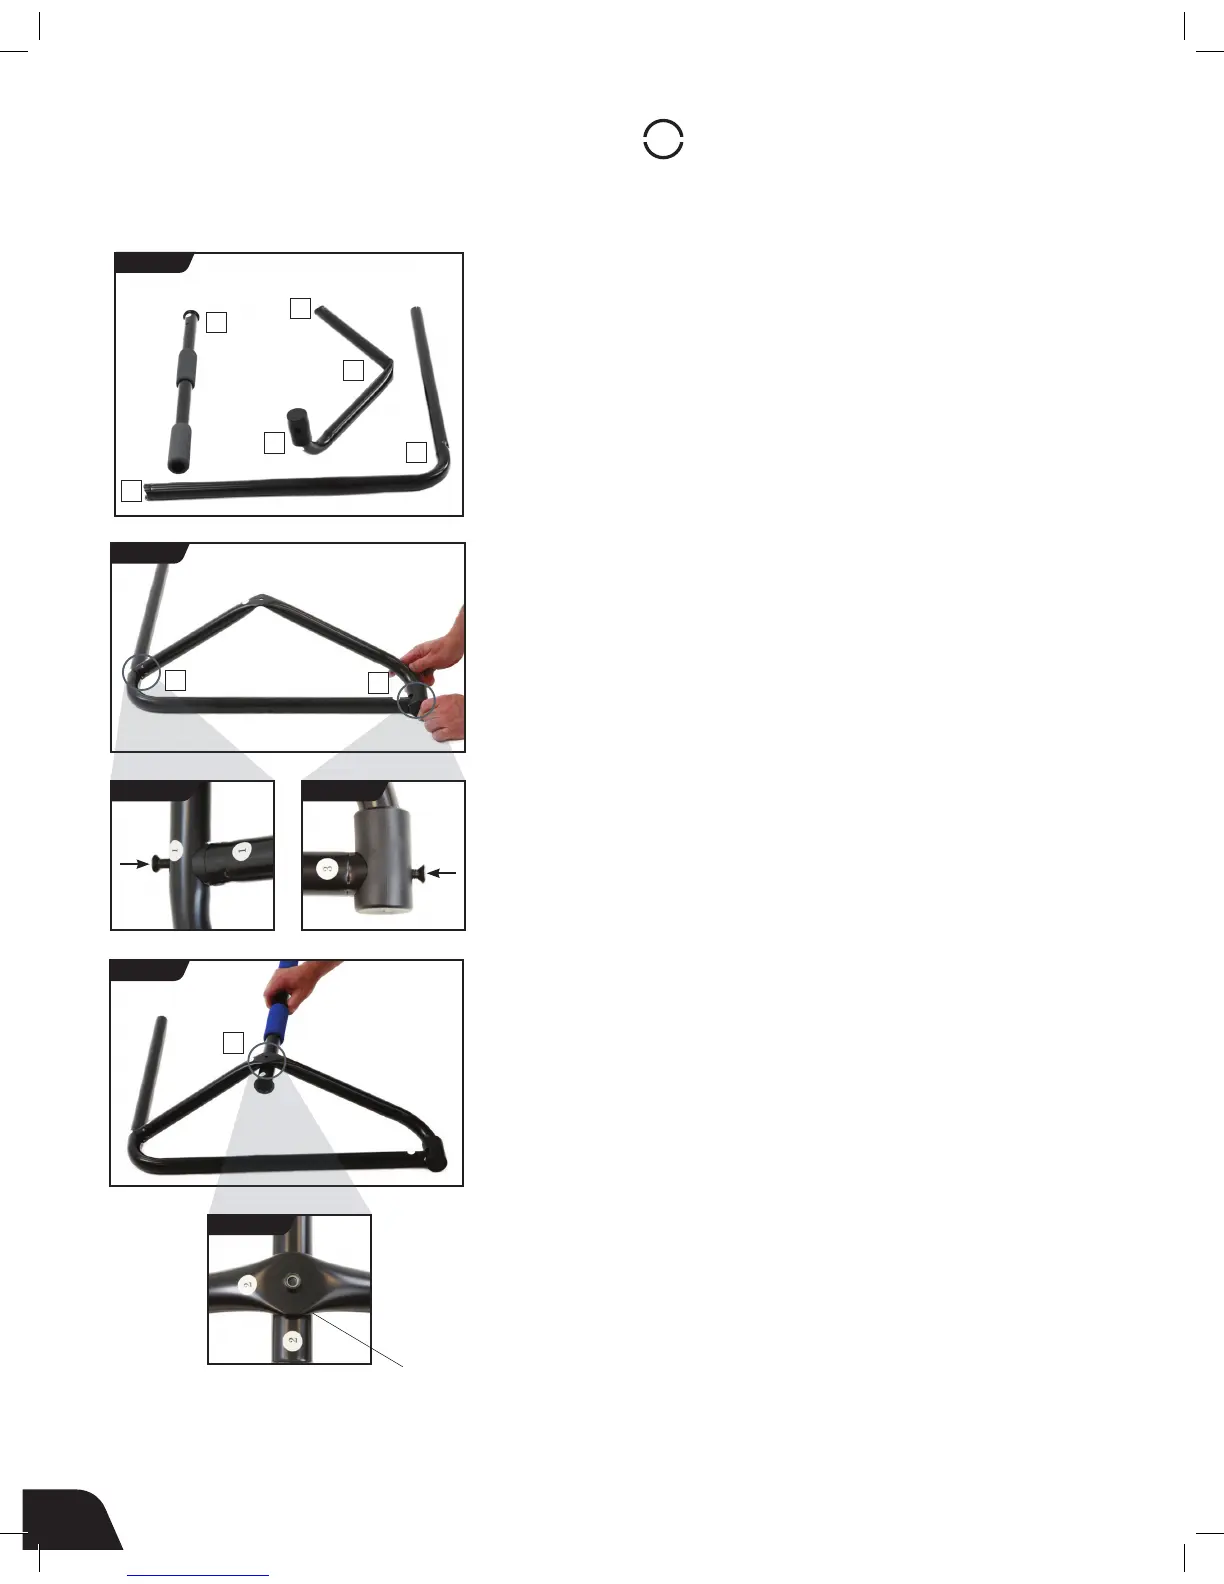
• Locate the three (3) bars for the Large Bar Assembly, marked with Joint
numbers 1, 2, and 3 (Figure 1). Locate the Large Assembly Hardware Kit
(E11060).
• Position the Large Diameter “L” Bar and Large Diameter “Elbow” Bar
together, aligning joints marked as 1 and joints marked as 3 (Figure 2).
• Assemble Joint 1 (Figure 2A):
» Seat the curved flange at the end of the “Elbow” Bar over the
hole on the “L” Bar.
» Insert and loosely hand-tighten a 2 inch (5 cm) bolt through the
“L” Bar into the flange in the “Elbow” Bar. Do not fully tighten yet.
• Assemble Joint 3 (Figure 2B):
» Seat the end of the “L” Bar inside the large opening in the Door
Saver on the “Elbow” Bar.
» Insert and loosely hand-tighten a 2 inch (5 cm) bolt through the
outside of the Door Saver into the end of the “L” Bar. Do not fully
tighten yet.
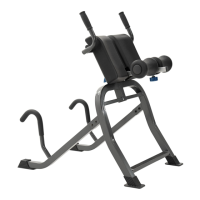
• Position the Straight Bar with Grips and Large Diameter “Elbow” Bar
together, aligning the joint marked as 2 (Figure 3).
• Assemble Joint 2 (Figure 3A):
» With the countersink pointing down, align the hole in the Straight
Bar underneath the “Elbow” Bar,
» Insert the 1 ¾ inch (4.4 cm) bolt under the Straight Bar into the
countersink and through the “Elbow” Bar. Hand tighten with the
nut. Do not fully tighten yet.
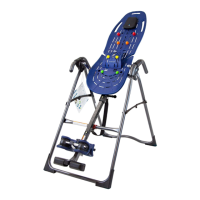
FIGURE 1
STEP
Assemble Large Diameter Bars
1
FIGURE 1
FIGURE 2
FIGURE 3
2
6
2
2
1
1
3
3
FIGURE 2A
FIGURE 2B
1
3
FIGURE 3A
Countersink