EasyManua.ls Logo

Teeter FitSpine X Series User Manual

Teeter FitSpine X Series
20 pages
To Next Page IconTo Next Page
Page #1 background imageLoading...
Page #1 background image
FitSpine X
TM
Series
Assembly Instructions
Models X1, X2, X3
YEAR
5
W
A
R
R
A
N
T
Y
FULL
NEW!
Follow along with
your smartphone
to make assembly
even easier!
For gravity-assisted stretching and decompression
To download and print the Teeter
FitSpine X
instructions, visit the
Product Manuals page at teeter.com.
* Specifications may vary from this image and are
subject to change without notice.
The X1 is shown here. Your actual model may vary.
EN
founder & innovator
I created Teeter so people could
live healthier, more active lives.
Question and Answer IconNeed help?

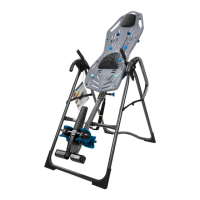
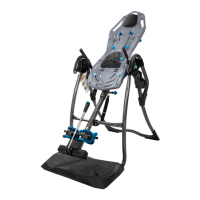
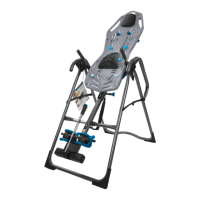
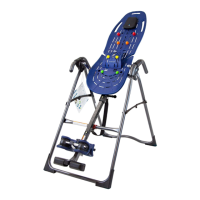
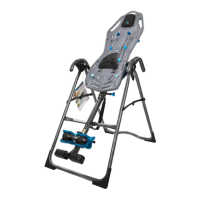
Do you have a question about the Teeter FitSpine X Series and is the answer not in the manual?

Teeter FitSpine X Series Specifications

General IconGeneral
BrandTeeter
ModelFitSpine X Series
CategoryFitness Equipment
LanguageEnglish

Summary

Important Safety Instructions

Parts for Assembly

Understanding Your Inversion Table

Safety Warning Labels & Product Specifications

Before Beginning Assembly

Assembly Steps

Assemble A-Frame Base & Stretch Assist Handles (X1 Models)

Step 1: Assemble the A-Frame base and attach Stretch Assist Handles for X1 models.

Assemble A-Frame Base & Stretch Max Handles (X2 or X3 Models)

Step 1: Assemble A-Frame base and attach Stretch Max Handles for X2/X3 models.

Assemble Table Bed

Step 2: Attach the Table Bed to the A-Frame assembly.

Assemble Roller Hinges to Table Bed

Step 3: Connect the Roller Hinges to the Table Bed.

Assemble Table Bed to A-Frame

Step 4: Securely attach the assembled Table Bed to the A-Frame.

Assemble Main Shaft to Table Bed

Step 5: Mount the Main Shaft onto the Table Bed assembly.

Attach Angle Tether & Head Pillow

Step 6: Install the Angle Tether and attach the Head Pillow.

Misassembly Check

Before Inverting

Full 5 Year Warranty

Related product manuals