Do you have a question about the Teeter FitSpine LX4 and is the answer not in the manual?
Detailed safety guidelines, contraindications, and warnings for using the inversion table.
Lists all components required for assembling the inversion table with item numbers and names.
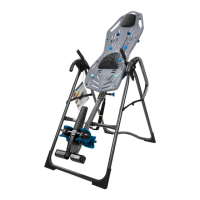
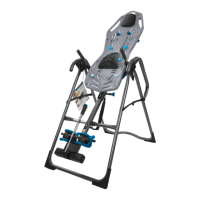
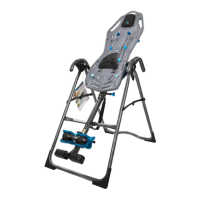
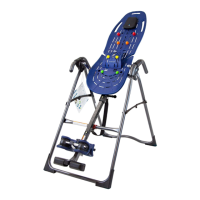
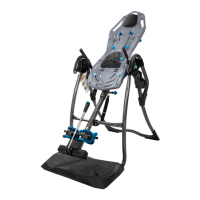
Identifies and explains the key parts and components of the inversion table through diagrams.
Details locations of warning labels and provides key product dimensions and weight capacities.
Instructions on preparing the workspace, unpacking parts, and understanding assembly resources like the DVD and app.
Instructions for attaching the boarding platform to the A-frame, including rubber feet.
Guides the attachment of the handles and their corresponding brackets to the A-frame.
Details how to connect the roller hinges to the main table bed using pivot pins and cam locks.
Instructions for connecting the assembled table bed to the main A-frame structure.
Connects the main shaft, including the height-selector locking pin, to the table bed.
Attaches the angle tether for inversion control and the optional head pillow.
Visual guide to identify and correct common assembly errors that could compromise safety.
Ensures the owner's manual is attached and reviews essential pre-inversion checks.
Outlines the 5-year warranty details and provides instructions for product registration.
| Type | Inversion Table |
|---|---|
| Weight Capacity | 300 lbs |
| Frame Material | Steel |
| Foldable | Yes |
| Warranty | 5-year full warranty |
| Height Capacity | 6 ft 6 in (198 cm) |
| User Height Range | 4'8" to 6'6" |