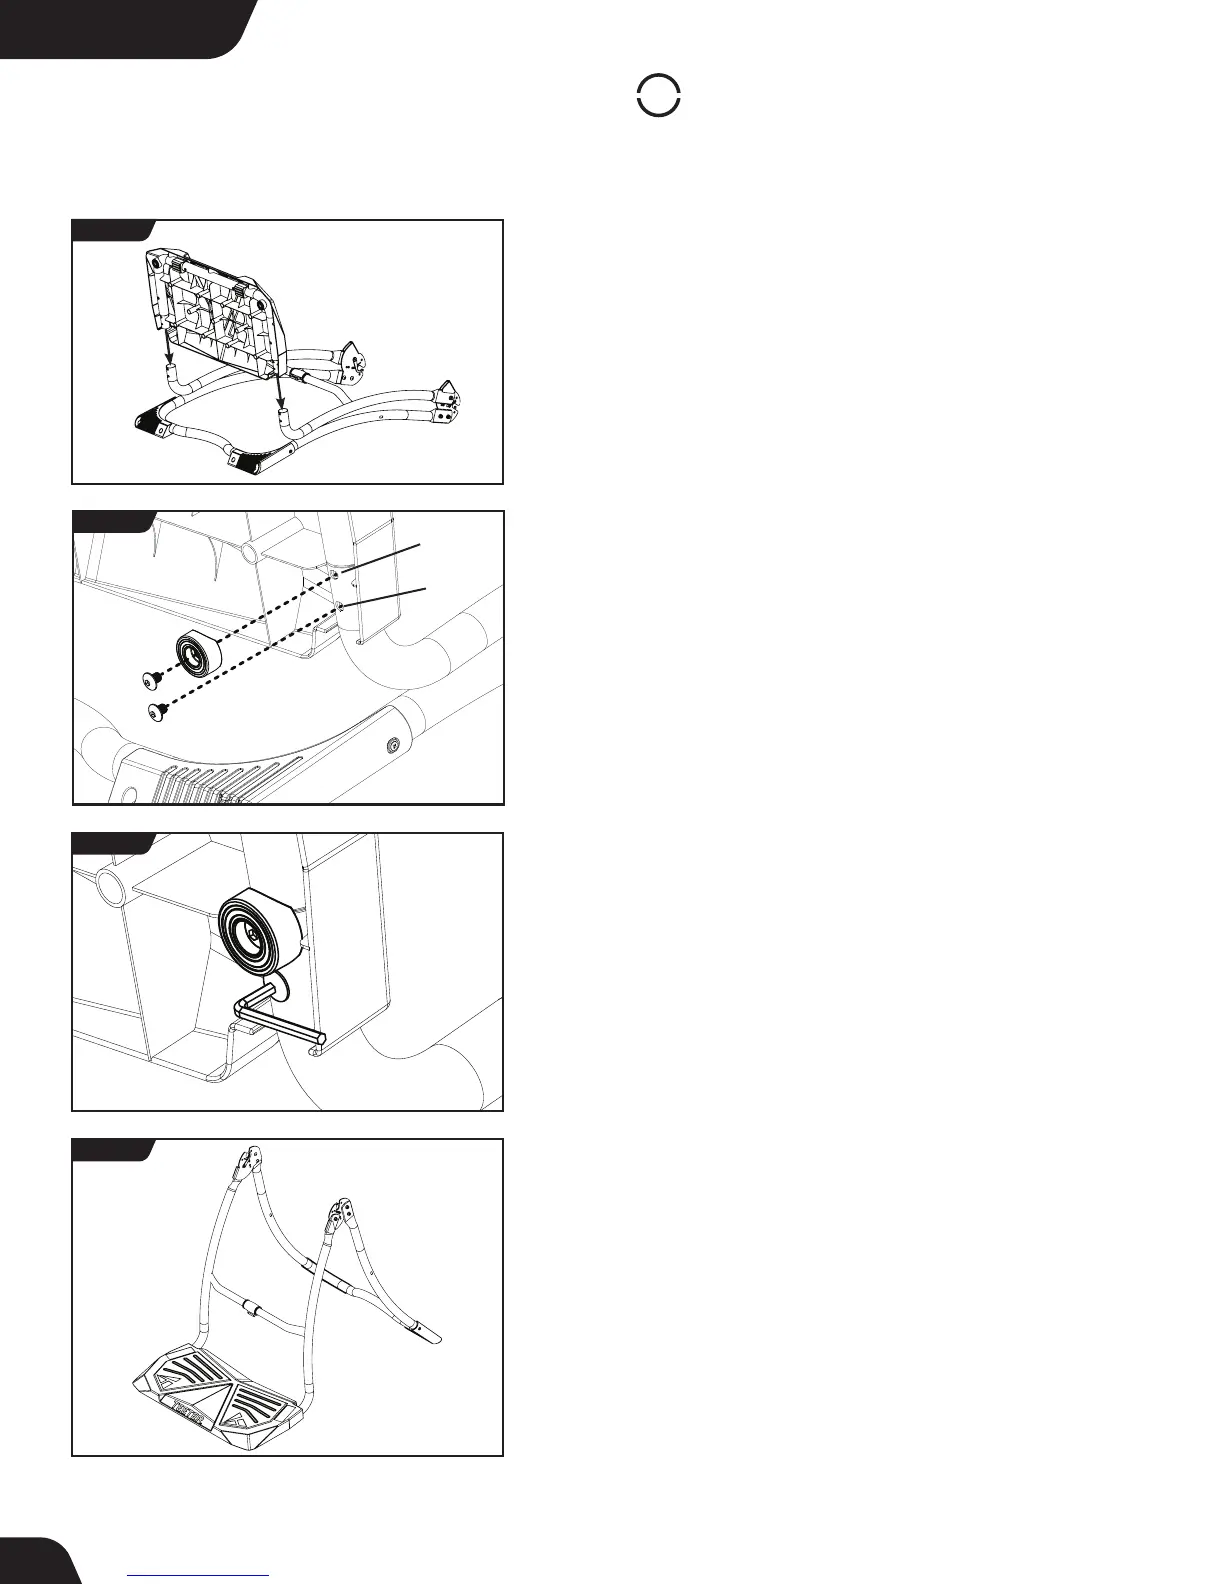
IMPORTANT: Do not fully tighten the bolts until all the bolts
have been screwed in and the platform is properly aligned.
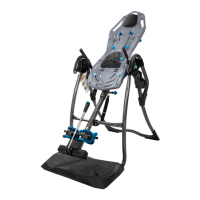
• Remove the A-frame from the box and place it on its
back side so that the open ends of the A-Frame are
pointing up (Figure 1).
• Locate the Boarding Platform and the Boarding Platform
Hardware Kit, including (2) Rubber Feet and (4) Boarding
Platform Bolts.
• Insert both open ends of the Boarding Platform into the
open ends of the A-Frame (Figure 1).
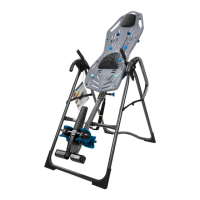
NOTE: Each side of the Boarding Platform is secured to the
A-frame through two holes, ‘inside’ and ‘outside’. The ‘inside’
holes are also used to secure the Boarding Platform Rubber
Feet (Figure 2).
• Facing the underside of the Boarding Platform, position a
Rubber Foot over one inside hole and hand-tighten with a
Boarding Platform Bolt (Figure 2). Repeat on the other side.
• Hand-tighten a Boarding Platform Bolt into one outside
hole (Figure 2). Repeat on the other side.
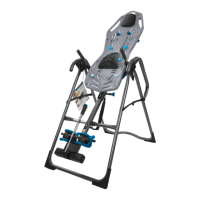
• Fully tighten all Boarding Platform Bolts using the 5mm
Allen Wrench (Figure 3).
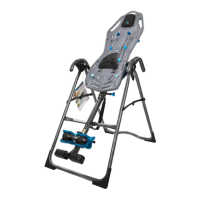
• Position the assembled A-Frame upright and open it on a
level surface, ensuring the Boarding Platform and Rubber
Feet are secure and rest evenly on the ground (Figure 4).
STEP 1
Assemble Boarding Platform
FIGURE 1
FIGURE 3
FIGURE 4
For All Models
6
FIGURE 2
INSIDE
OUTSIDE